Protector installation guide
Follow along as we install Cliffy's set of protectors on a Stern Metallica Premium pinball. This guide also applies to the Pro model except for the Coffin magnet. Click the pics to enlarge!
| Lets start with the shooter eject
protectors. Begin by removing the glass, pulling the playfield up and resting the playfield supports on the lockbar receiver. Remove the scorecard apron. Two philips head screws on the end you see here... 
|
...and two studs that poke through the
playfield here. Use an 11/32" socket to remove the nuts.
 |
Unplug the lamp harness if you have one
for the apron here. Set apron out of your way.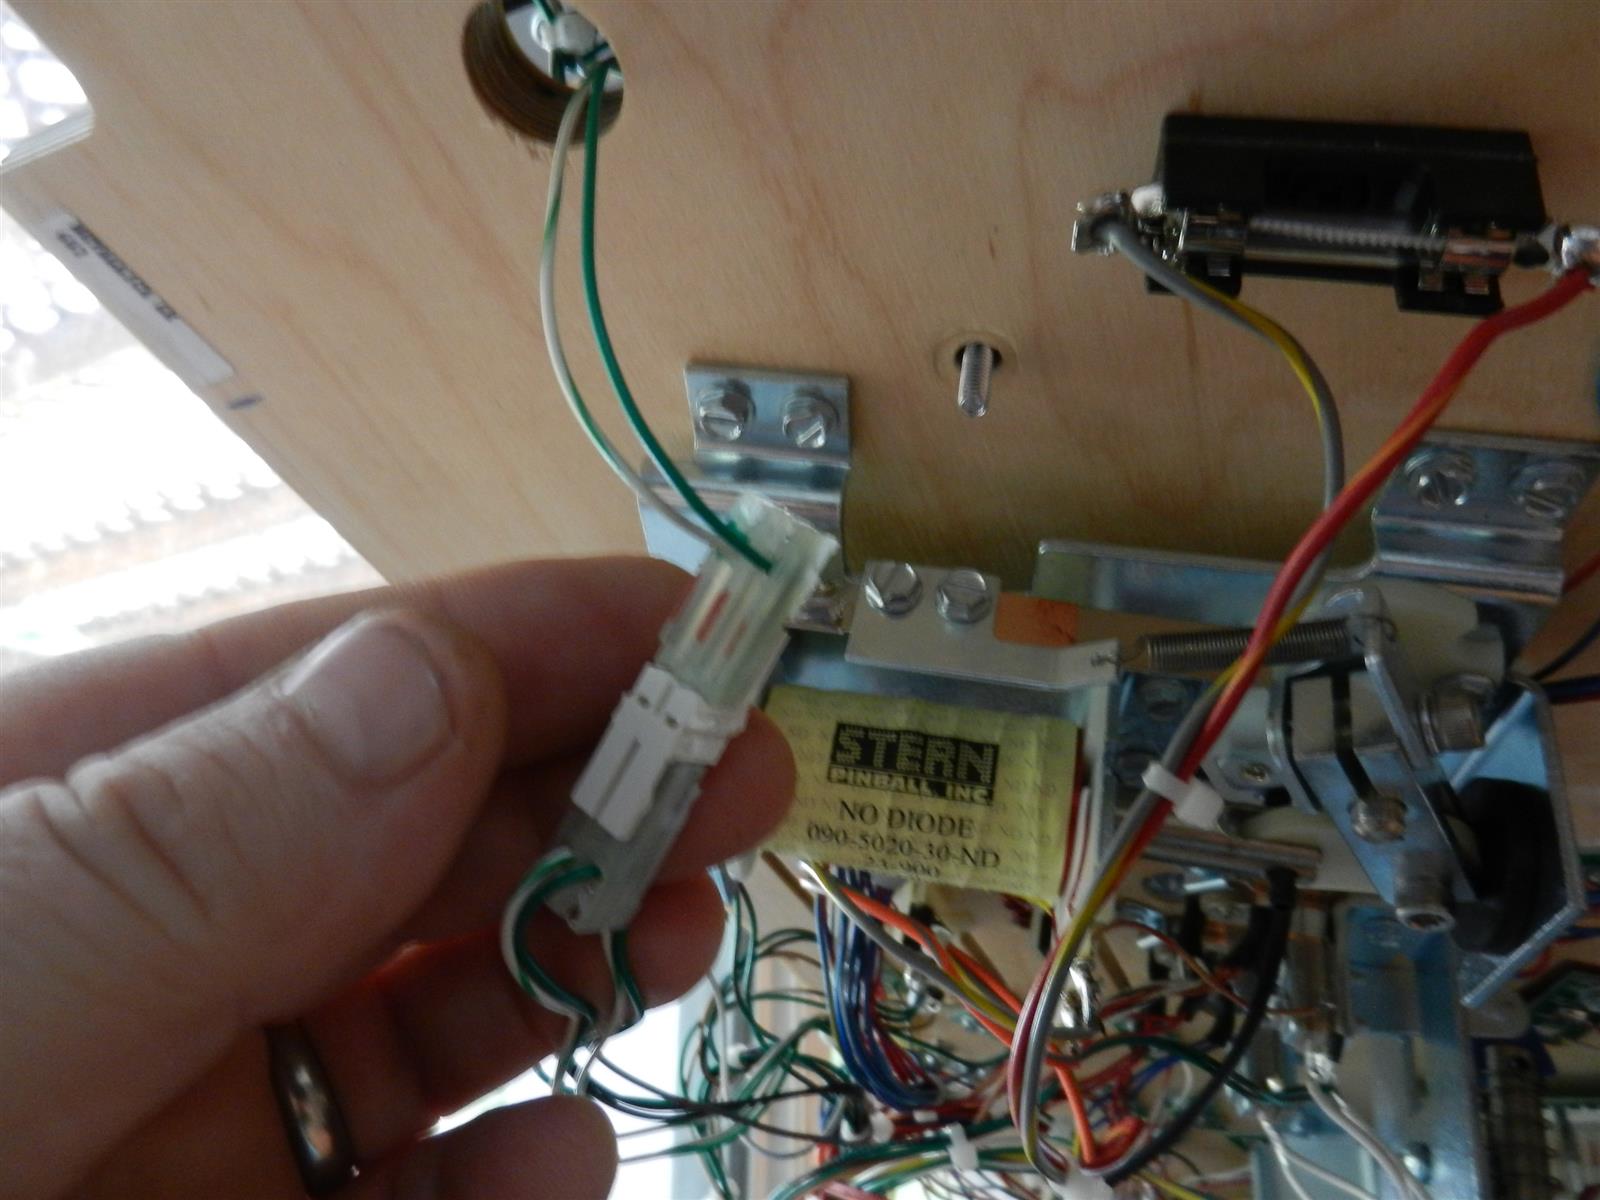 |
Now use a 1/4" nut driver to remove all
the wood screws holding the ball trough deflector. Loosen the rear nut
and screw only enough to lift and swing the deflector up and over and
rest on outhole ball guide. 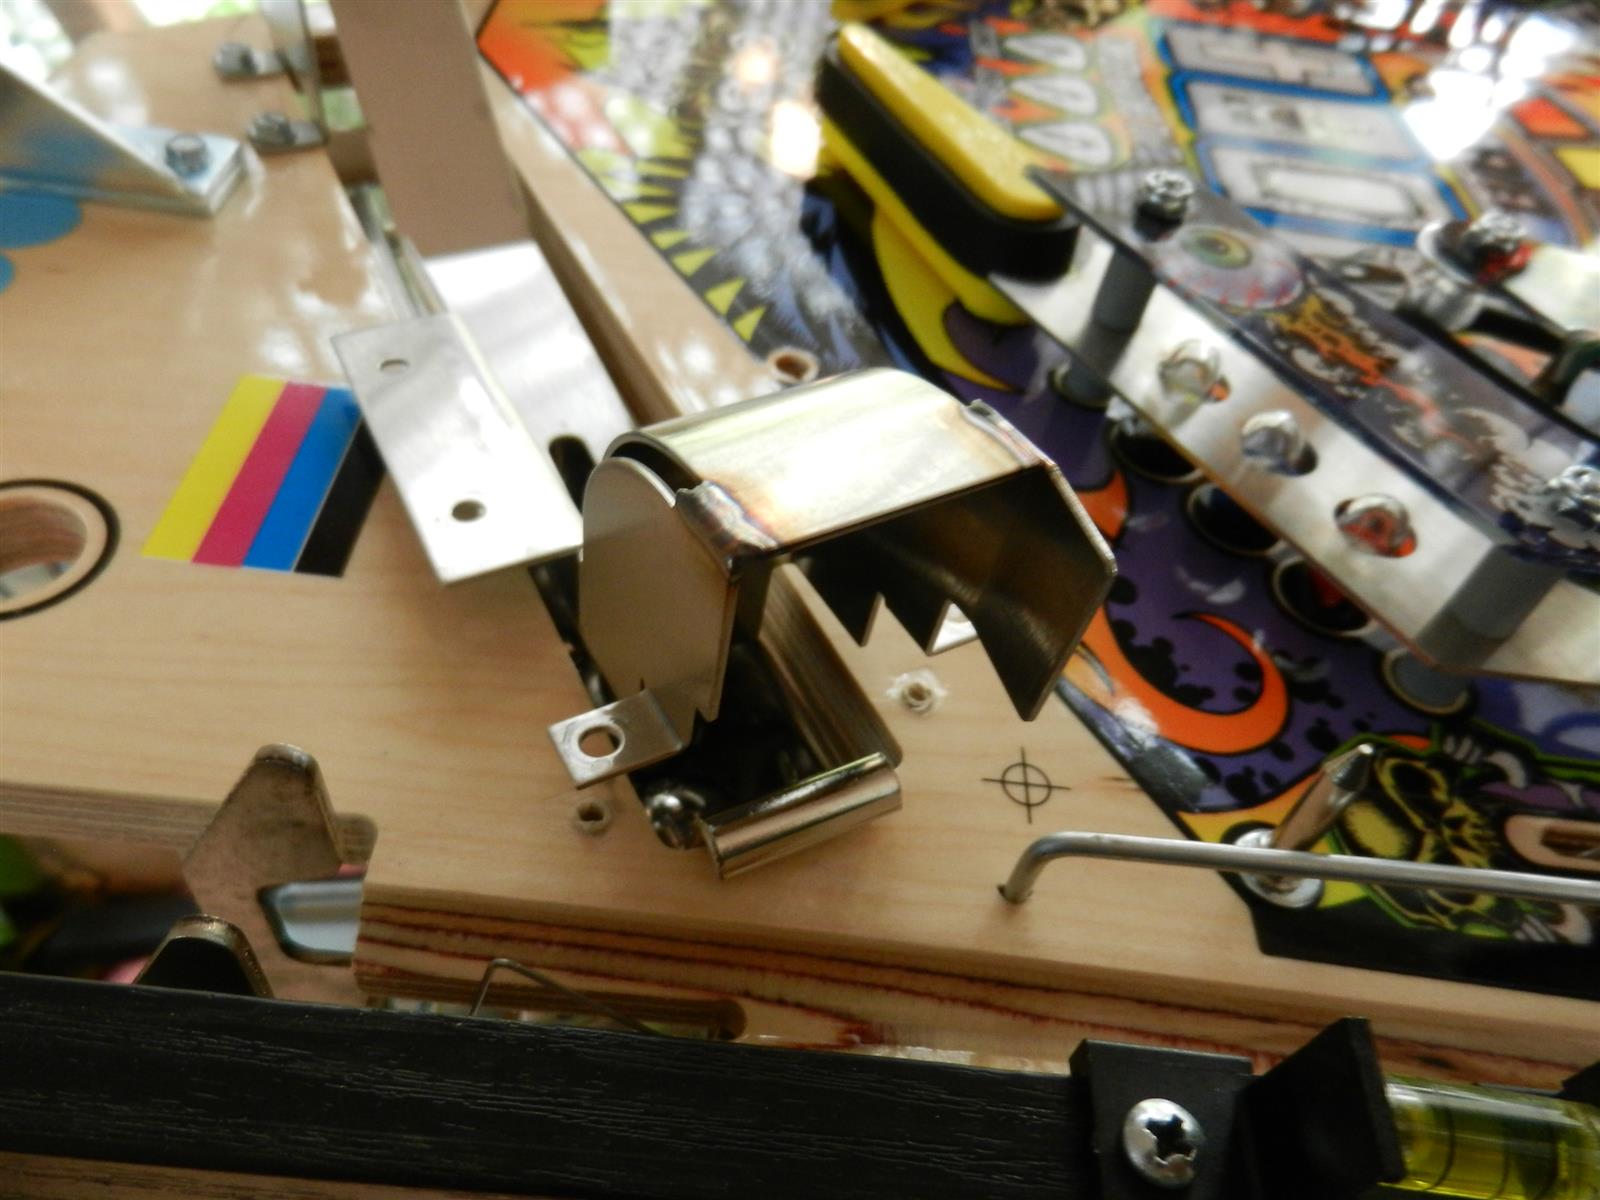
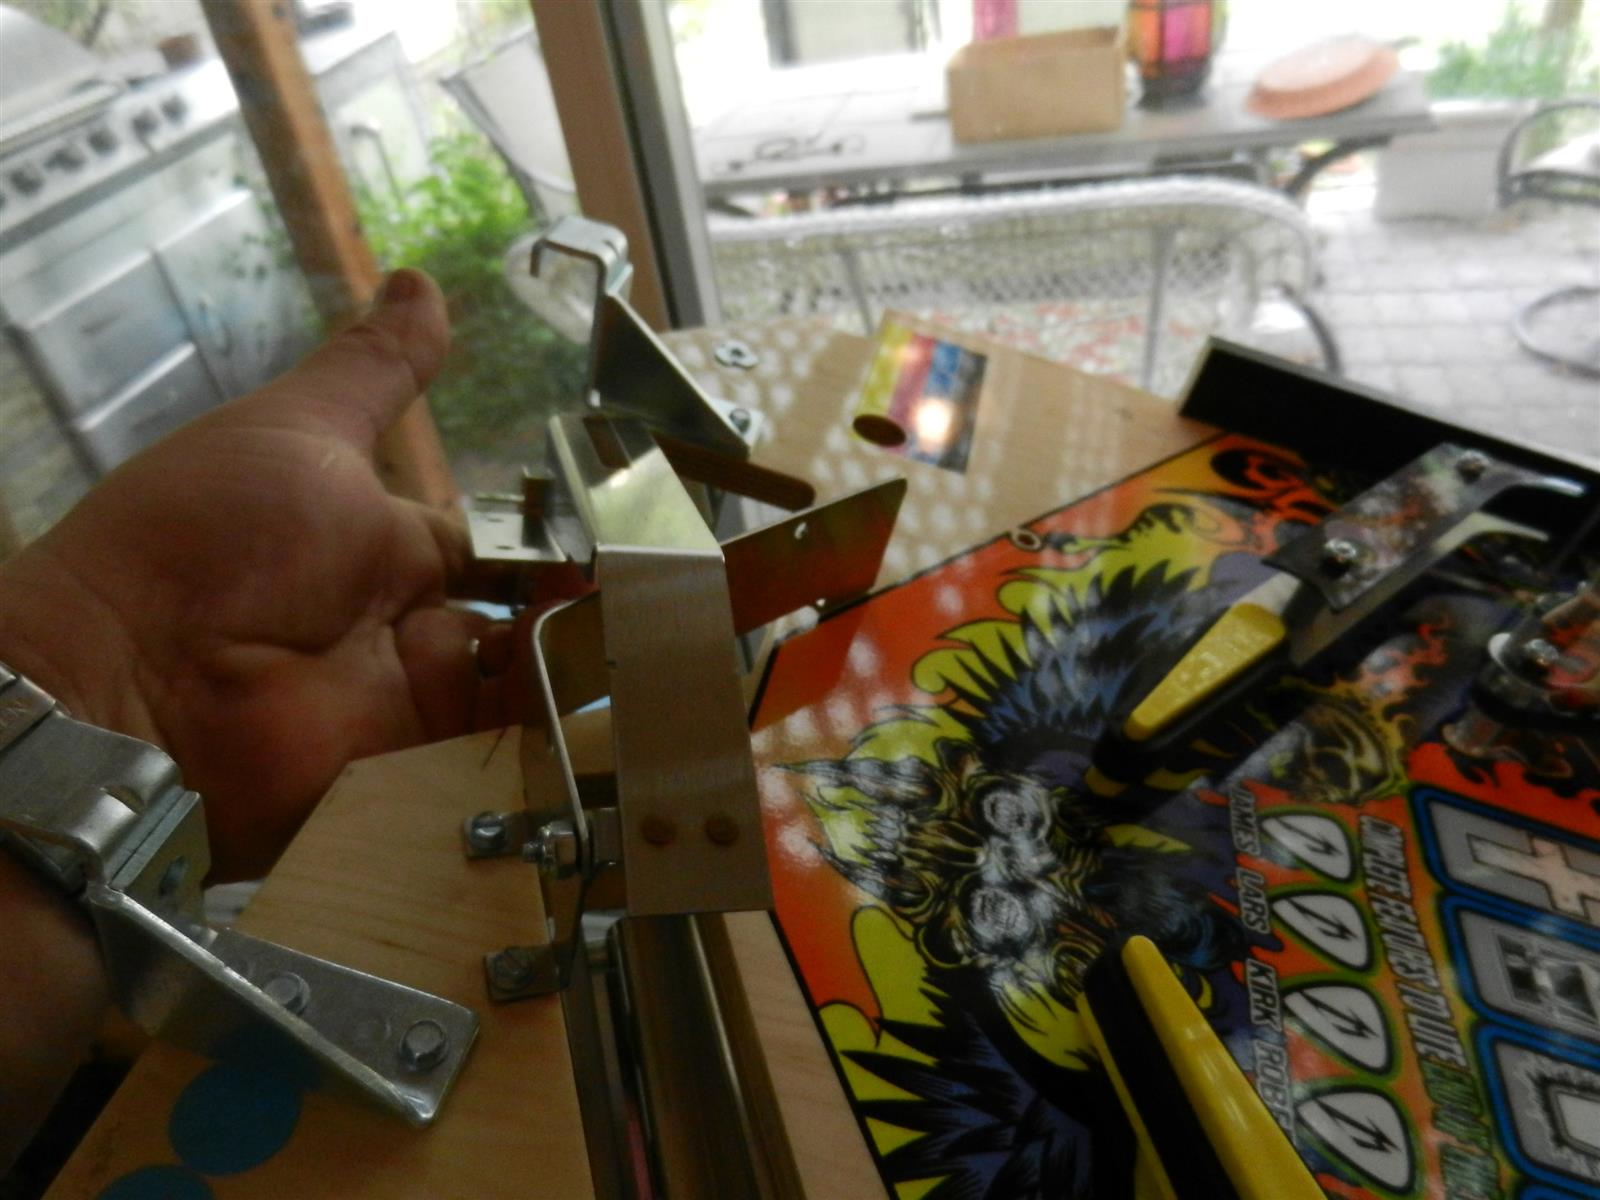 |
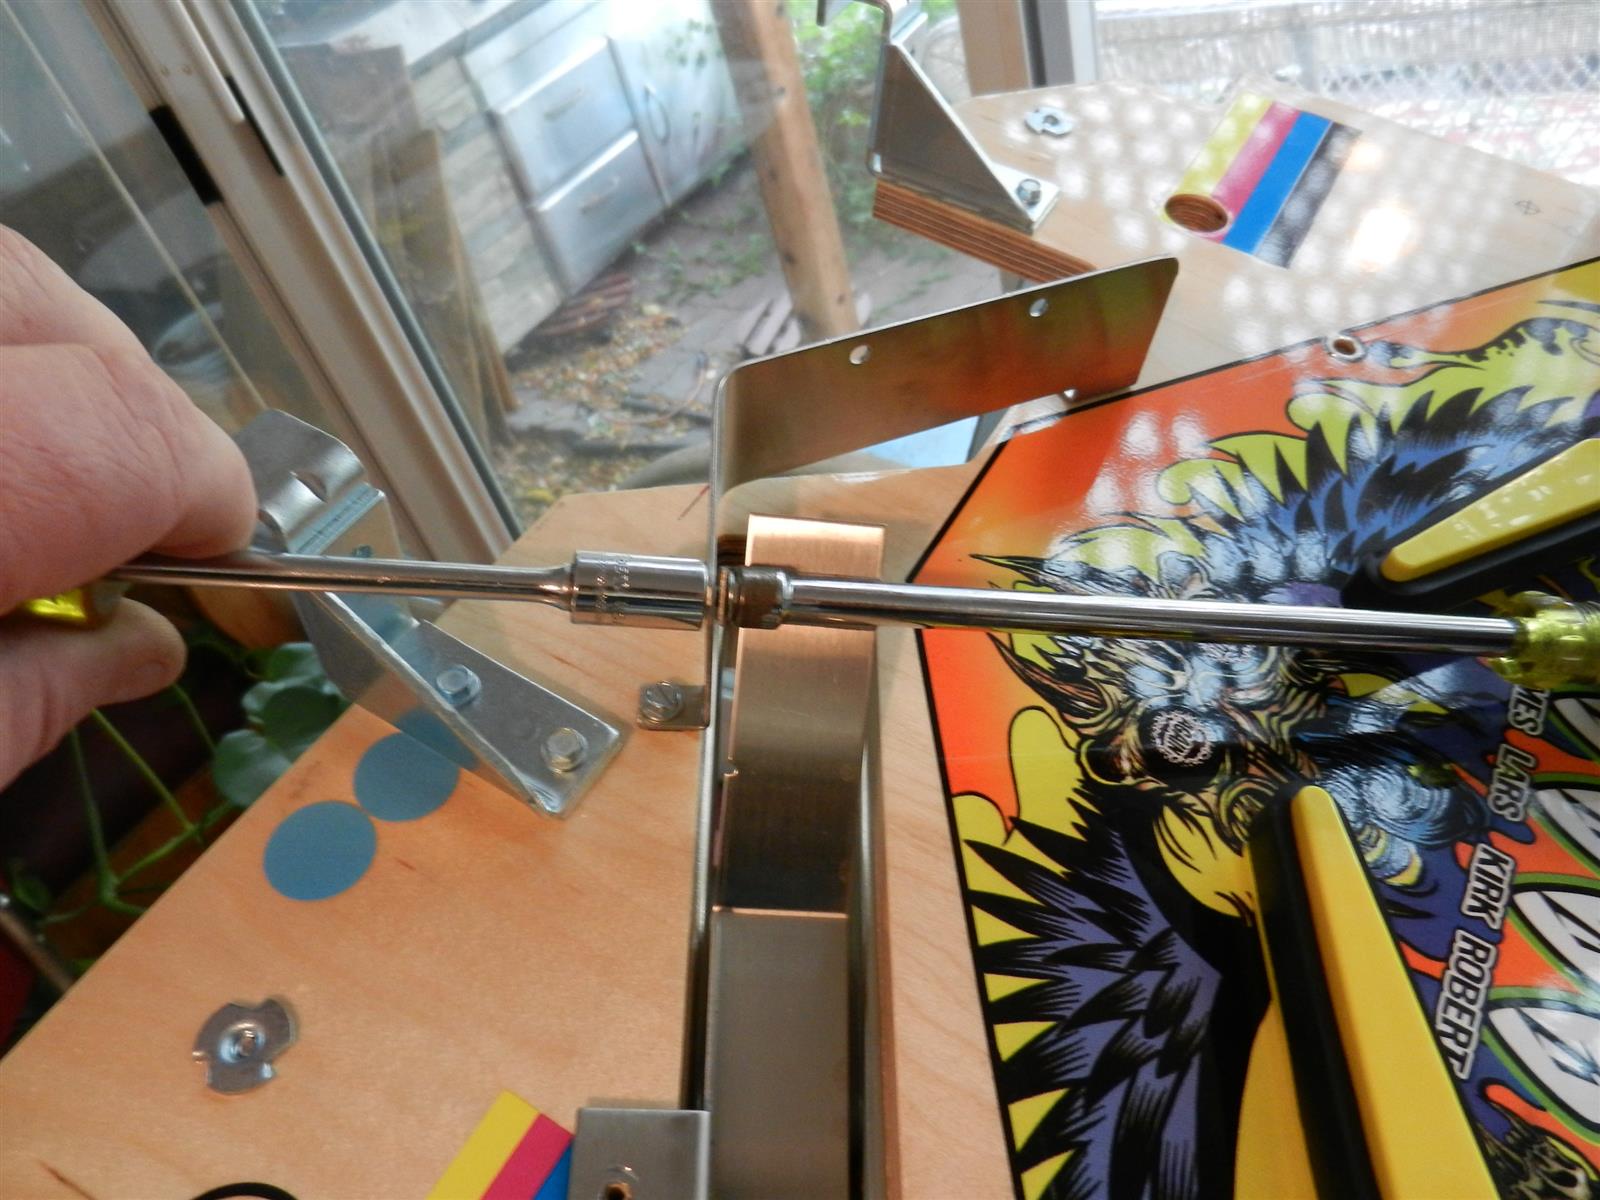
If you haven't already removed the balls
now is a good time. Let's lower the bottom half of the trough from
underneath. Rest trough assembly on playfield support.
|
Prepare the eject area and protector by
wiping down with included alcohol swab. Let dry. You may as well use the
swab to clean around the magnets now before the swab dries out. Peel 3M
adhesive backing on bottom of protector and protective film from the top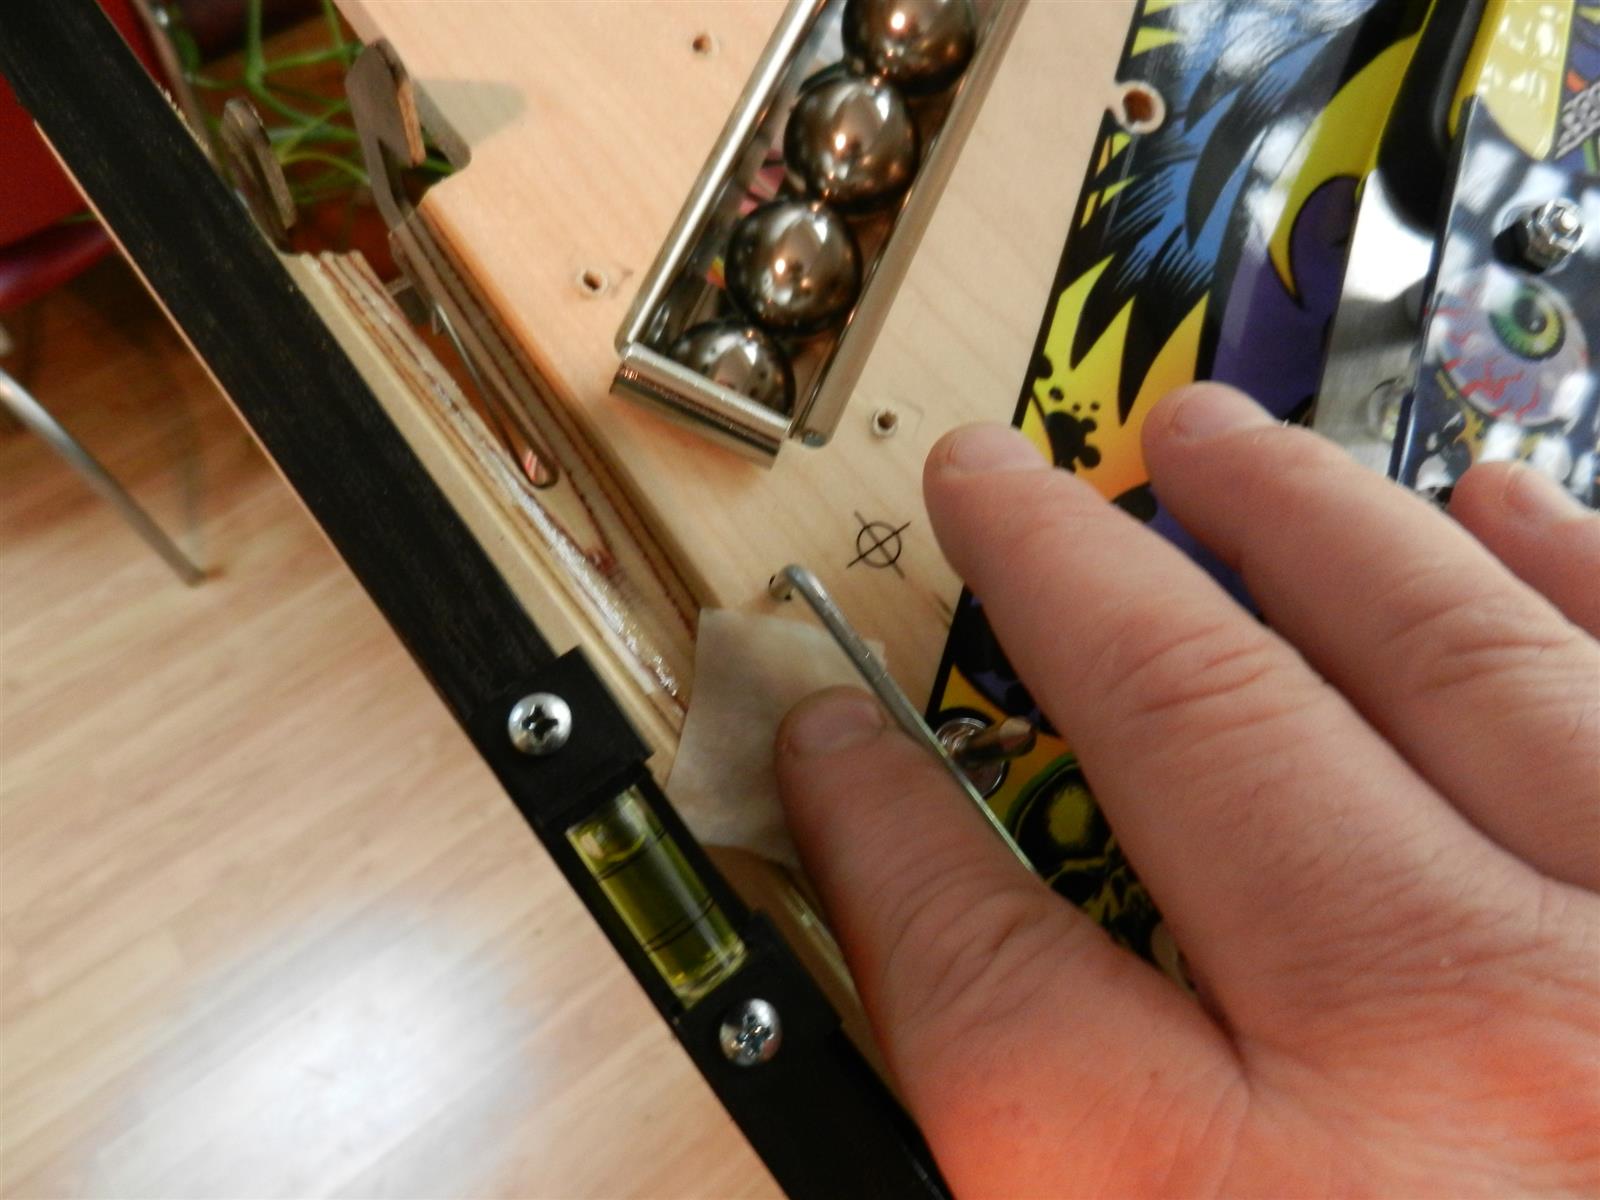

 |
Carefully snap the protector over the wire
ball guide as shown. Rest protector lightly on playfield. Use a ball to
help align the protector edge with the shooter groove edge.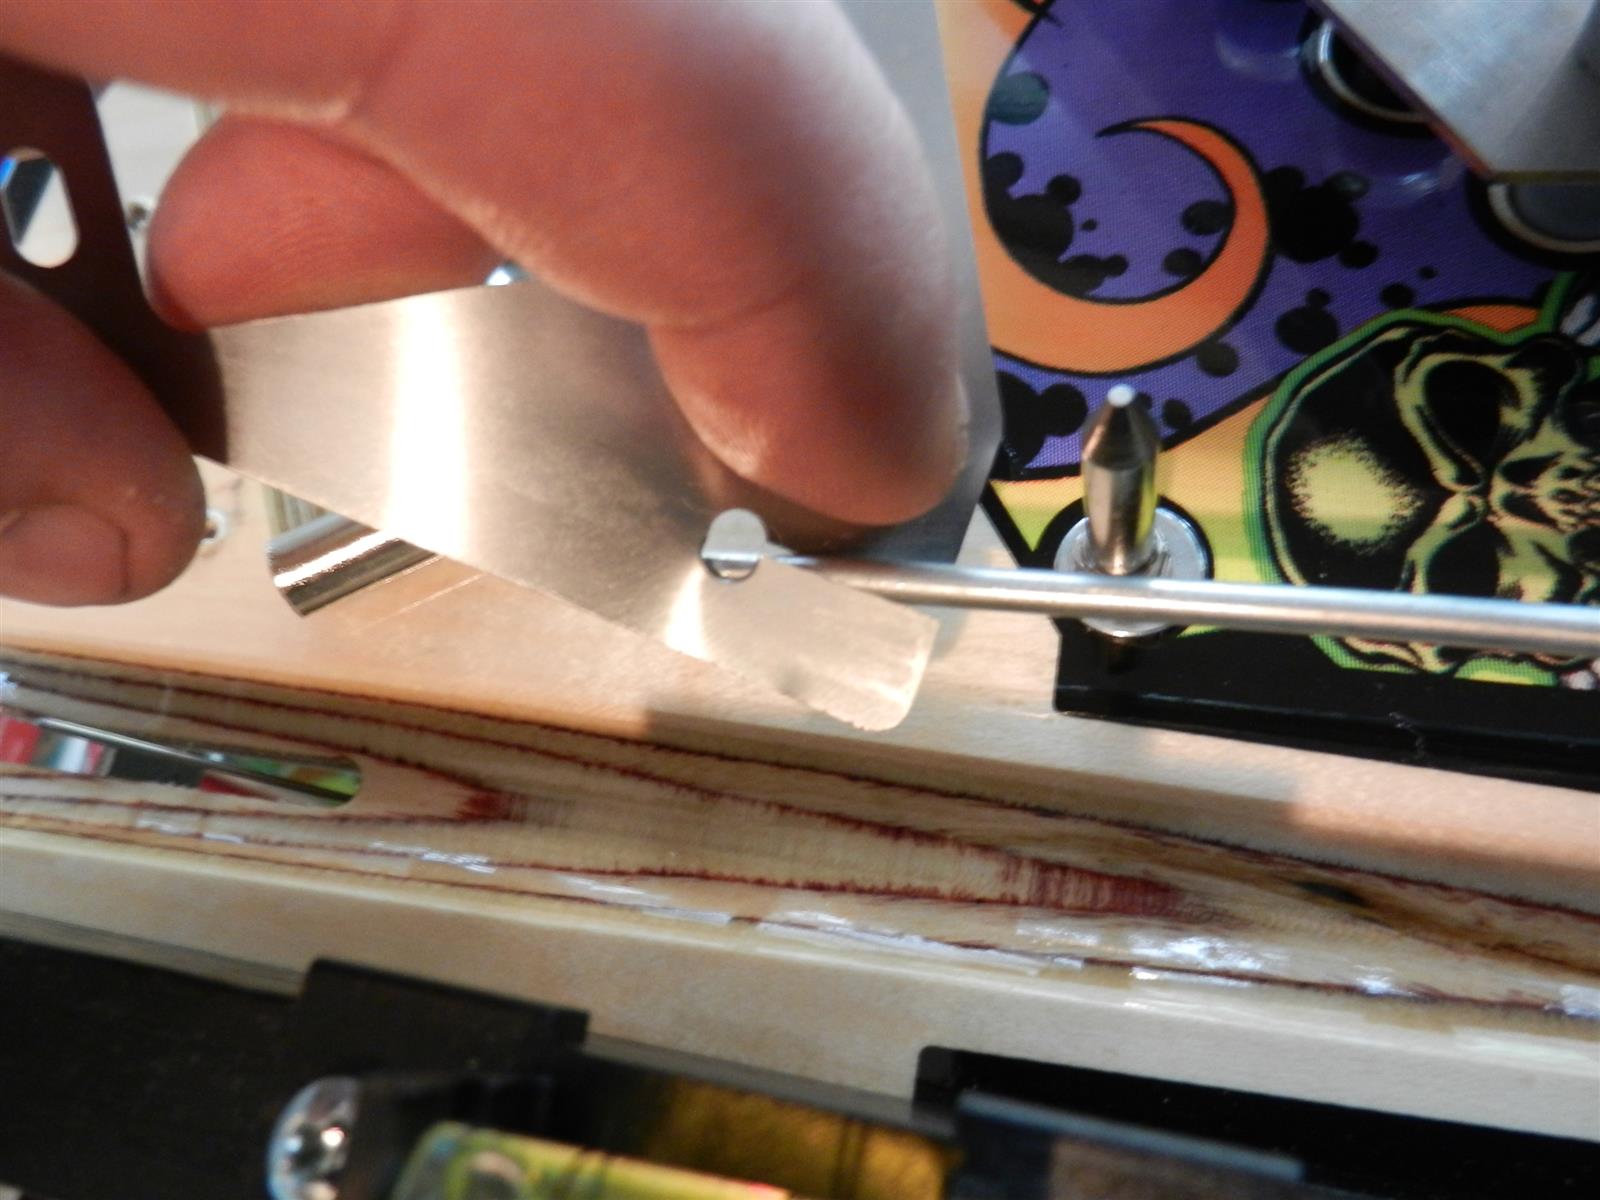
 |
Once happy with alignment rub the
protector down hard with a soft cloth. Admire your work!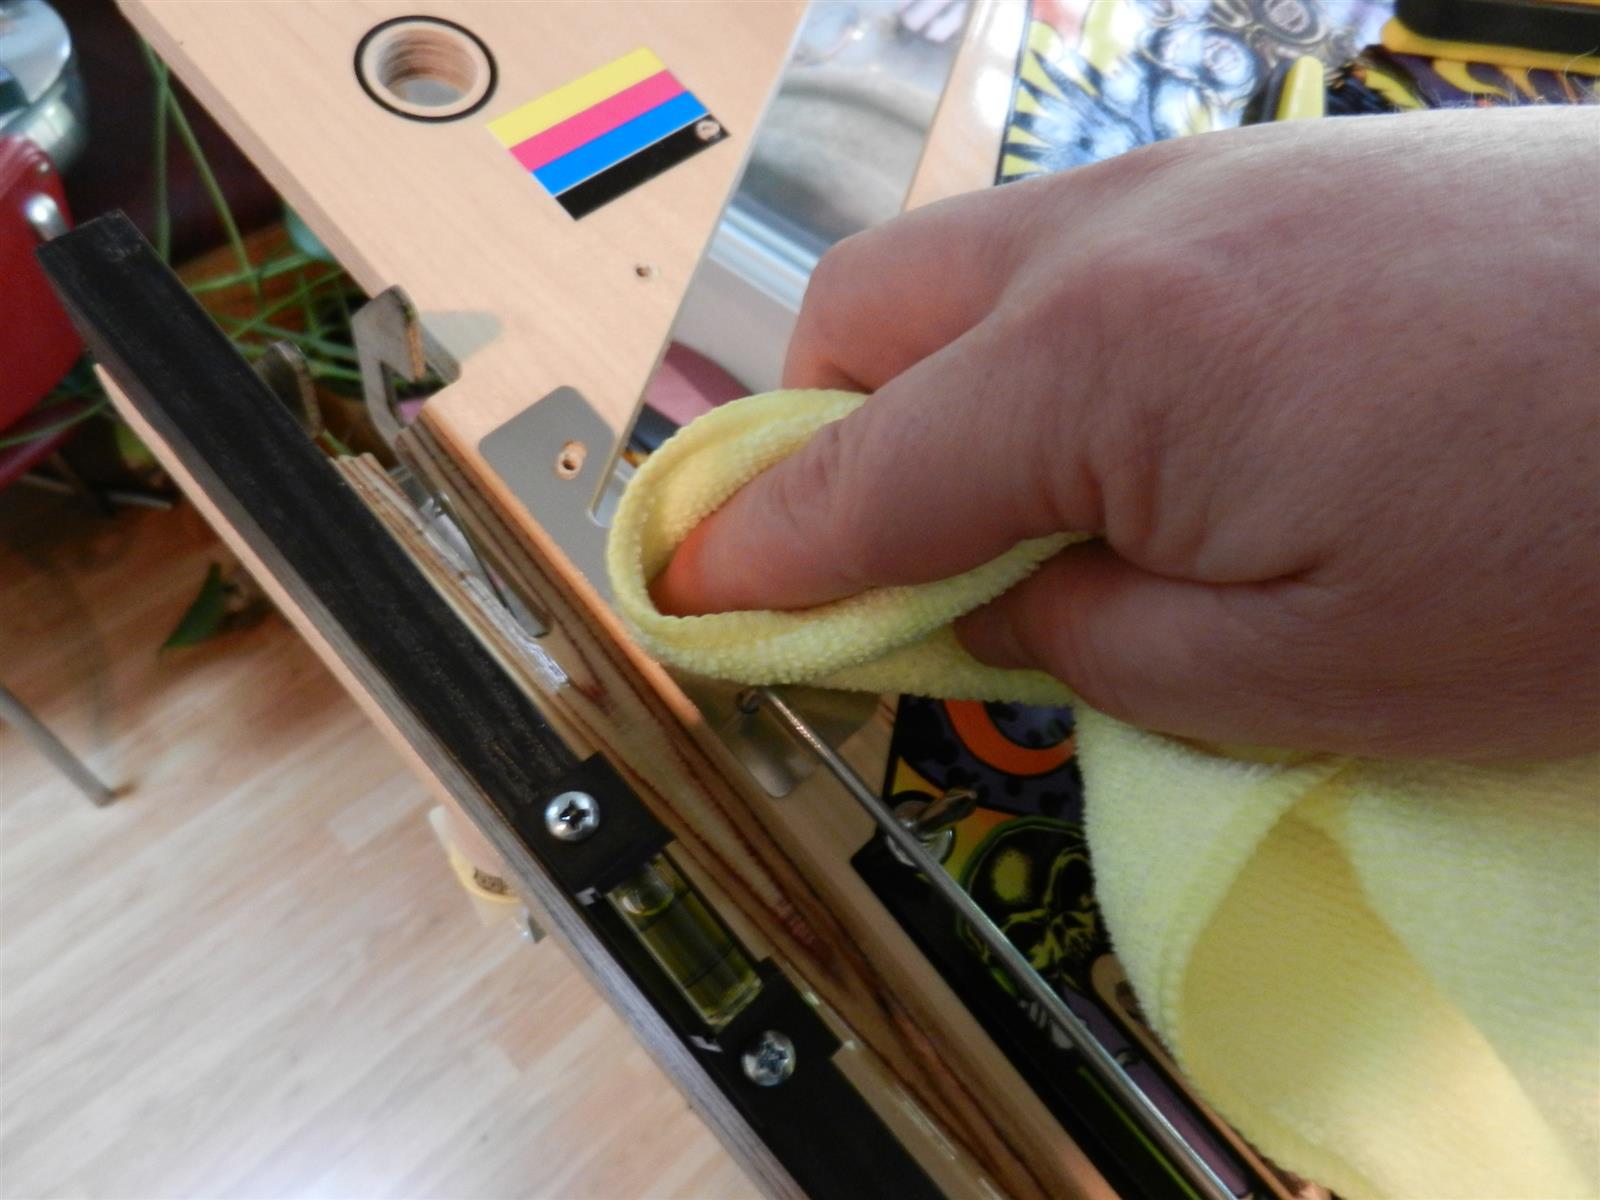
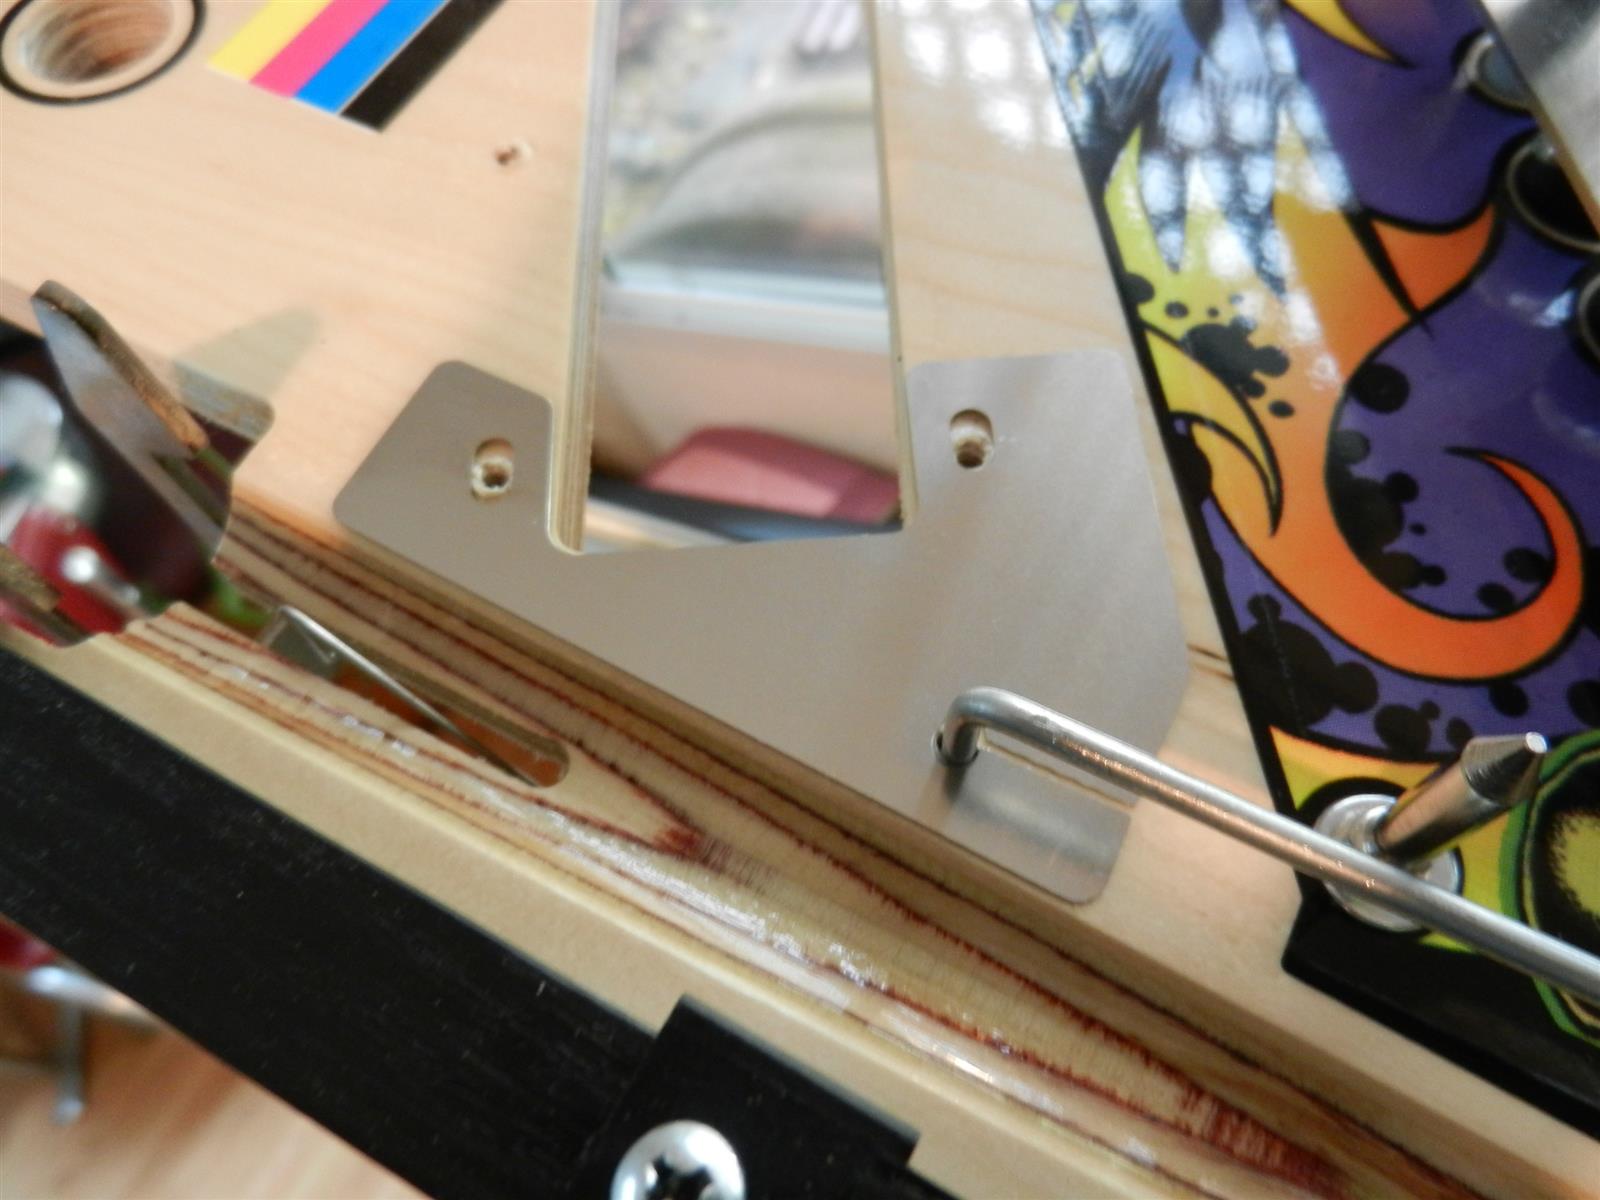 |
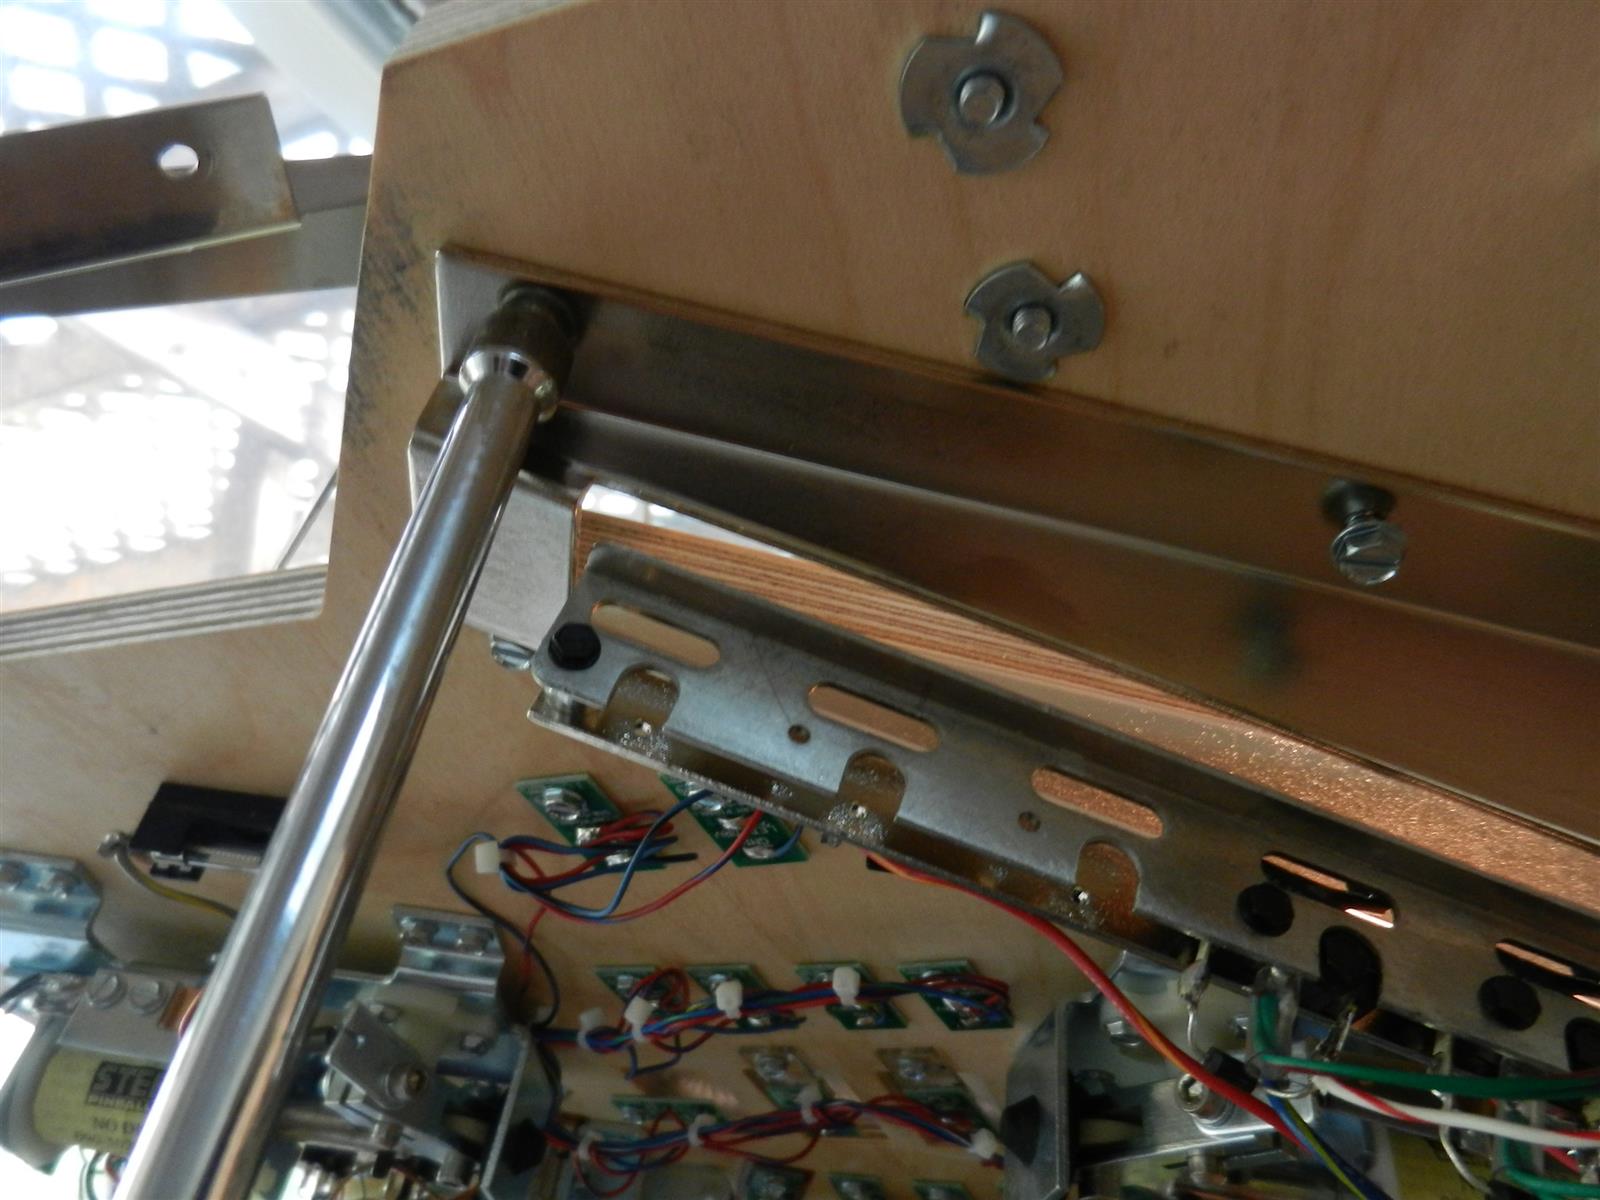
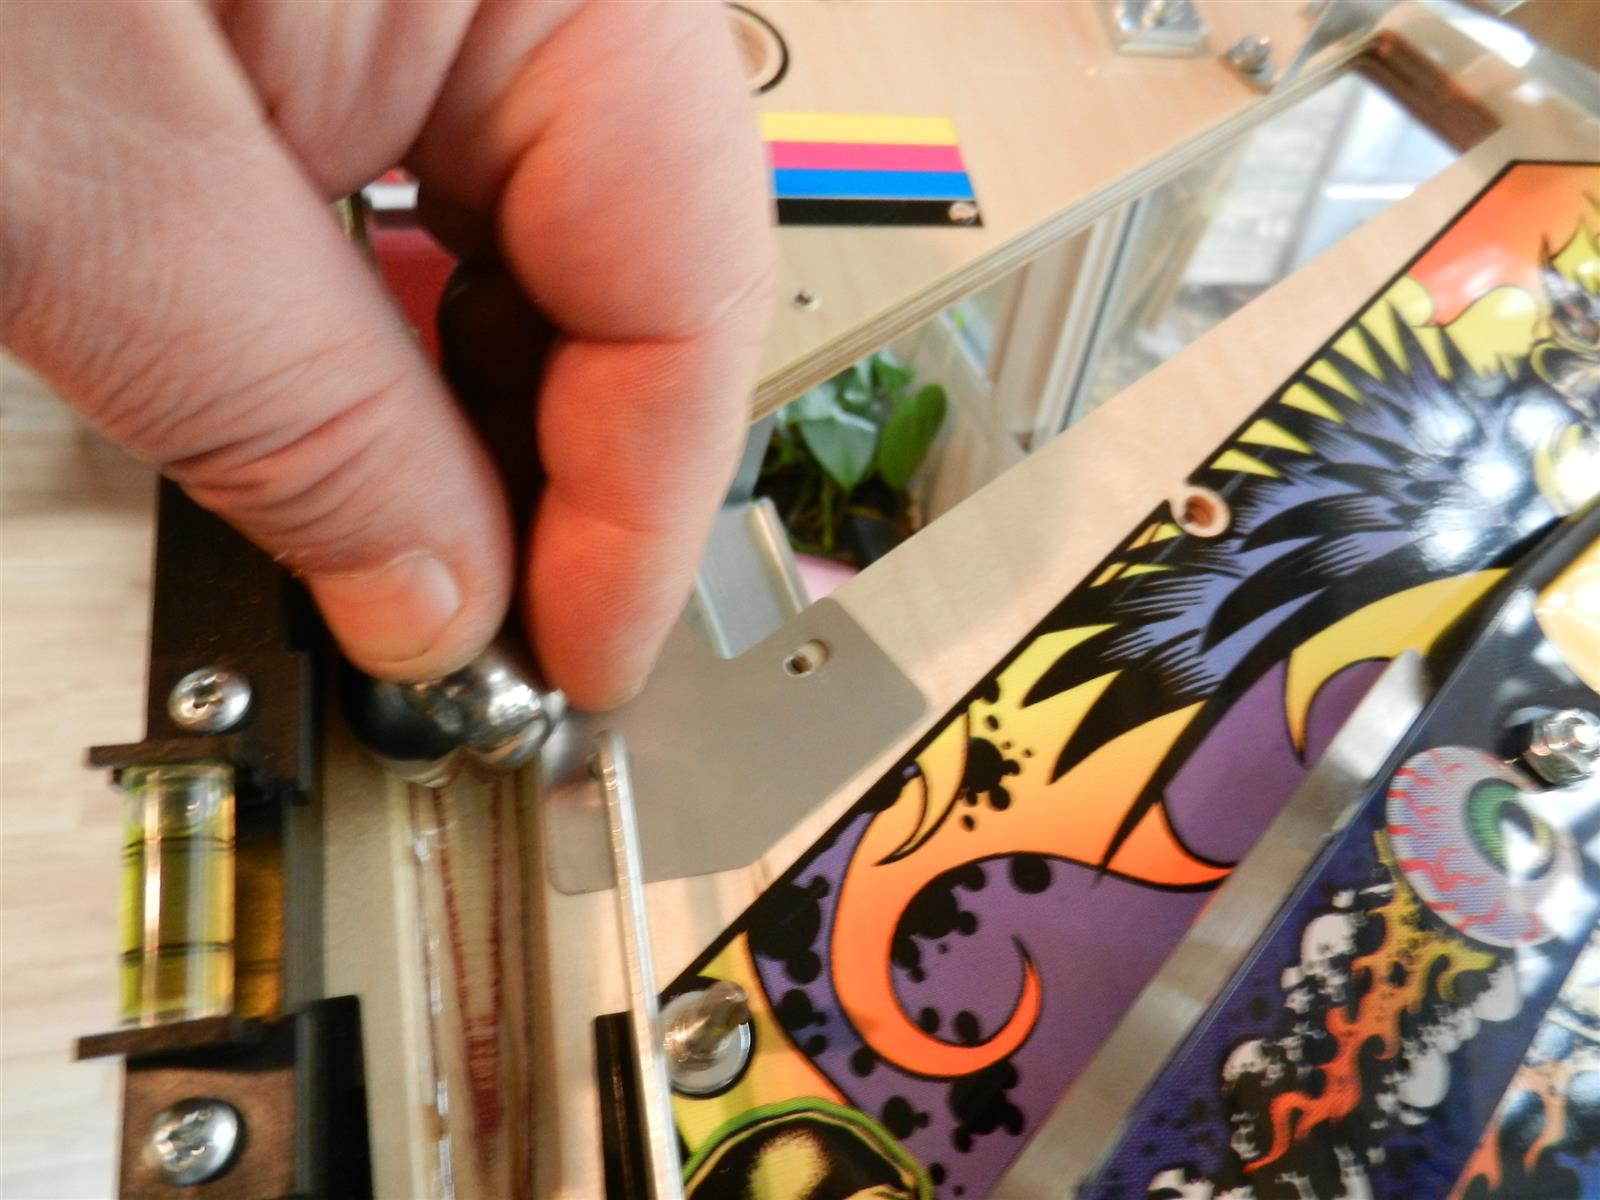
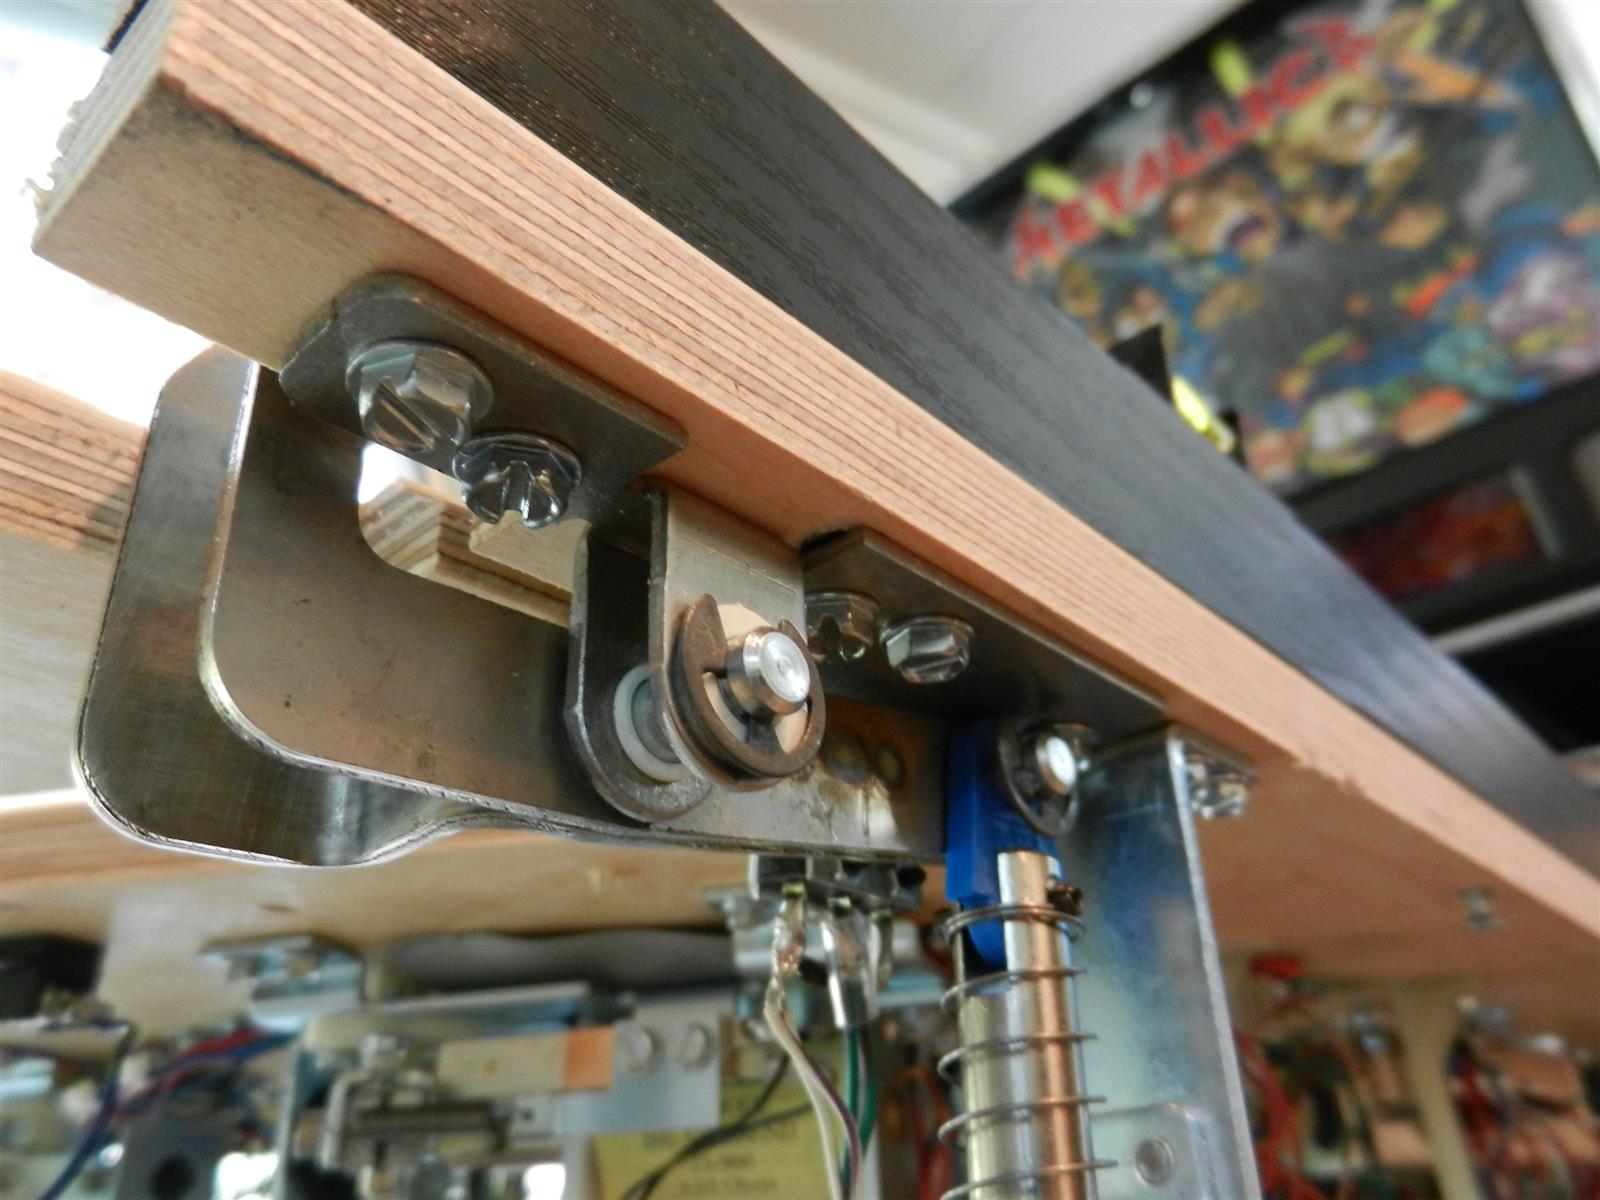
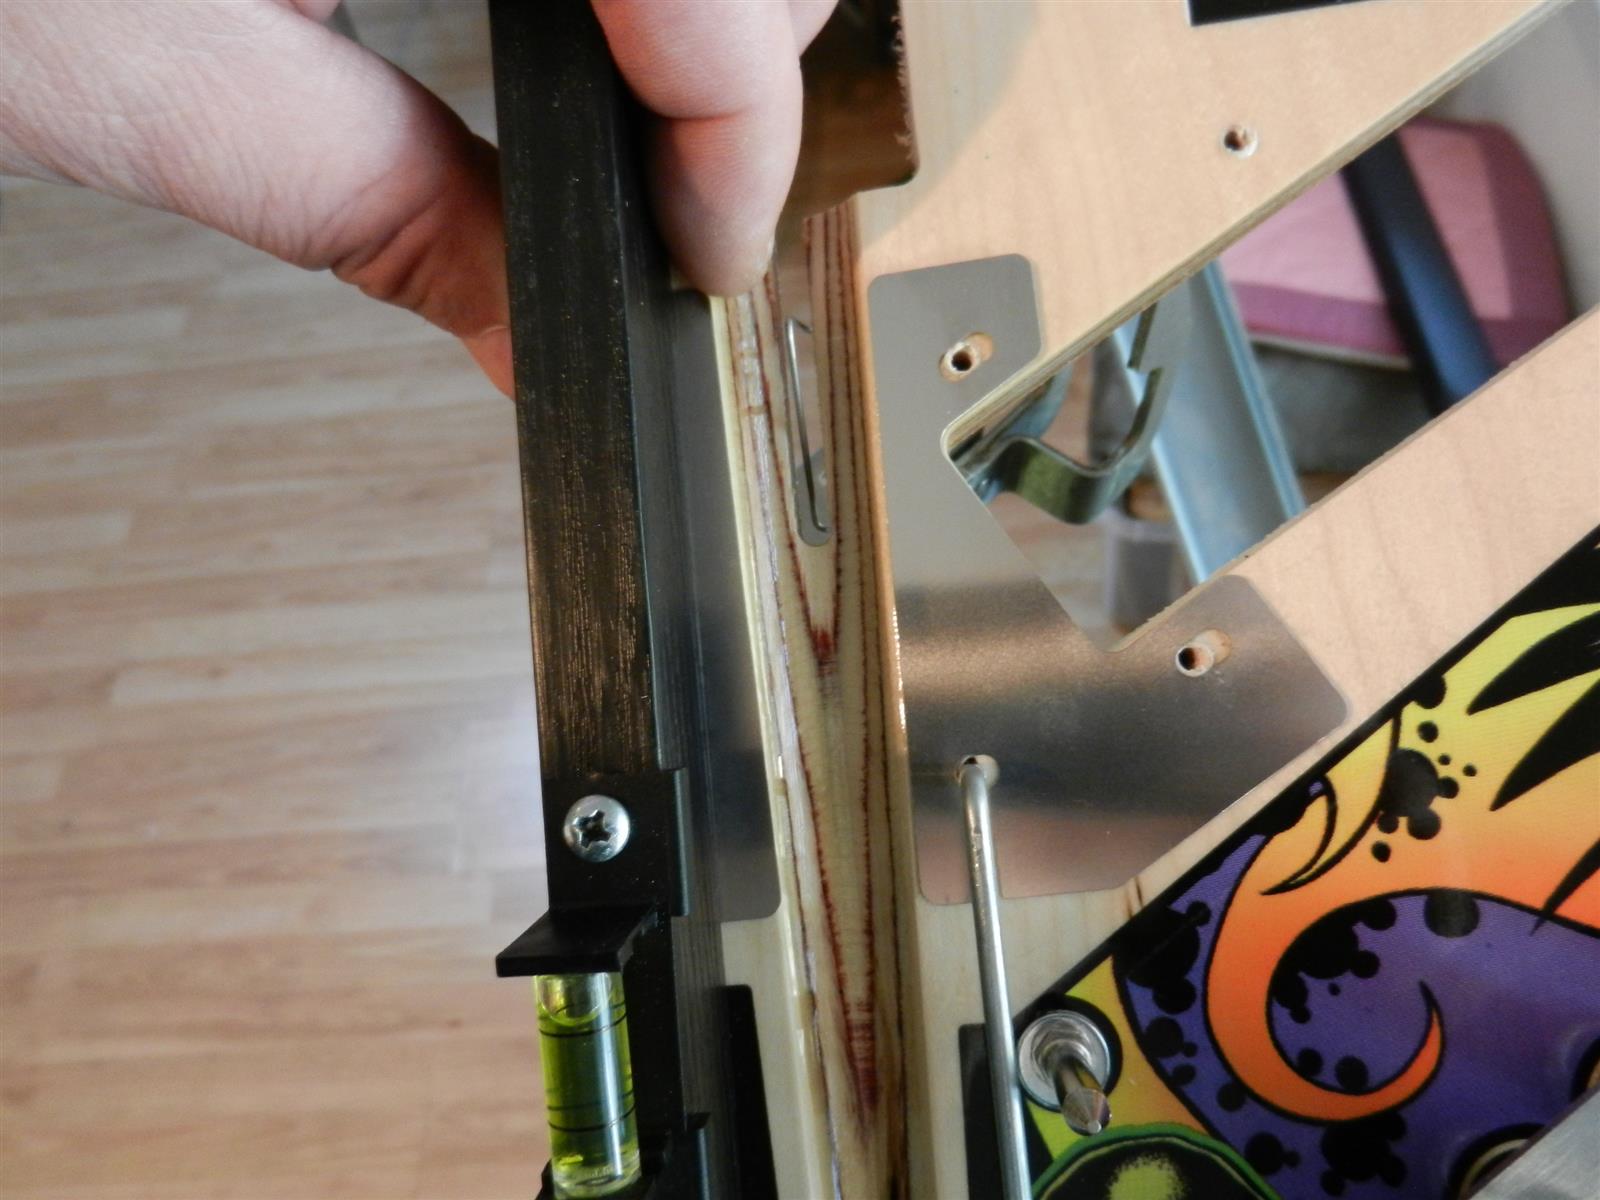
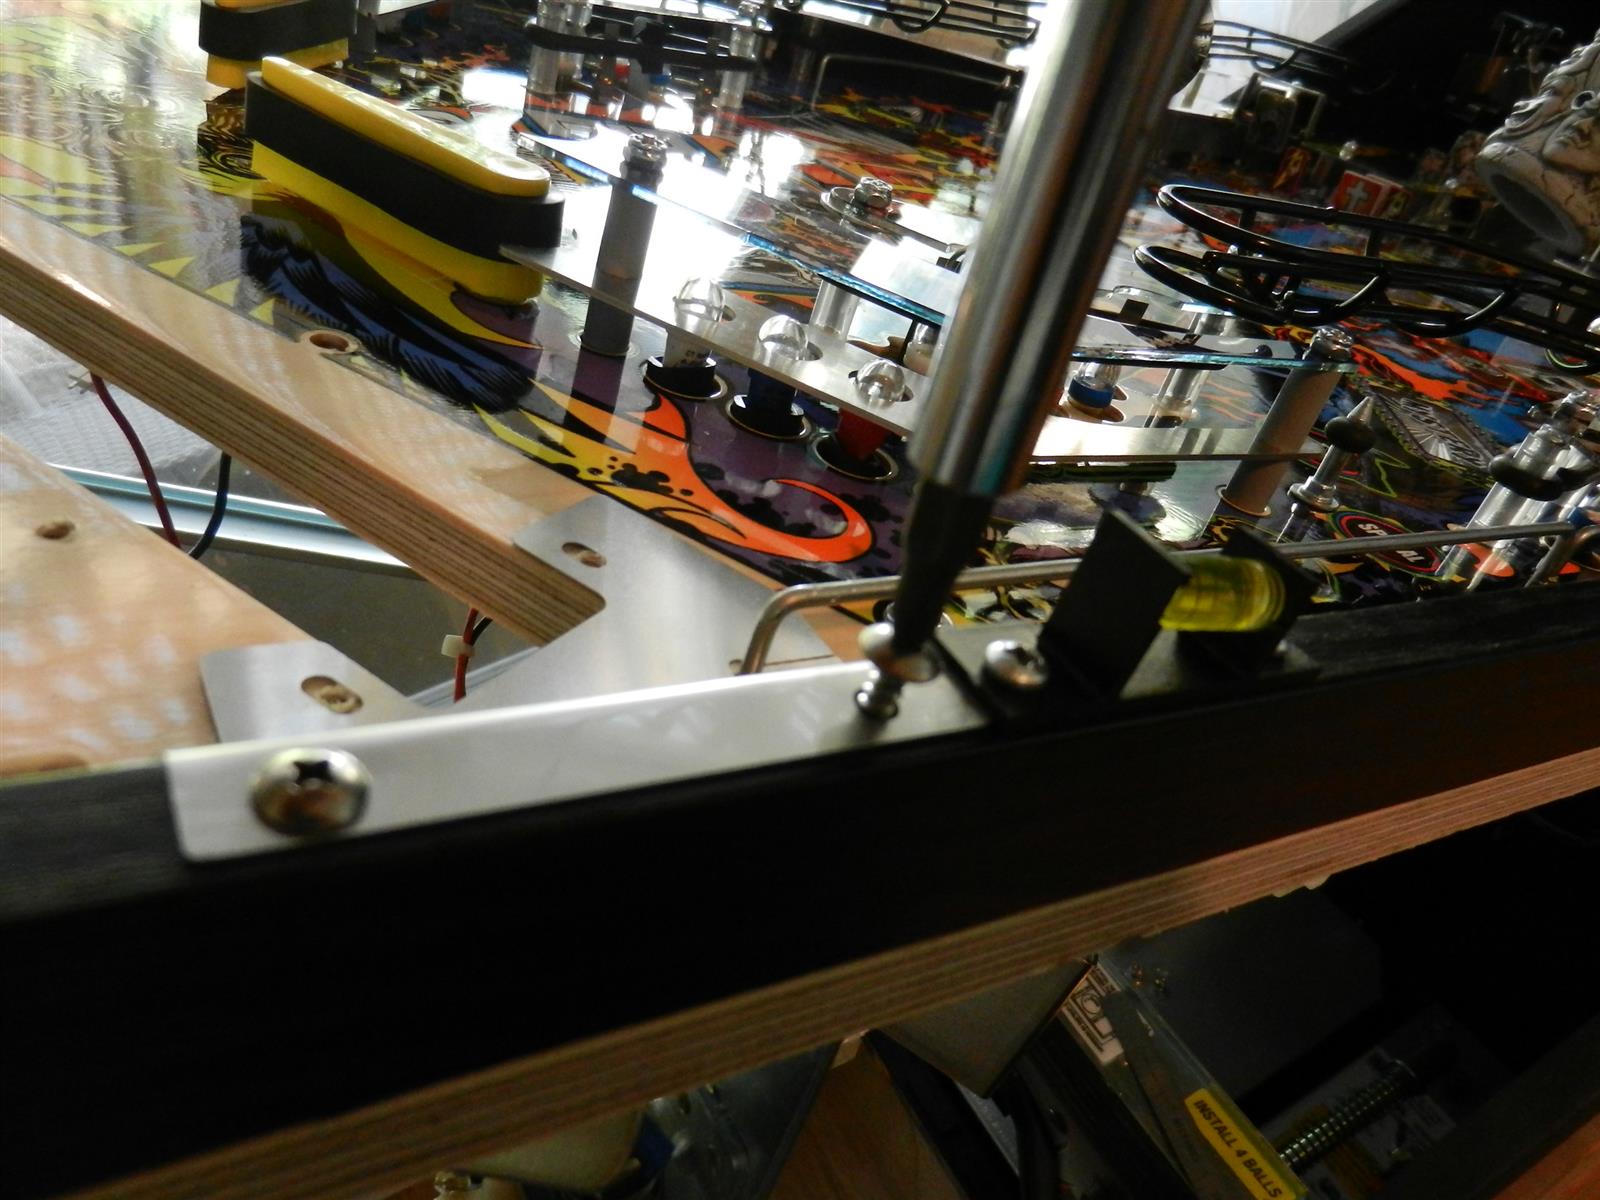
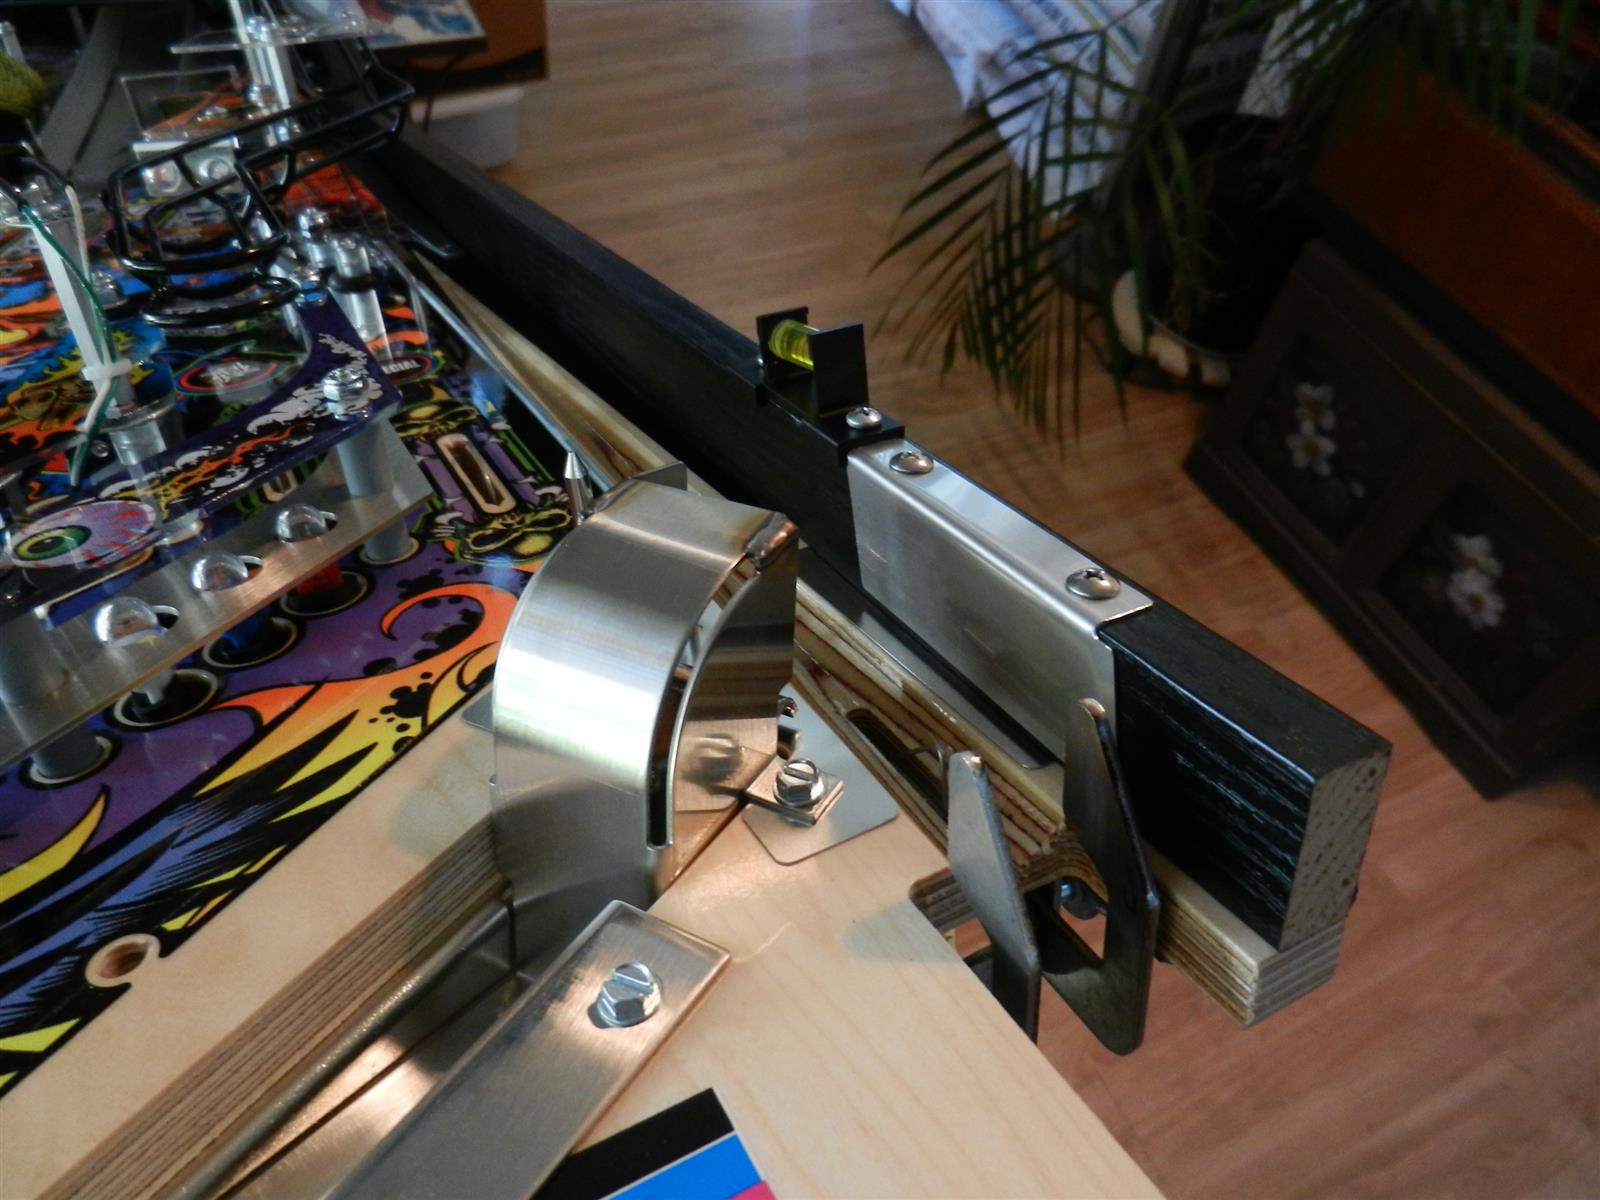
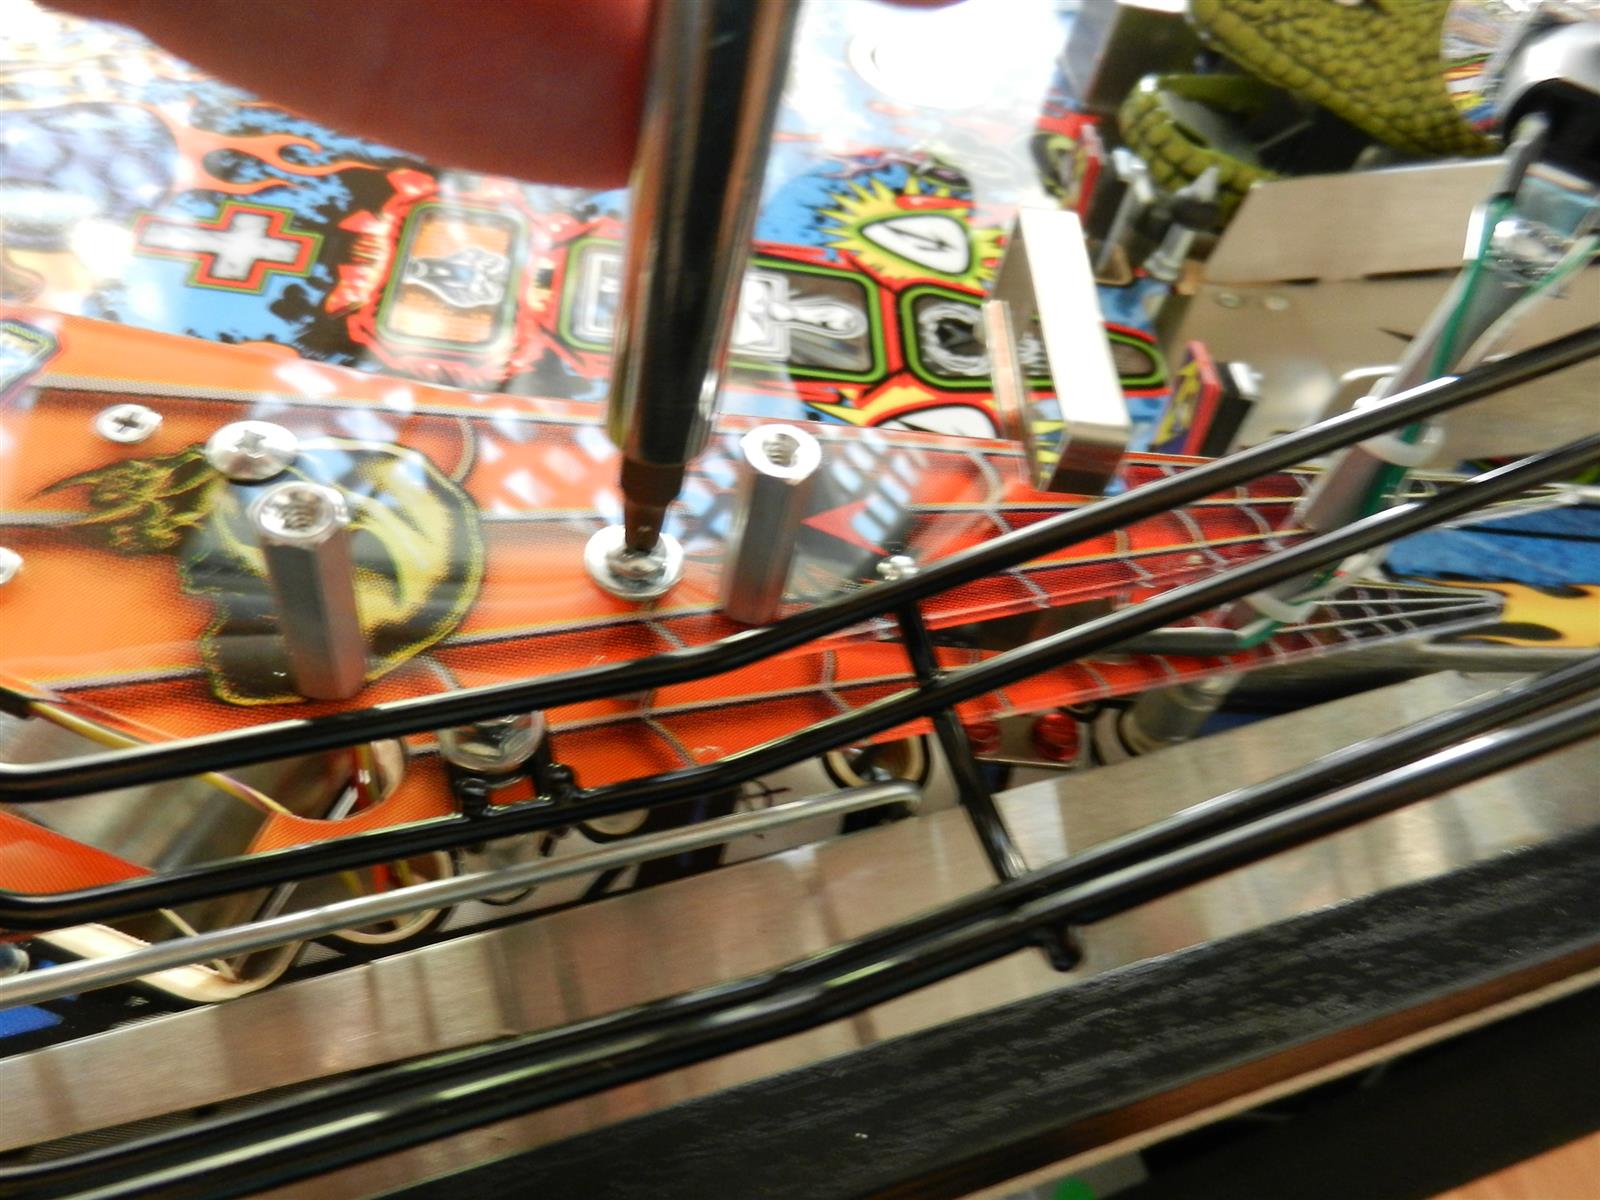
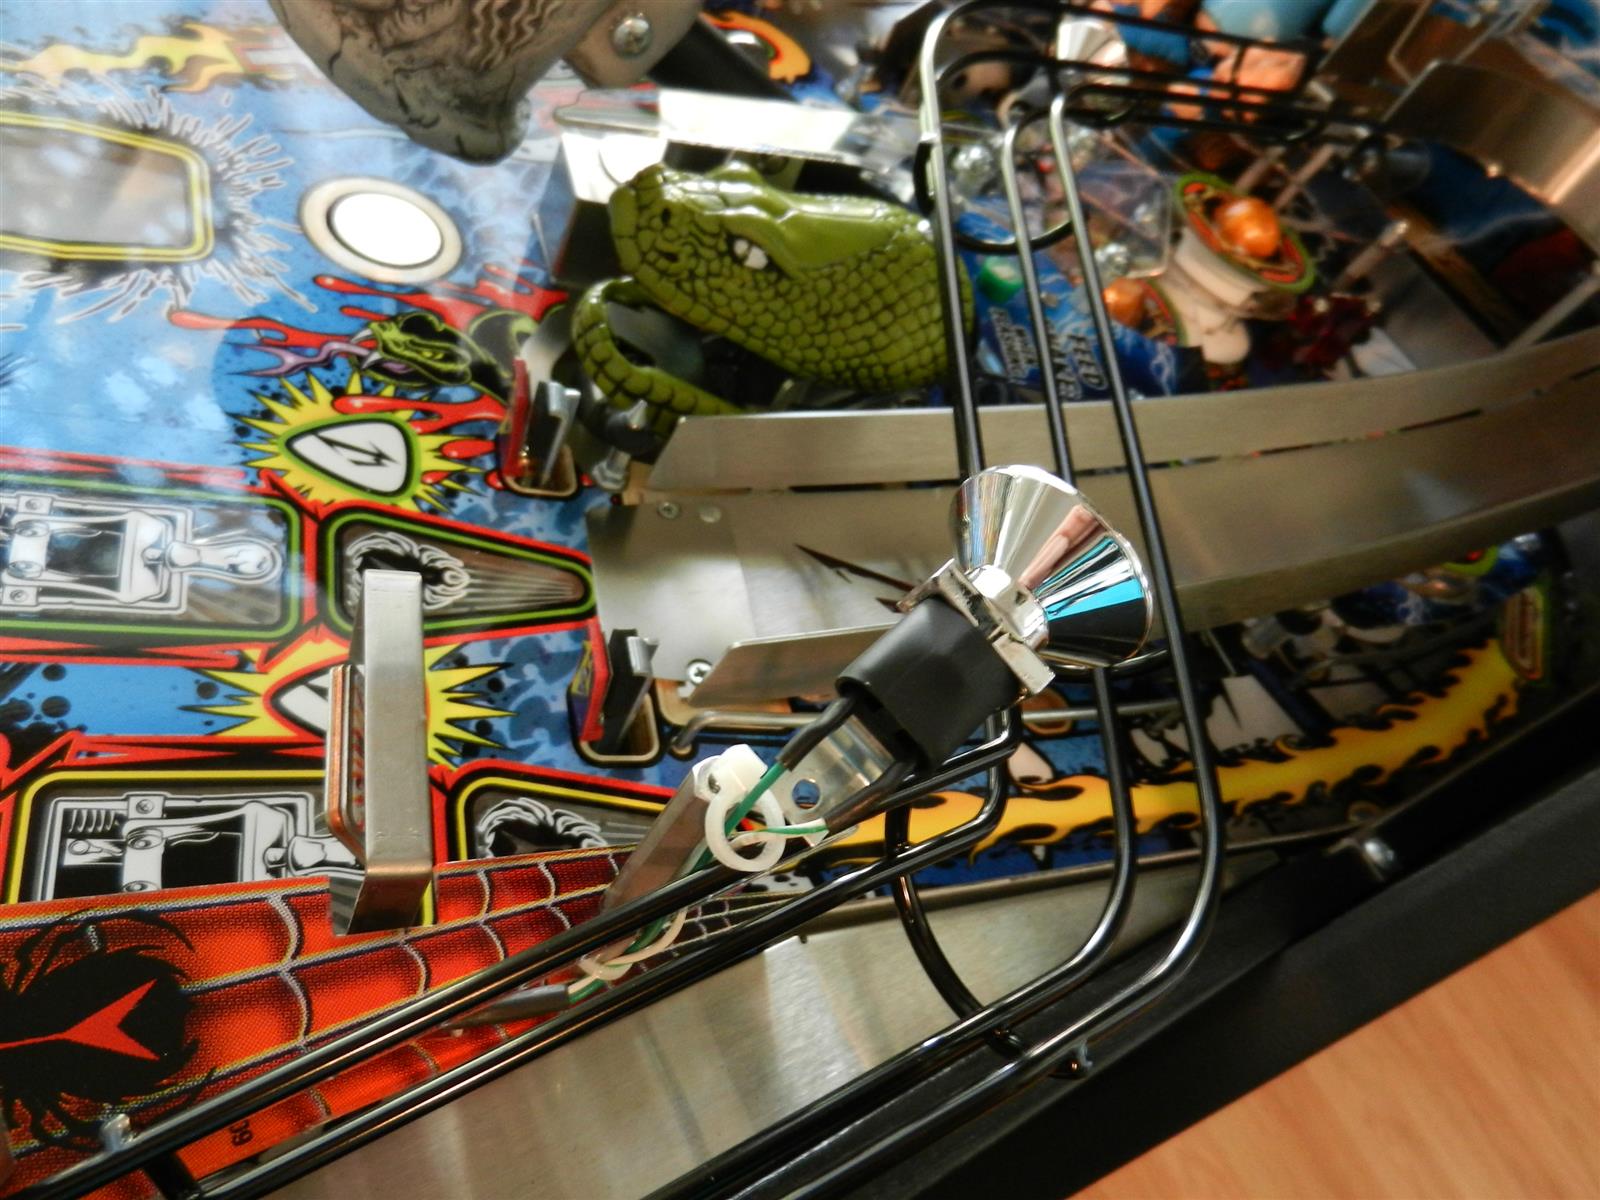
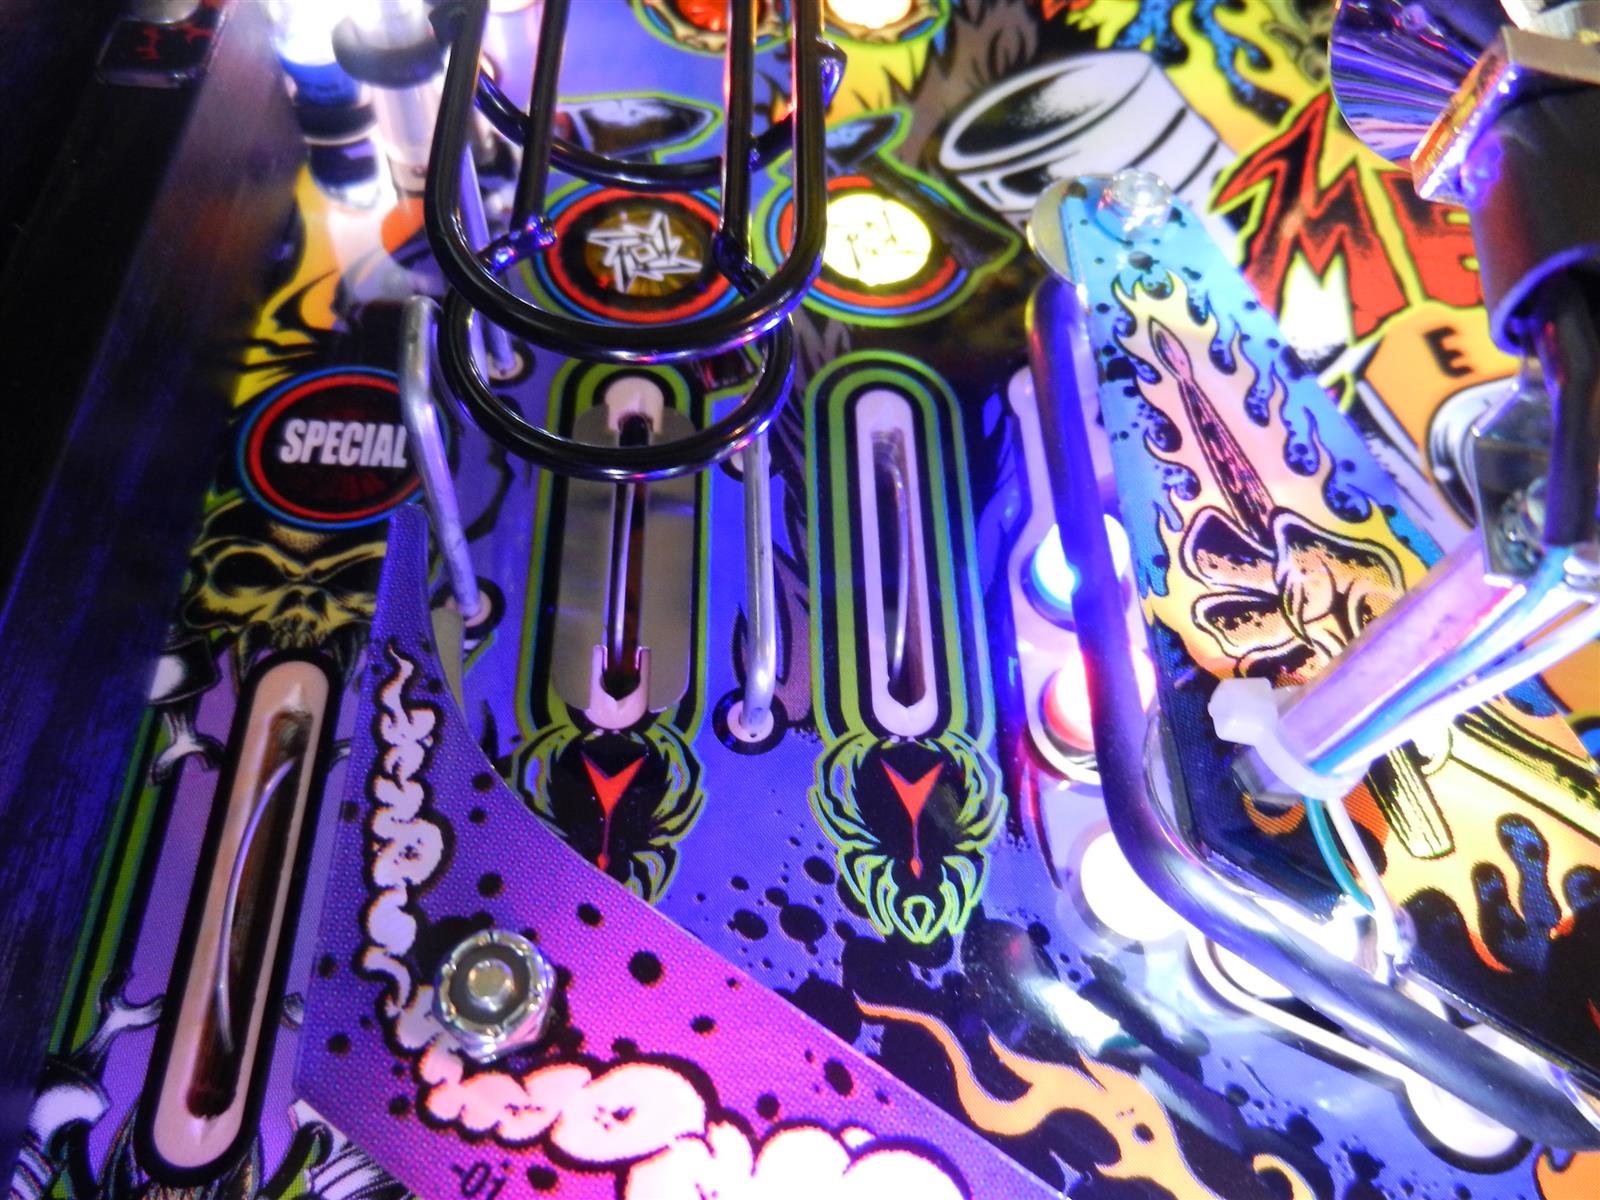
On to the right side eject which goes
under the black rail. To do this we need to loosen the rail from
beneath. One screw is hidden under the auto-launcher so that needs to be
loosened enough to reach that rail screw.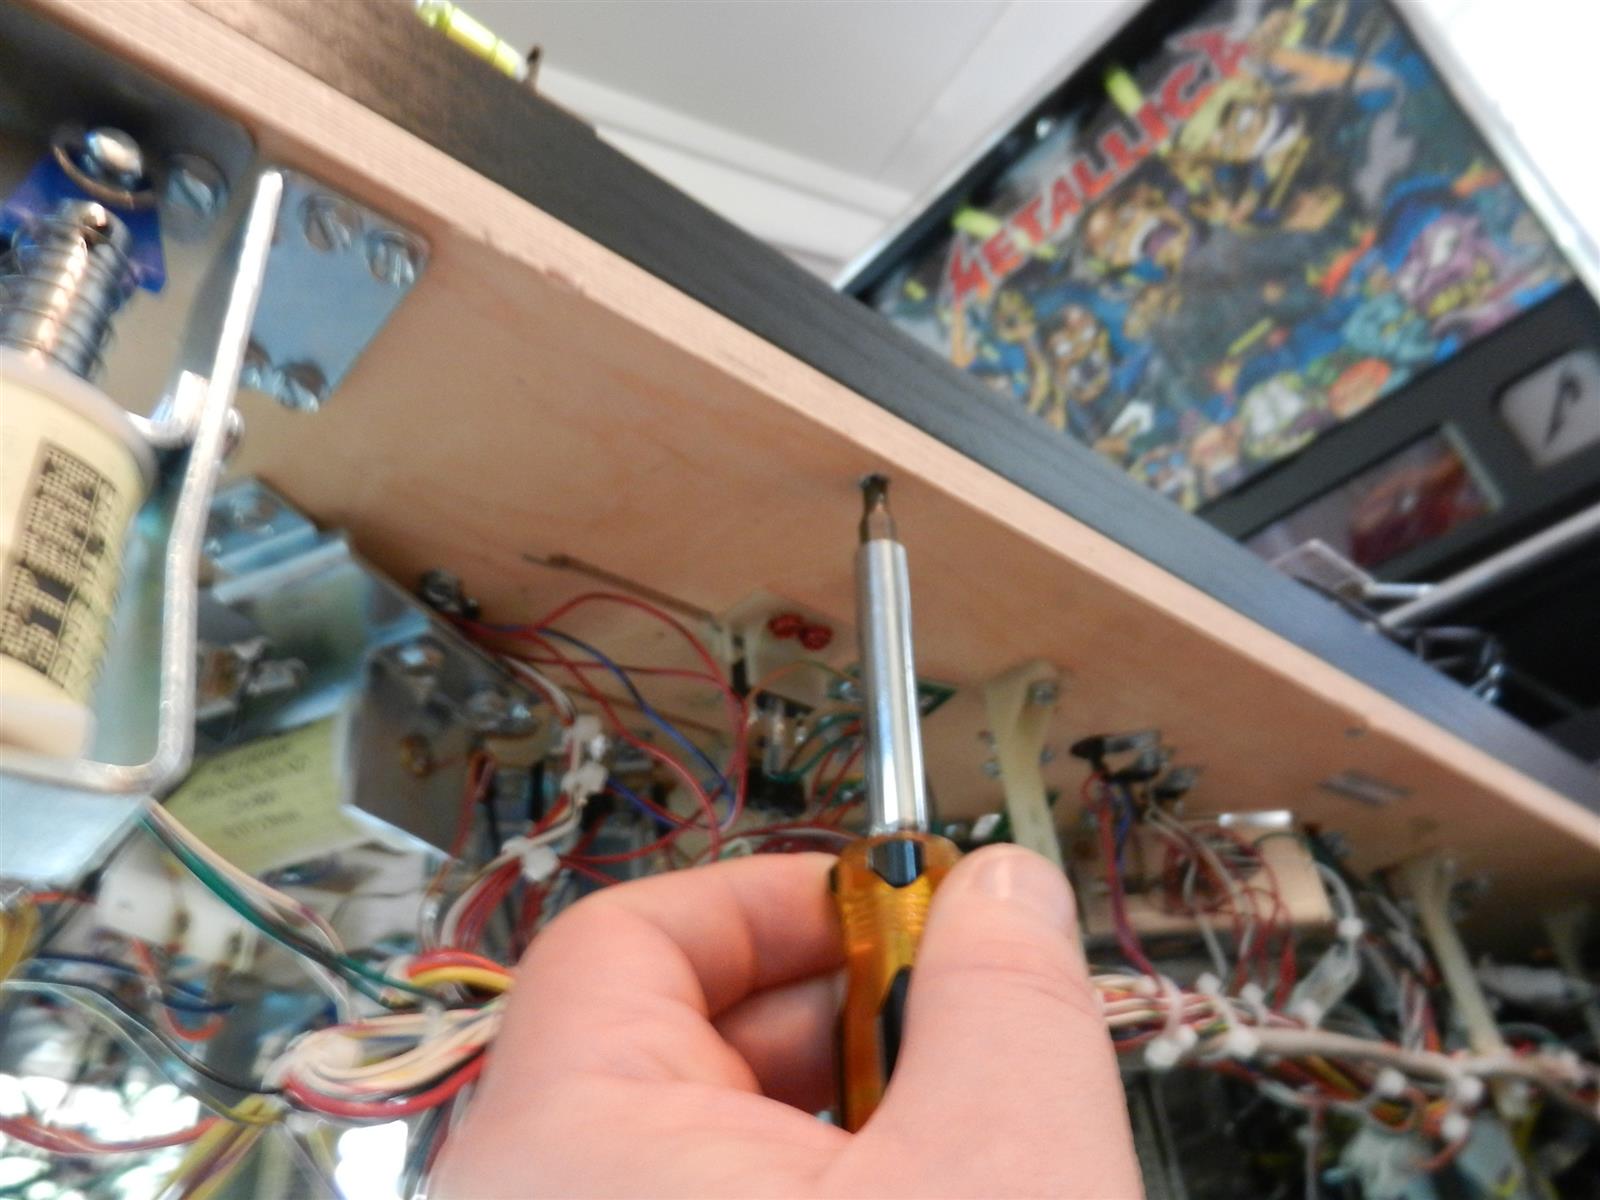
 |
Loosen the wood screws down about 3/4" as
shown. The rail should be loose enough to lift and create a gap for the
protector to slip into.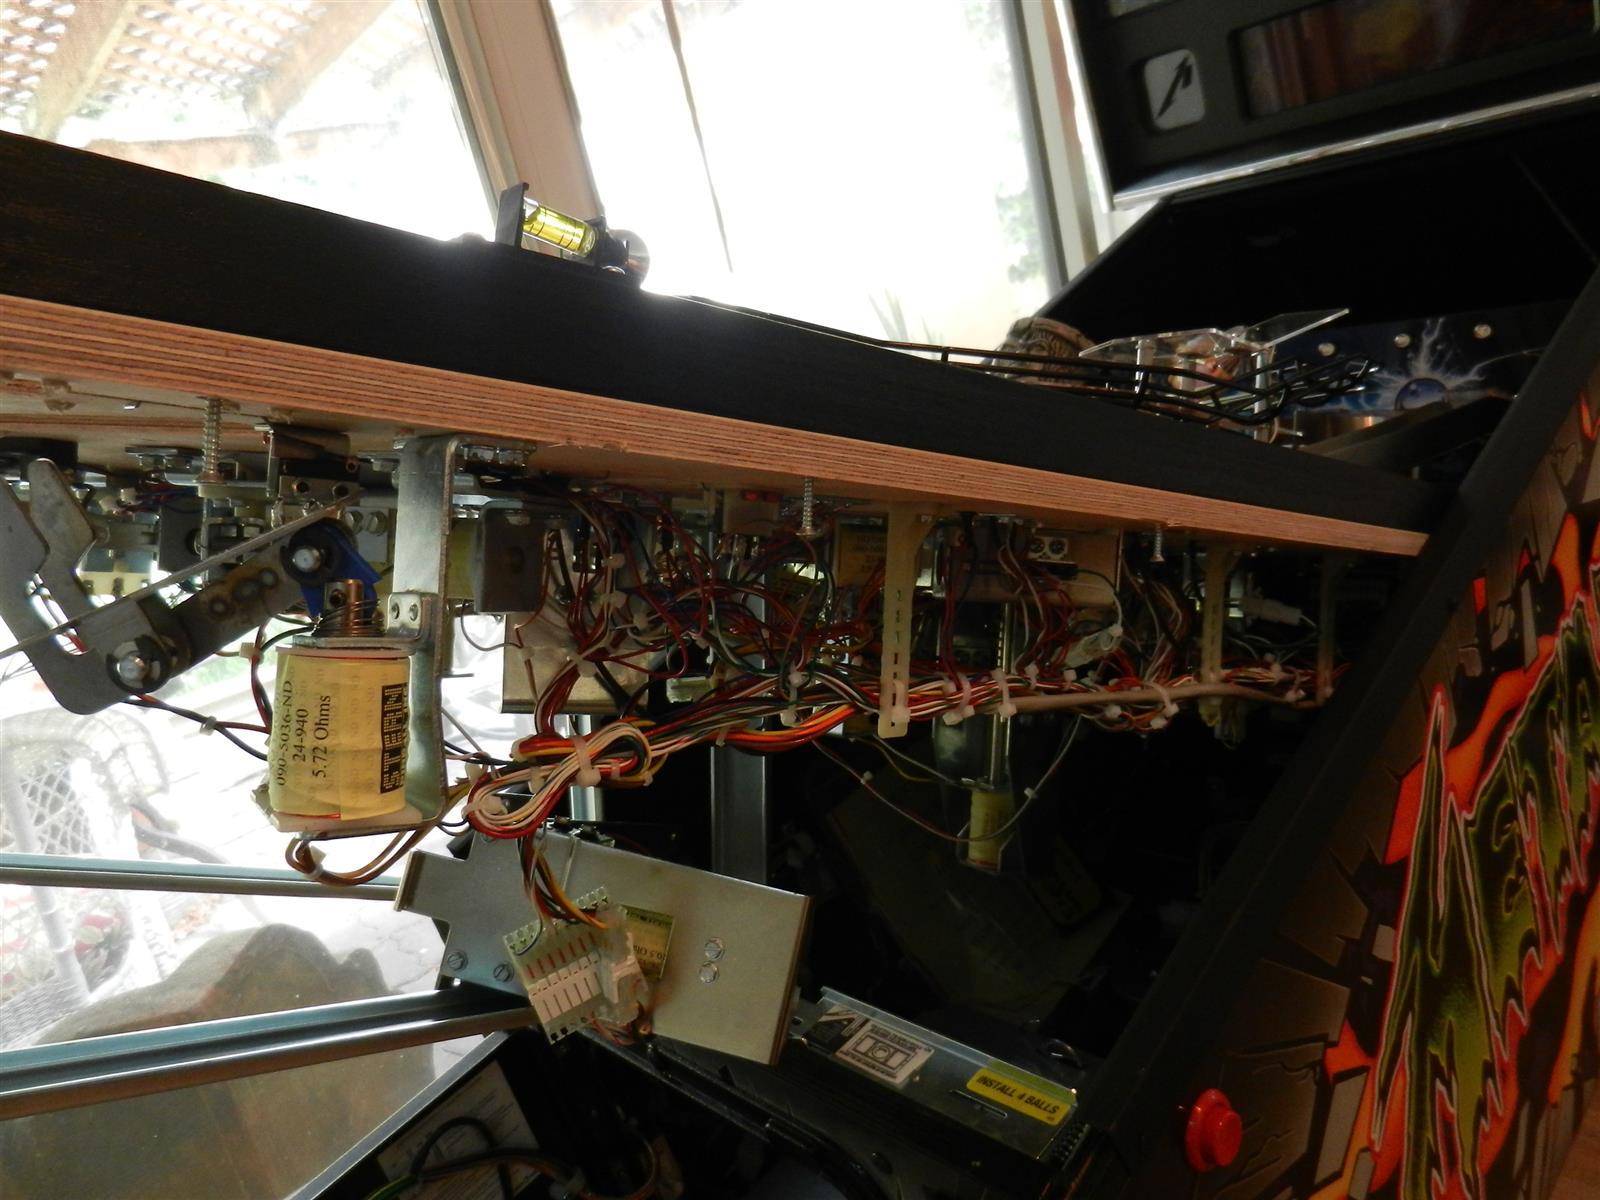
 |
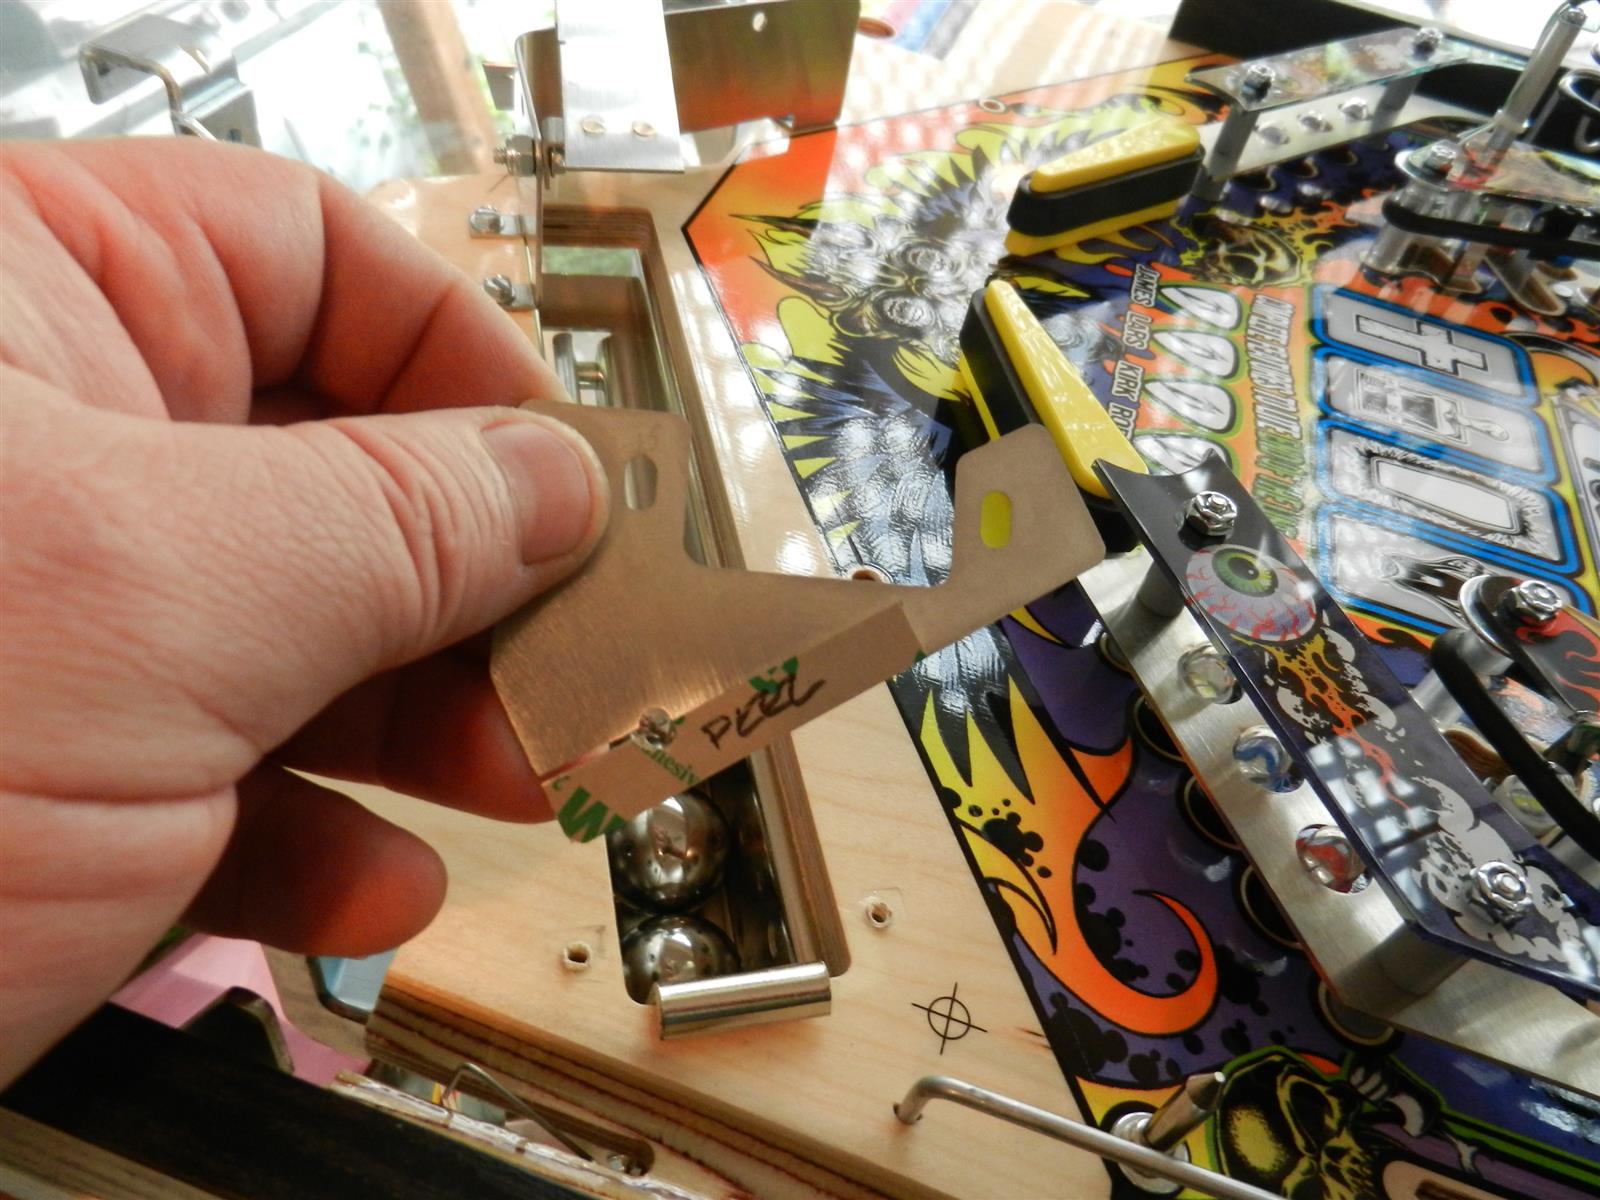
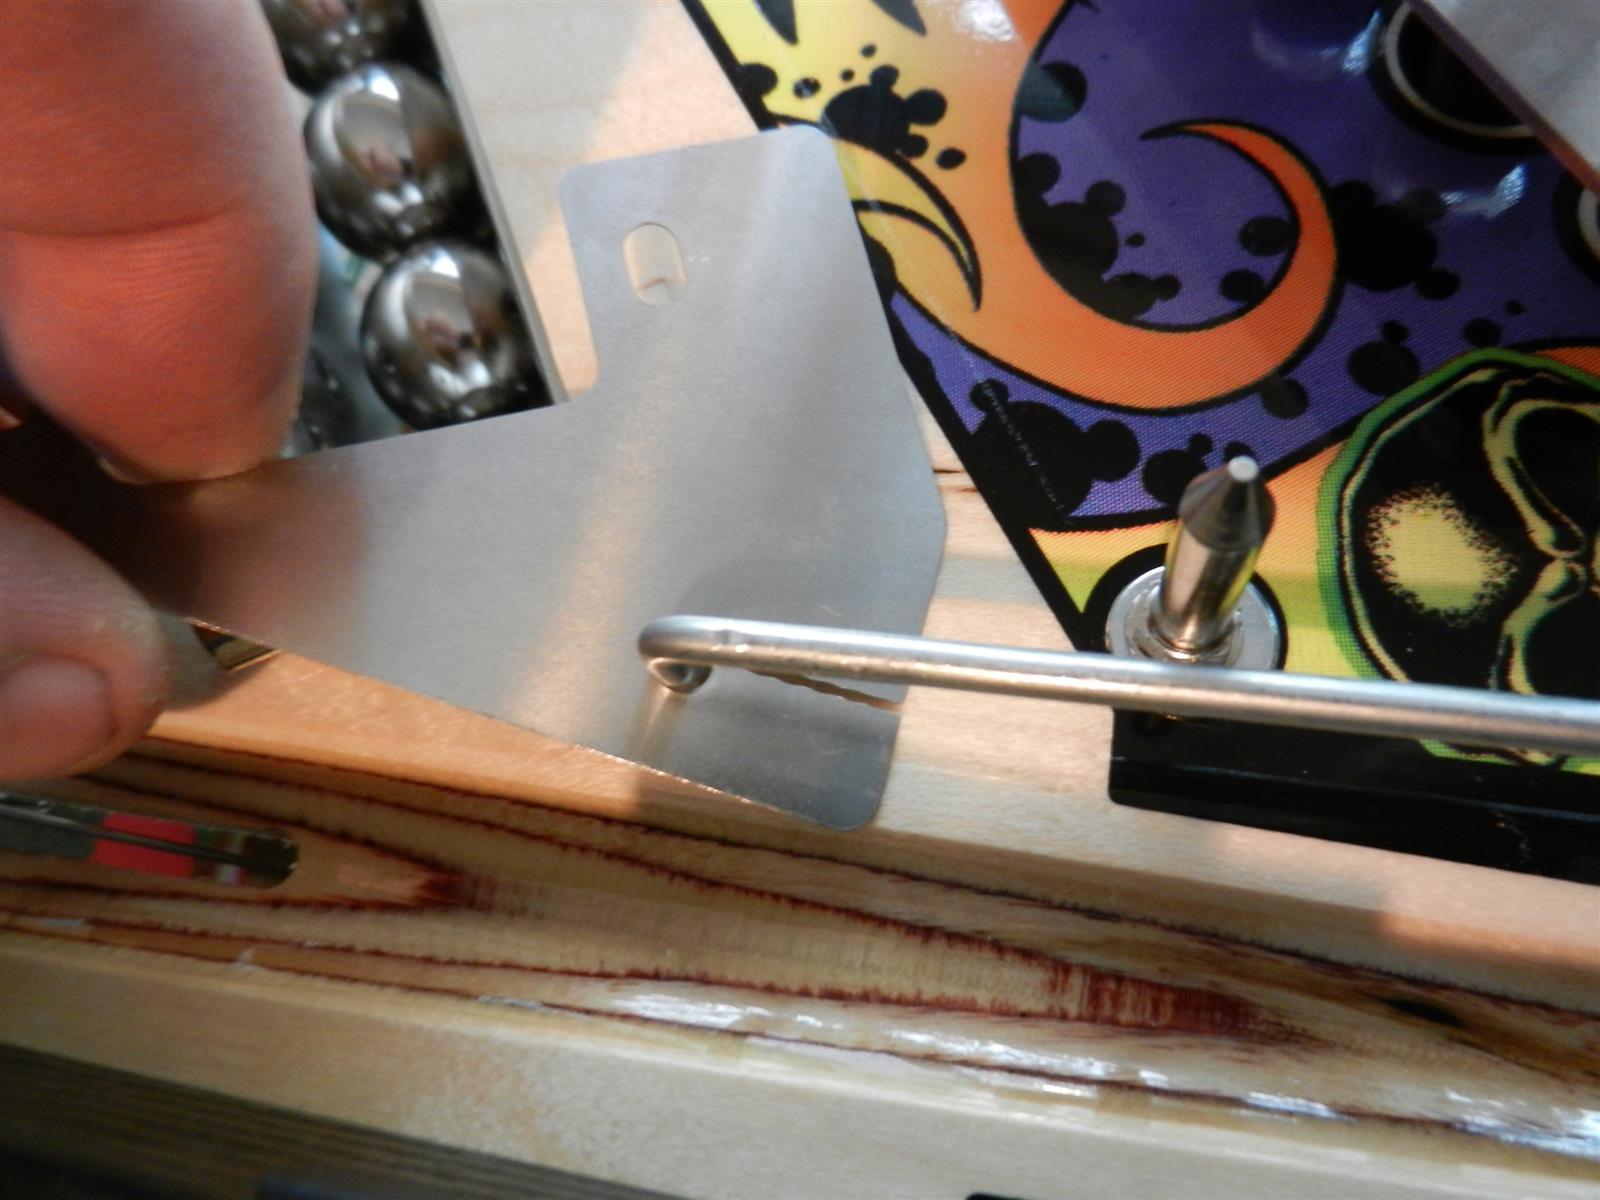
Peel film from the protector and slip
under the rail. Make sure the slotted screw hole faces towards the front
of the cabinet. Align with the other protector and the groove edge as
before. Tighten rail screws and done!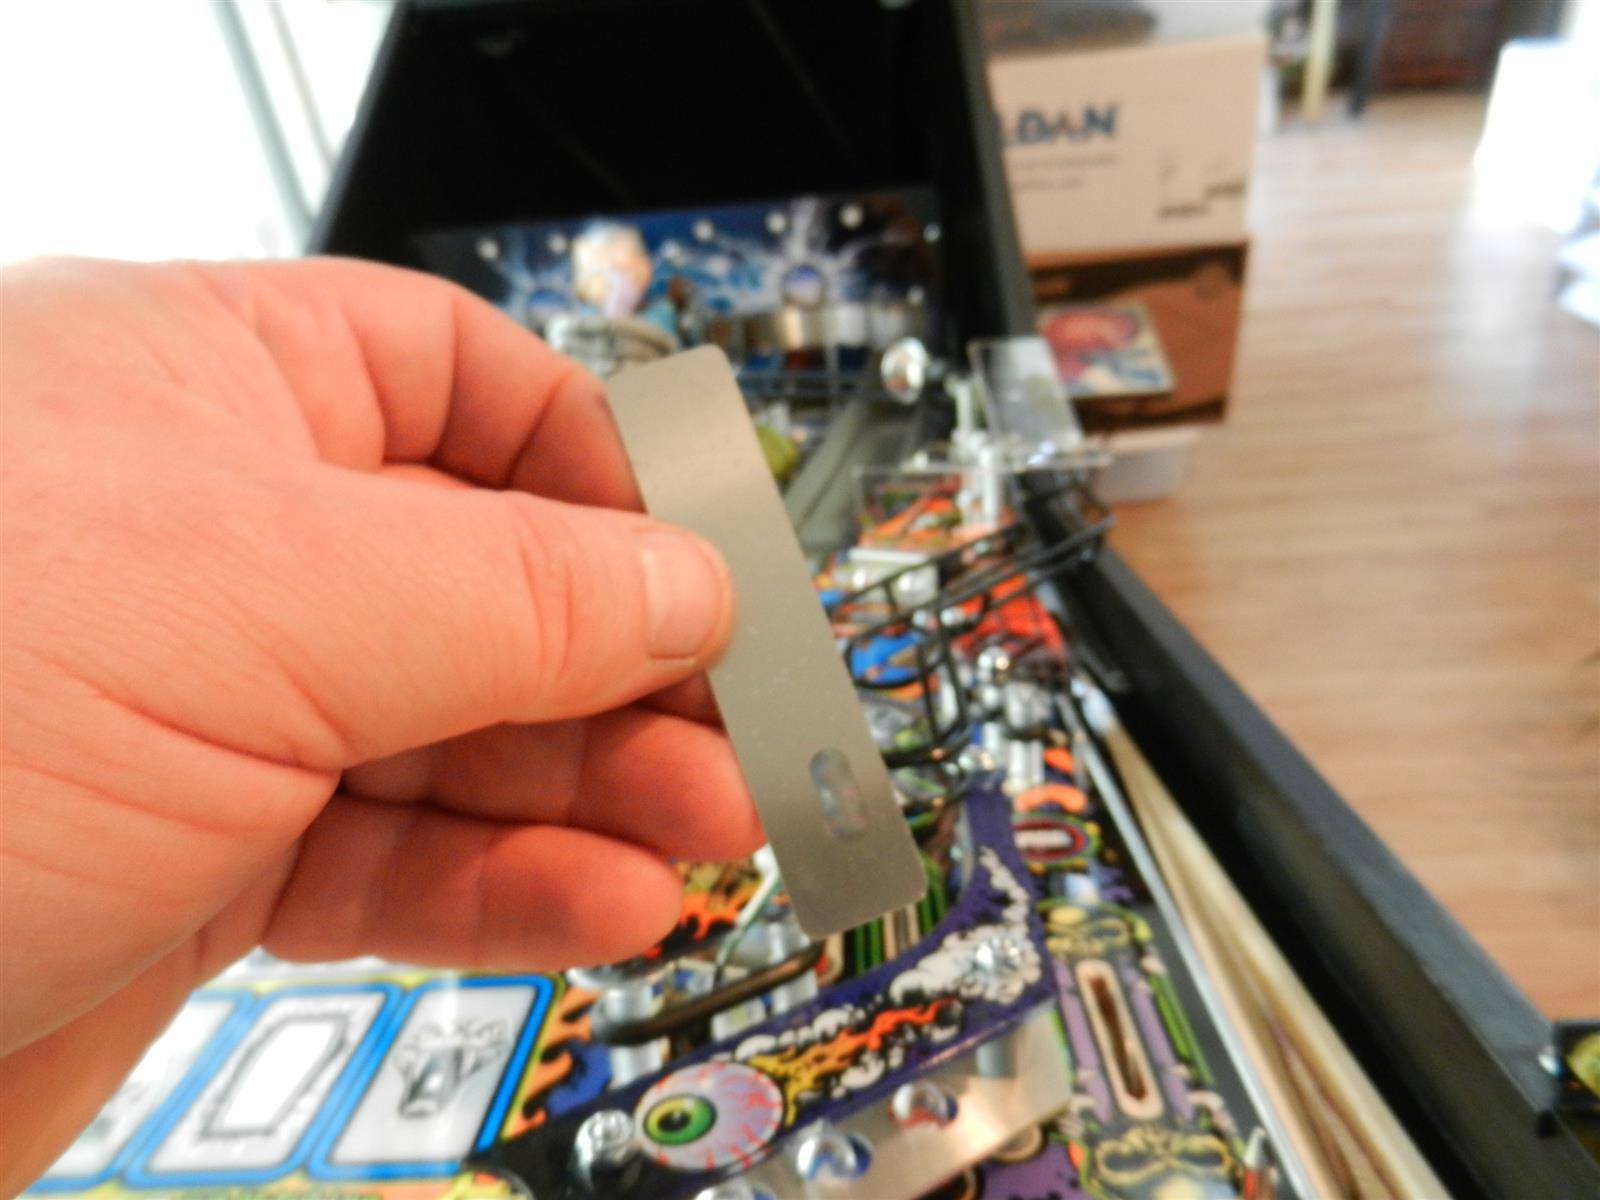
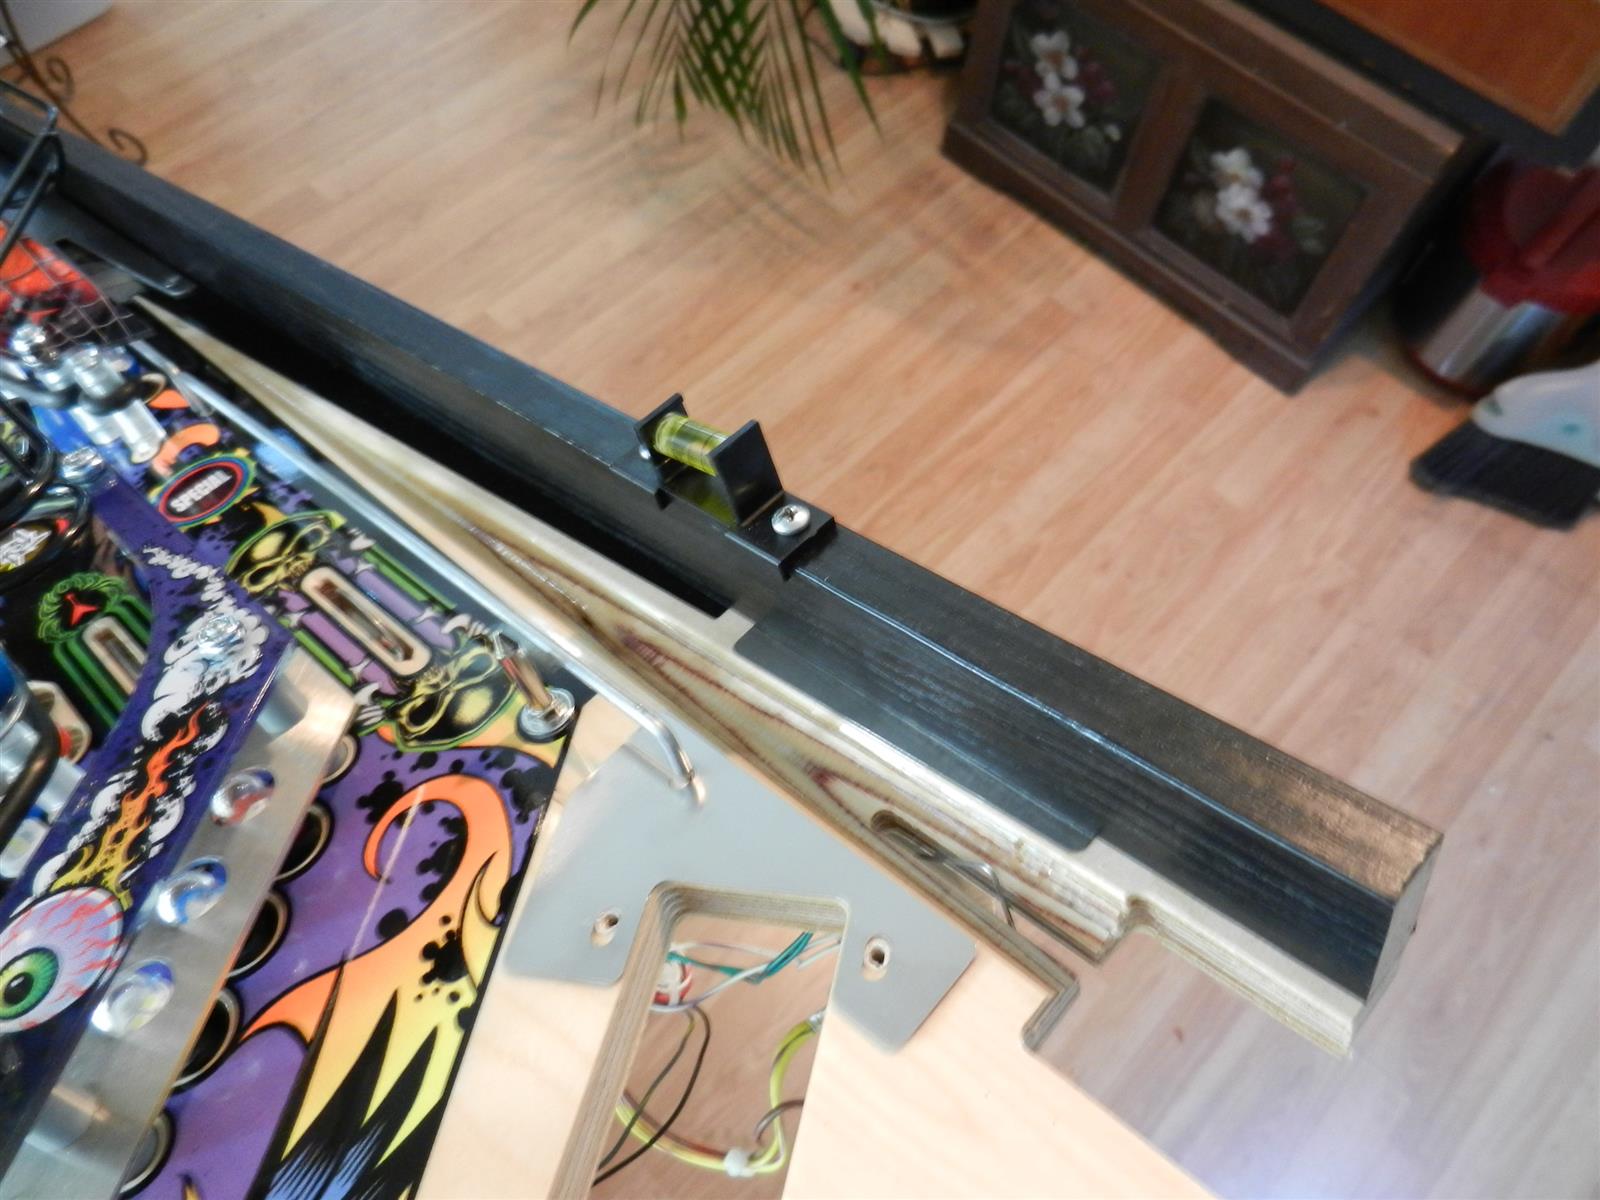 |
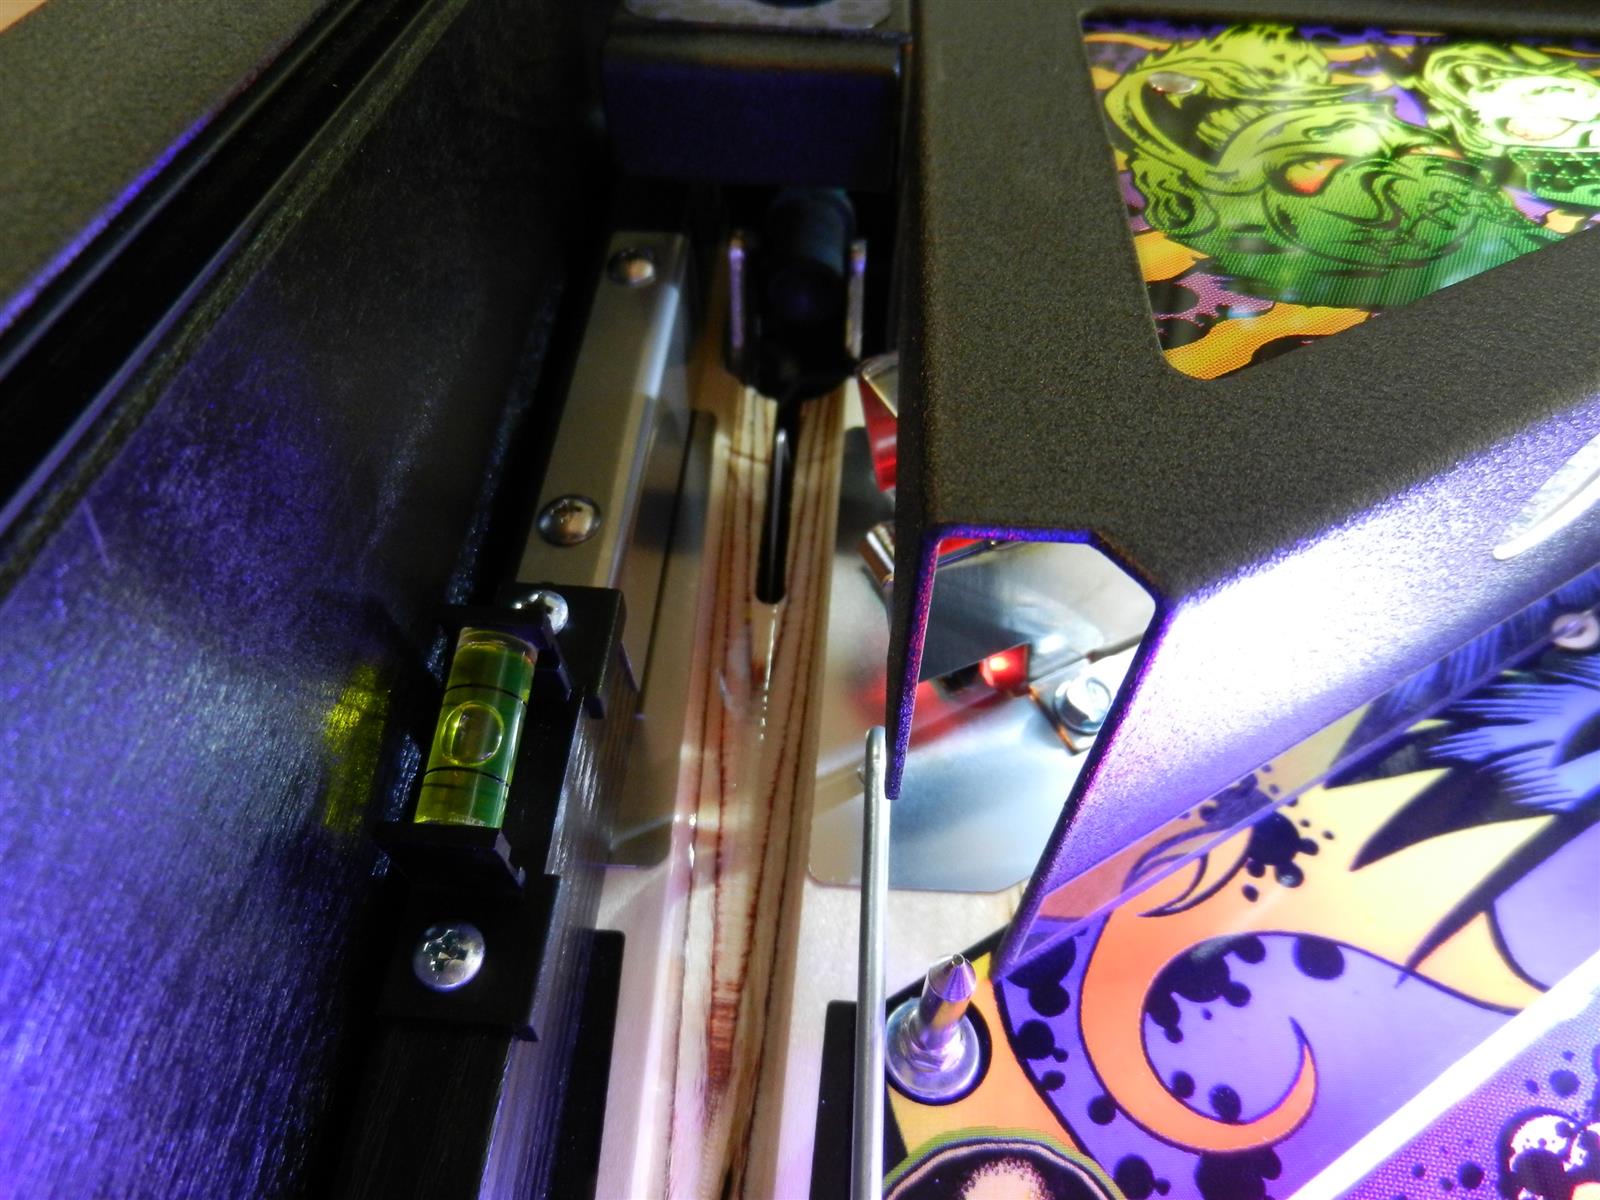
INSTALL TIP! The trick to reinstalling the rail correctly on ANY game is to NOT remove the wood screws completely. Use one hand (or a Handi-Clamp) to squeeze the wood rail down to the playfield as you tighten the screws. This guarantees the screw threads will go right back where they were and give maximum clamping force on the protector. |
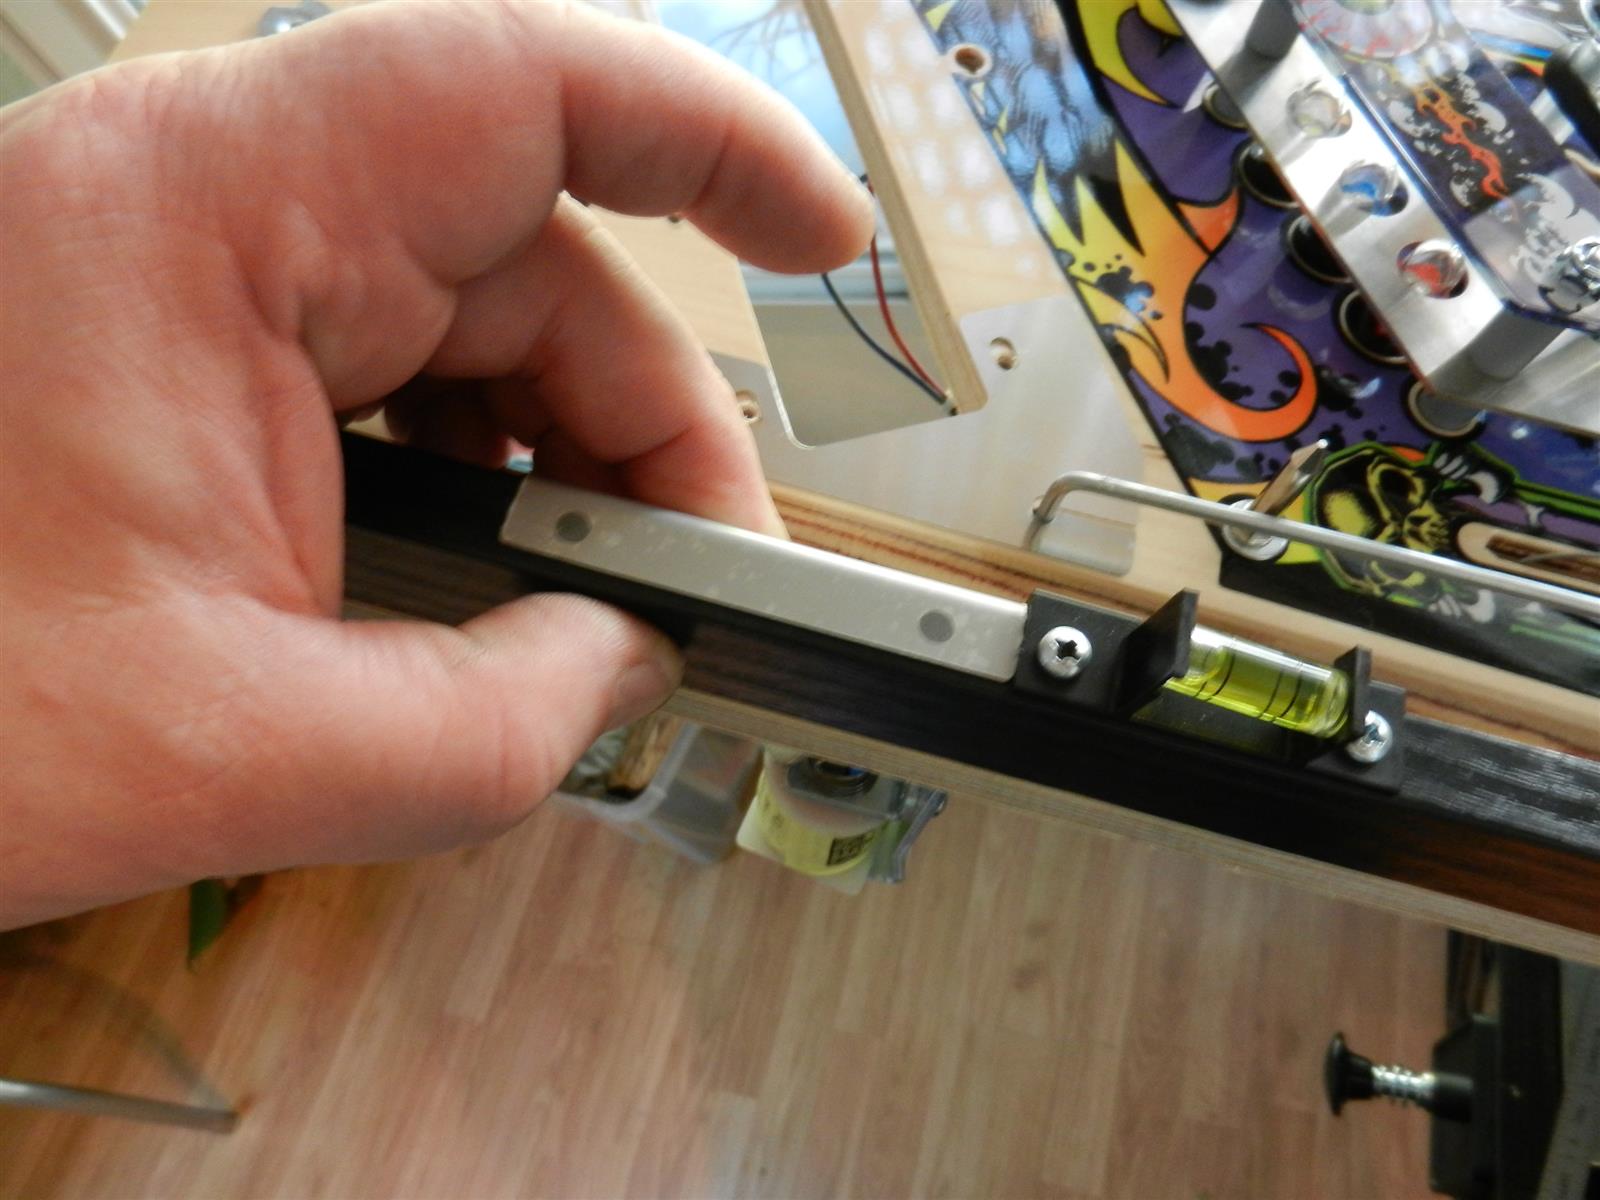
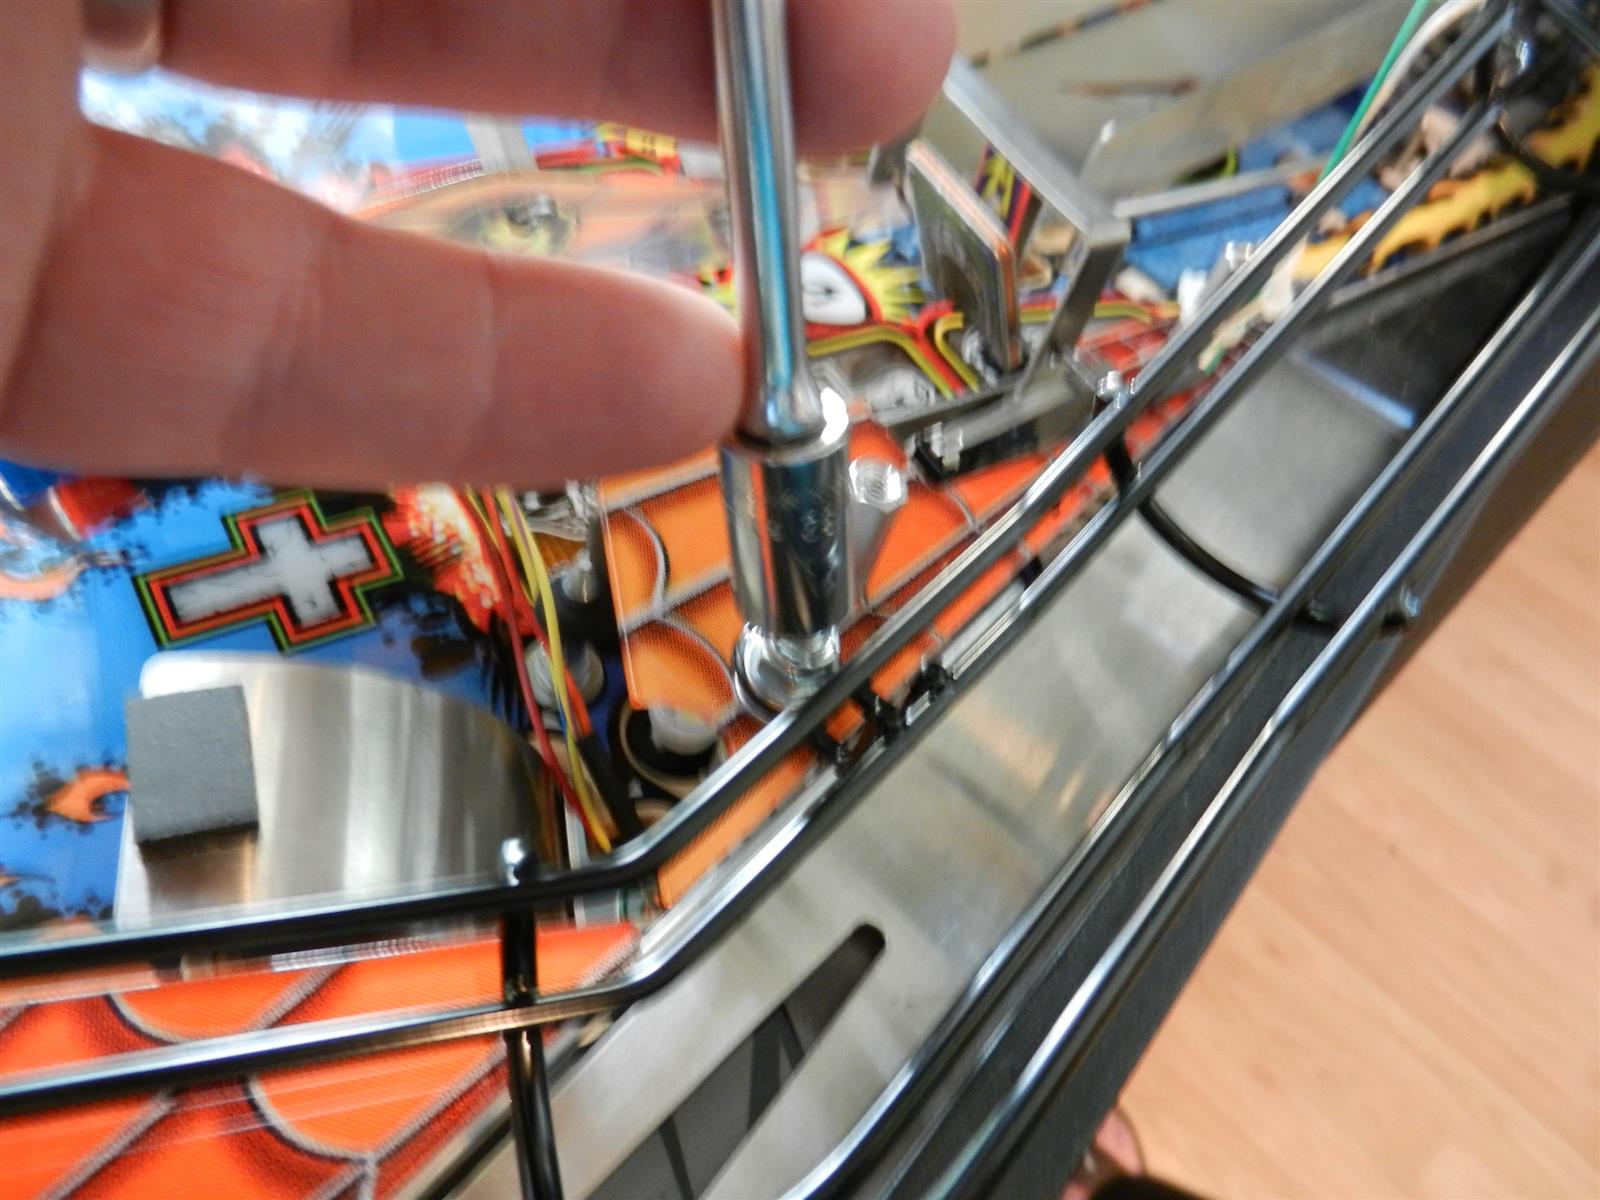
Now for the Rail Guard™. You'll need a
very small drill bit - I use a #40 - and a pin vise or drill motor with
a chuck small enough to hold the bit. In my case I had to use my pin
vise in my drill motor.
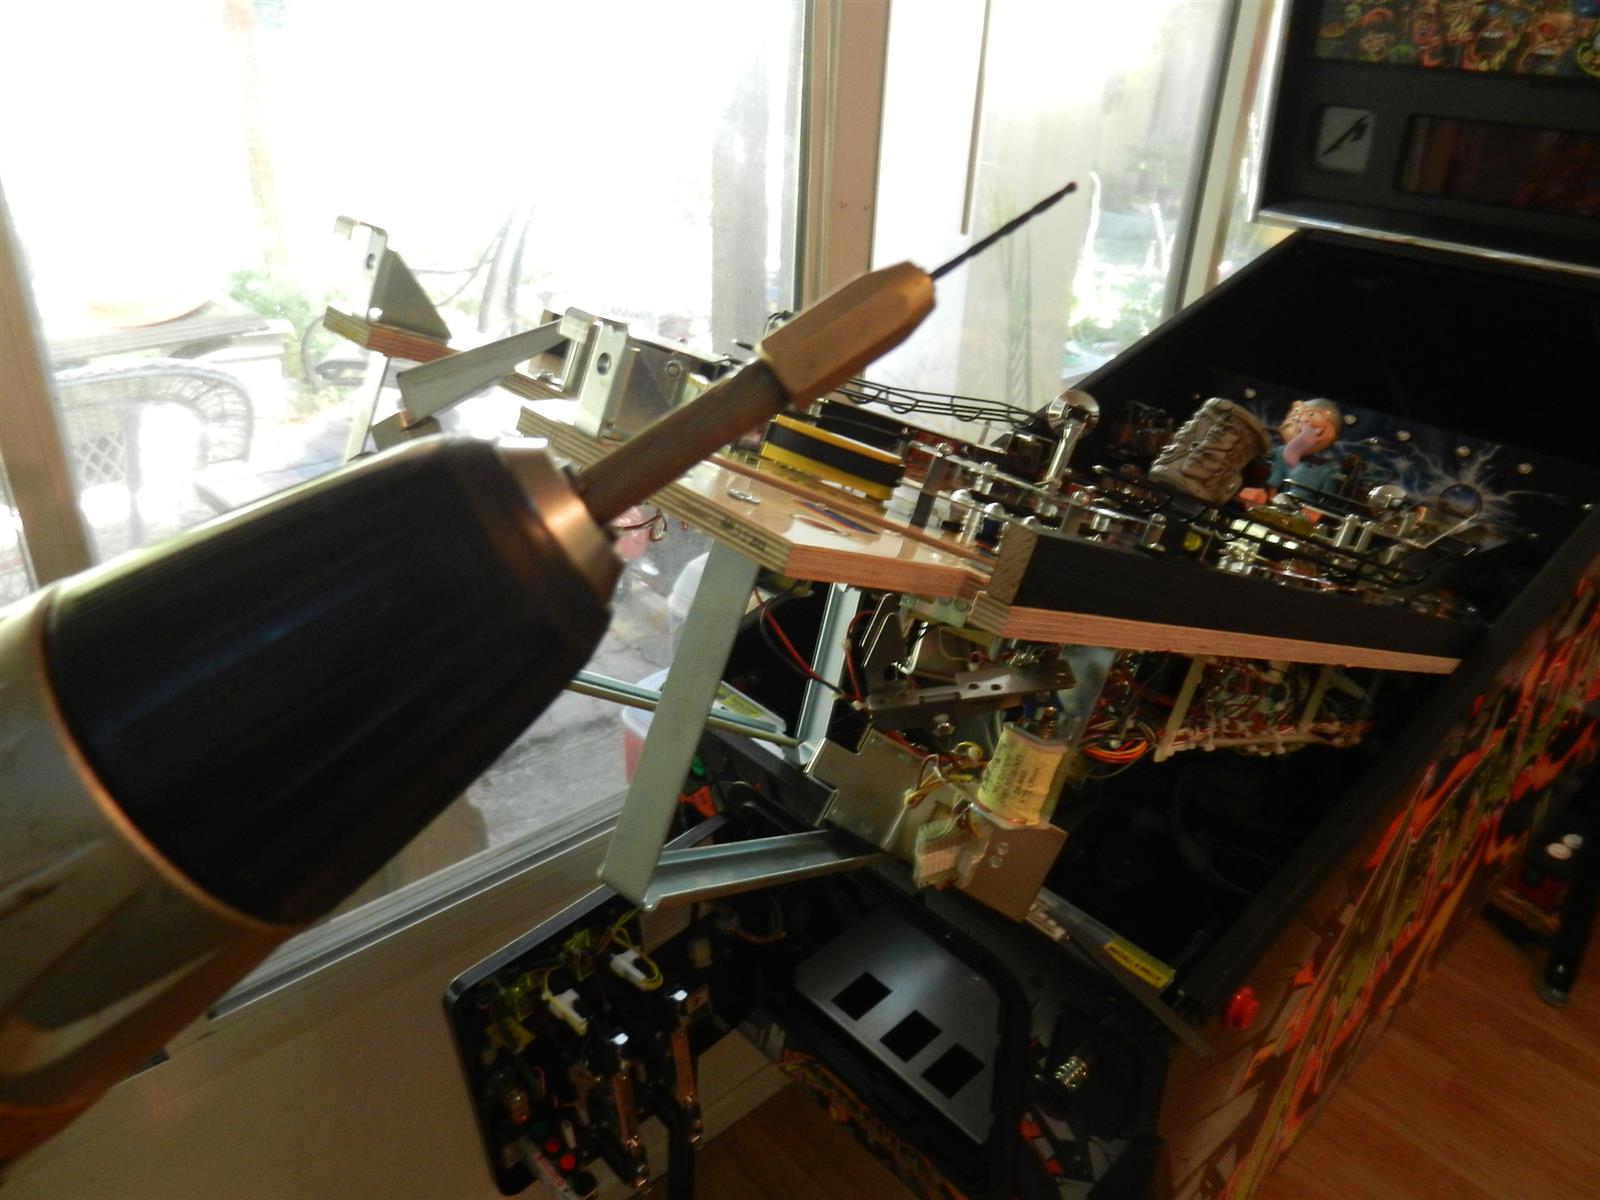 |
Place the Rail Guard on the black rail and
up against the bubble level. Hold in place with one hand while you drill
with the other. You only need to drill in about a half inch so set the
bit depth to that or use a drill stop bushing.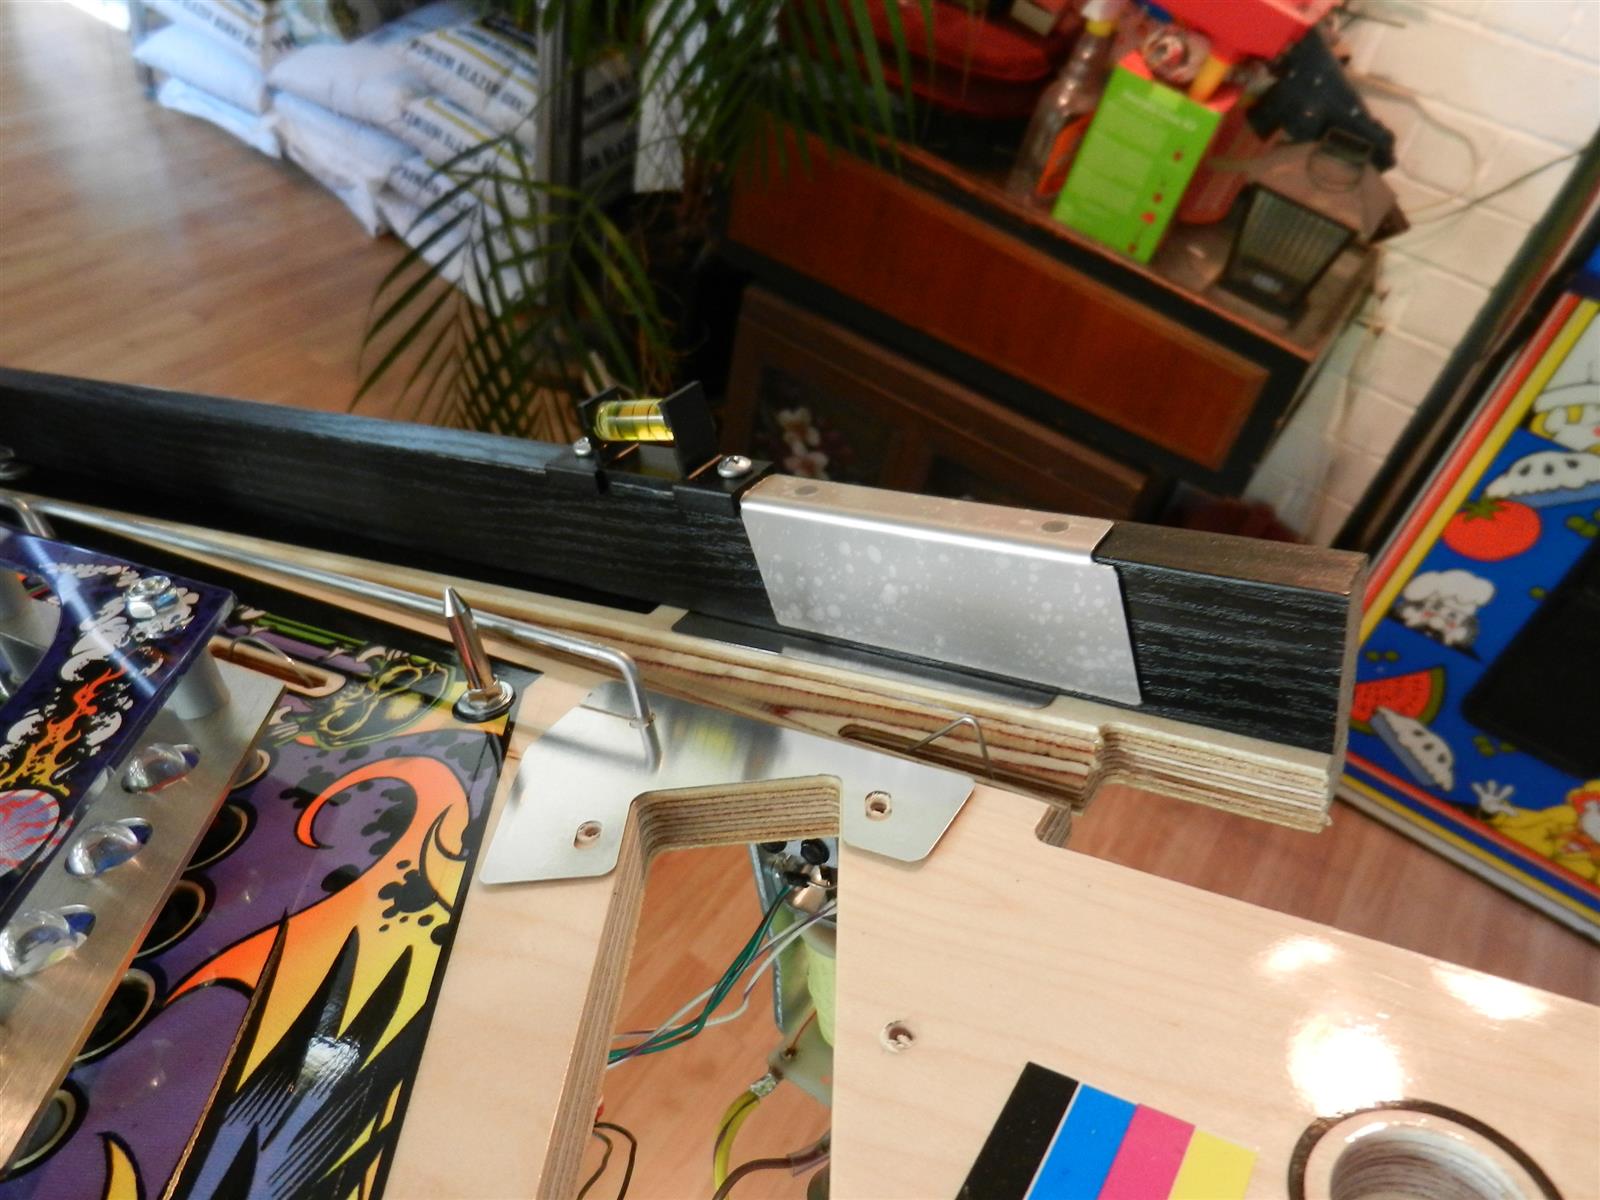
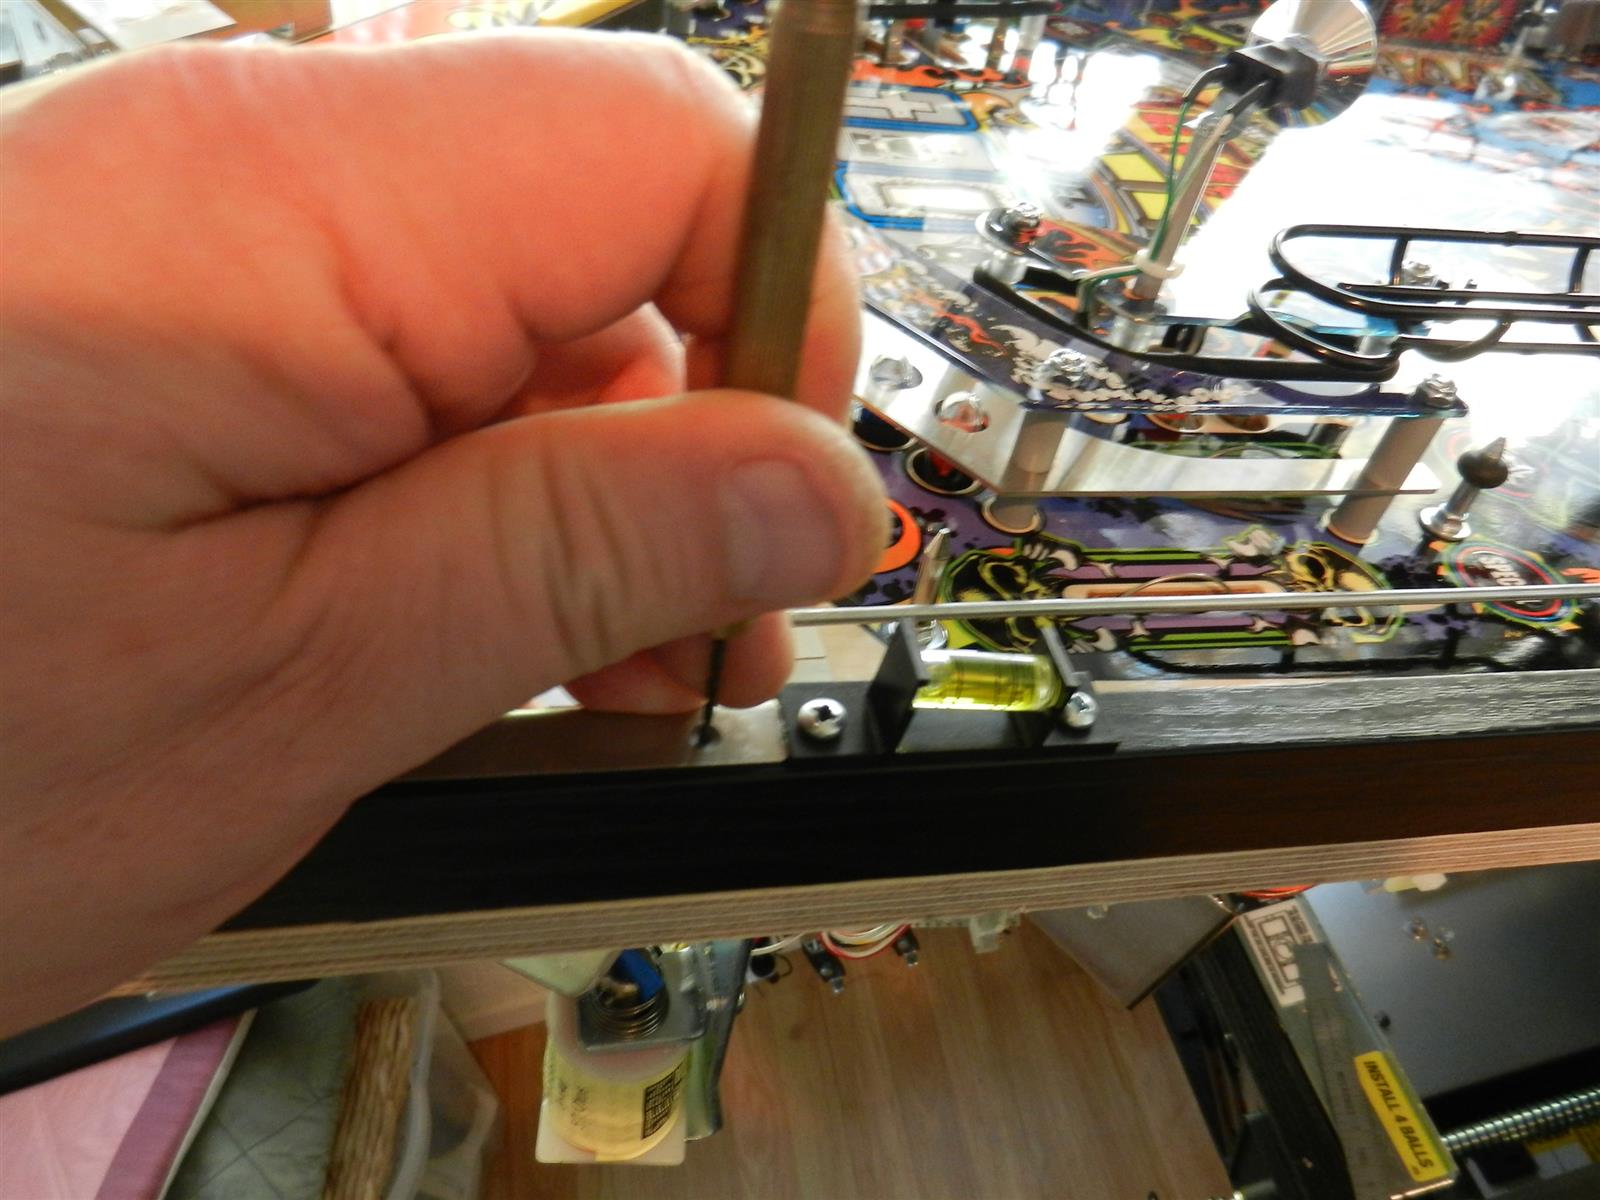 |
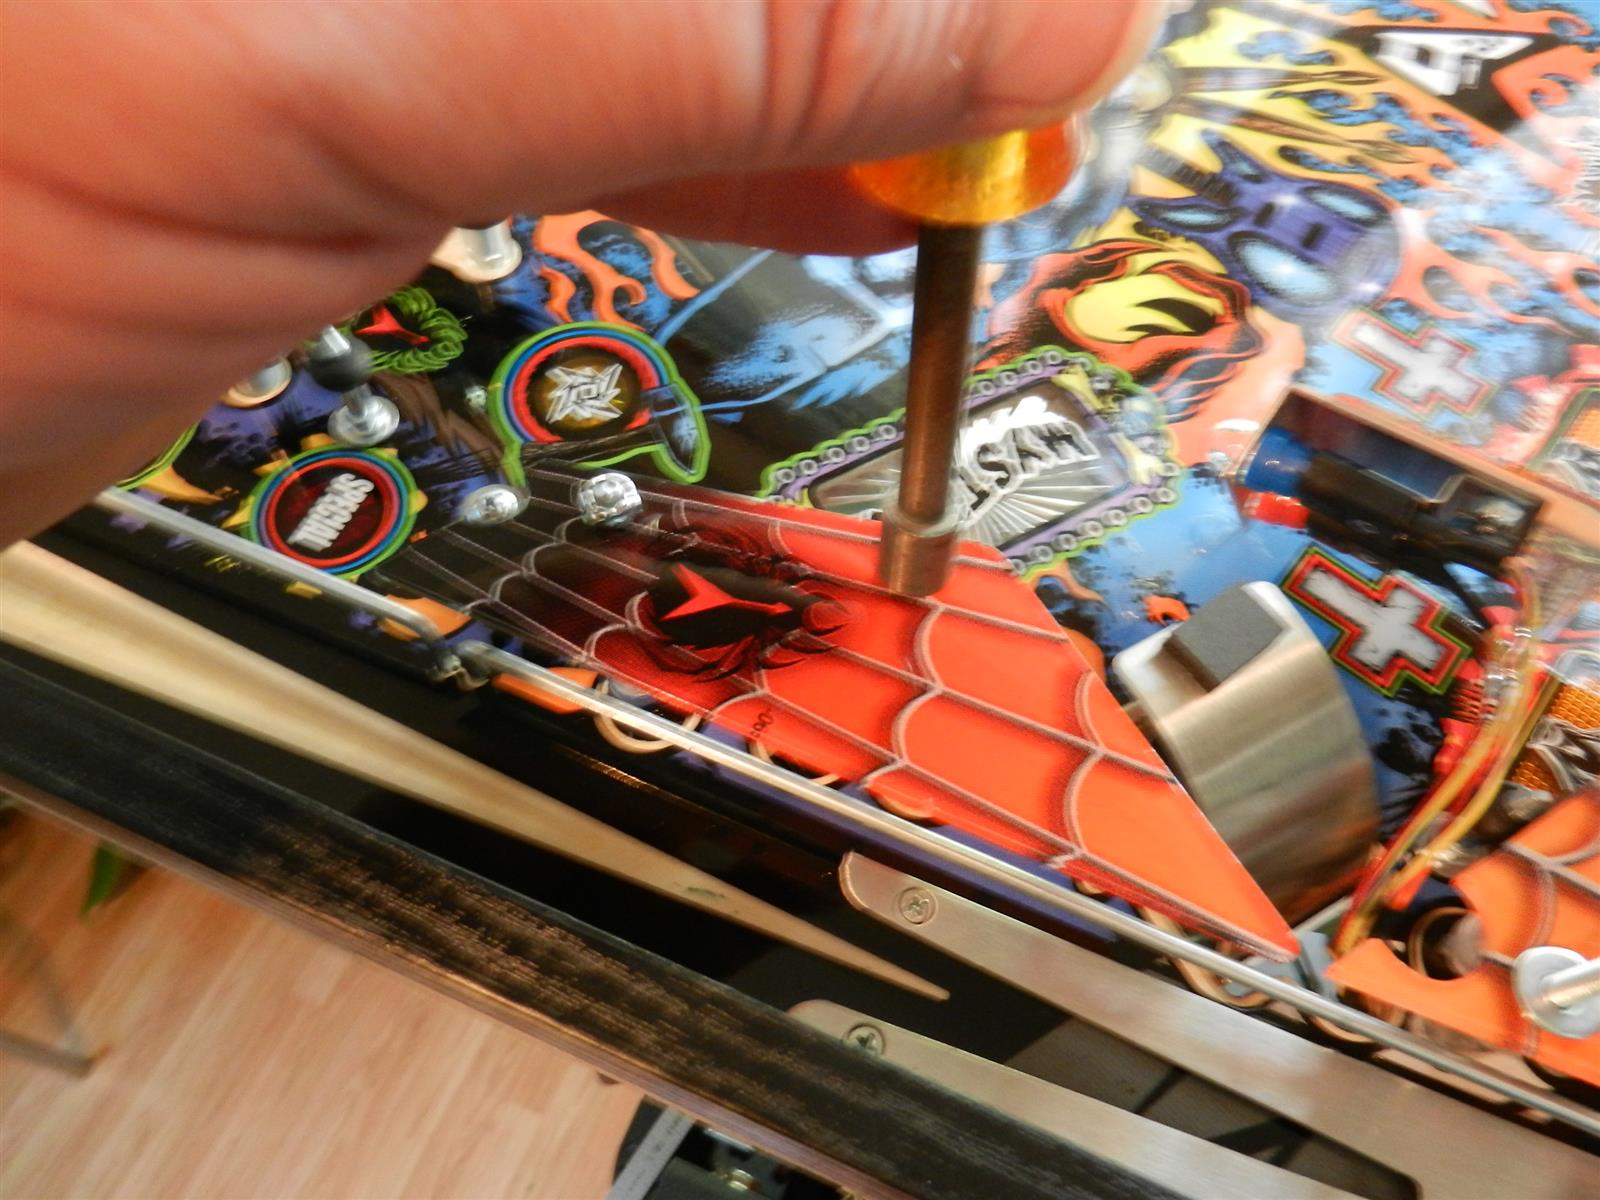
You should have two nice clean holes for
the included screws. Peel film from Rail Guard, align with your newly
drilled holes and drive the screws in by hand. The rail is fairly soft
so don't use a drill driver.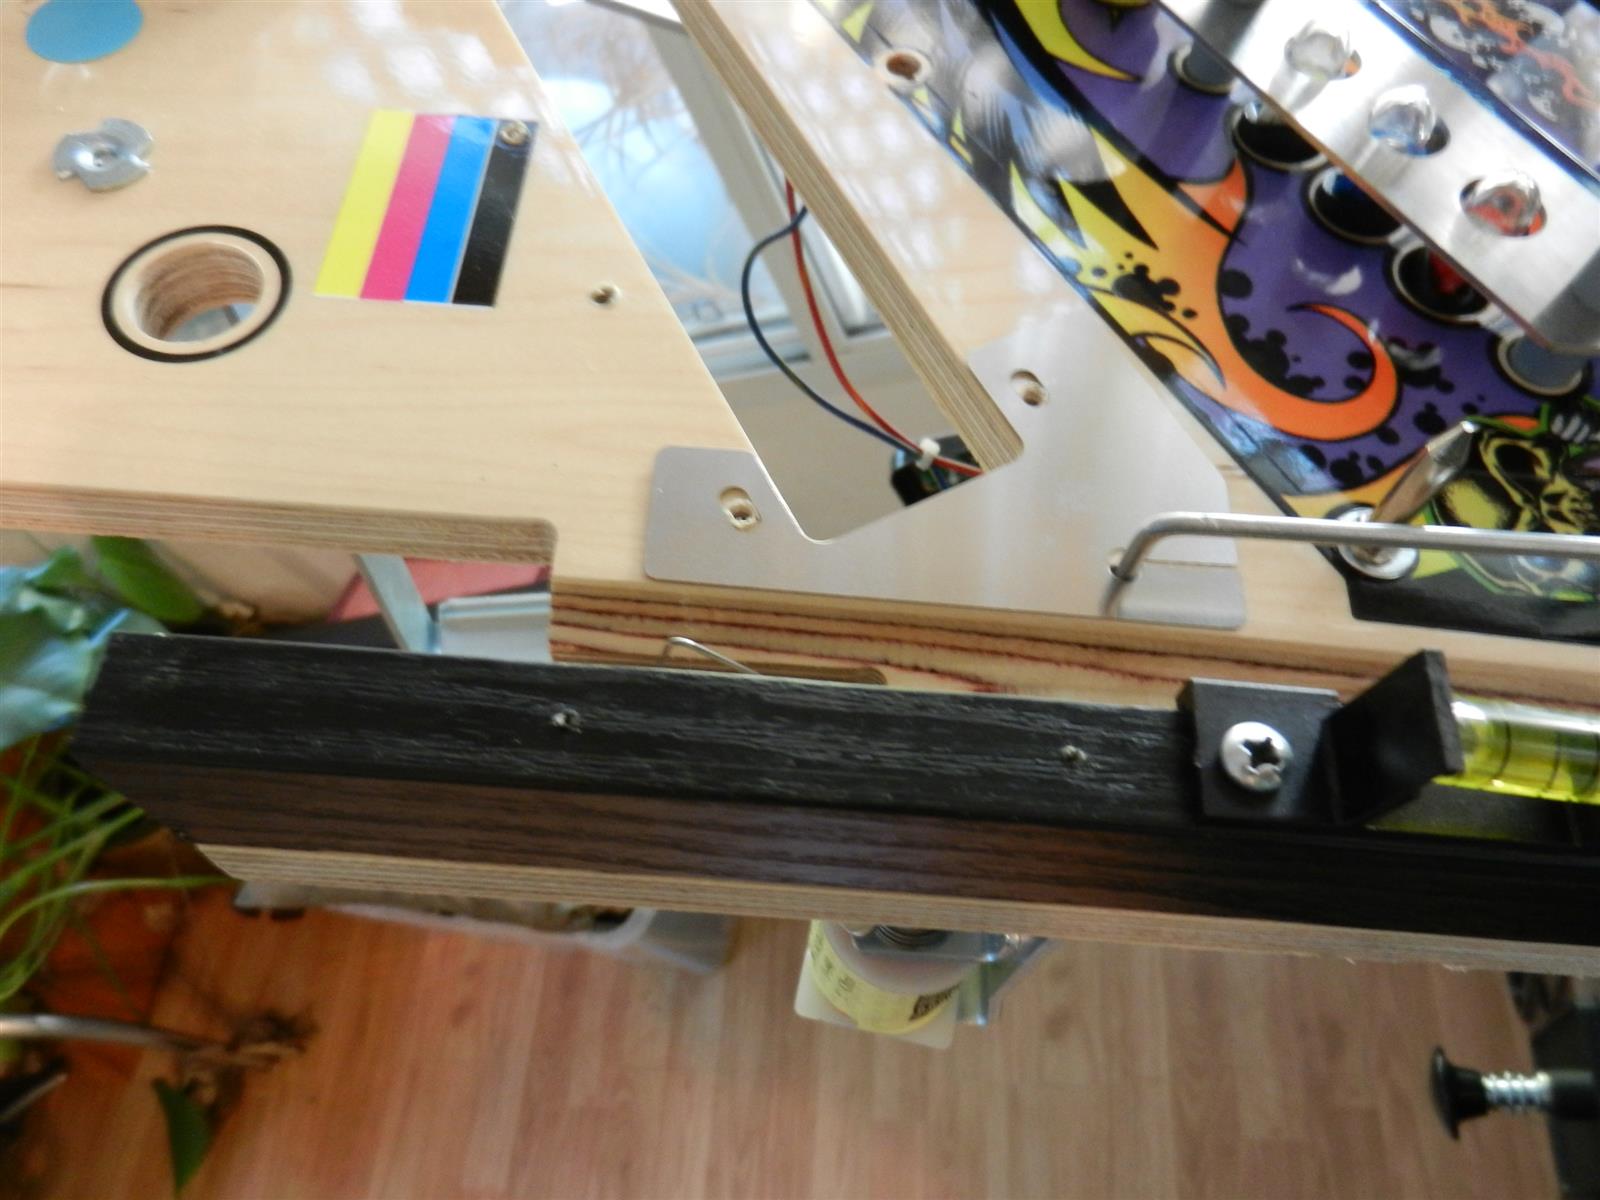
|
Go ahead and let your inner OCD out by
indexing the screw heads. Go on. It feels good :) Reinstall auto-launch
and trough. Three protectors done! You look mahvelous!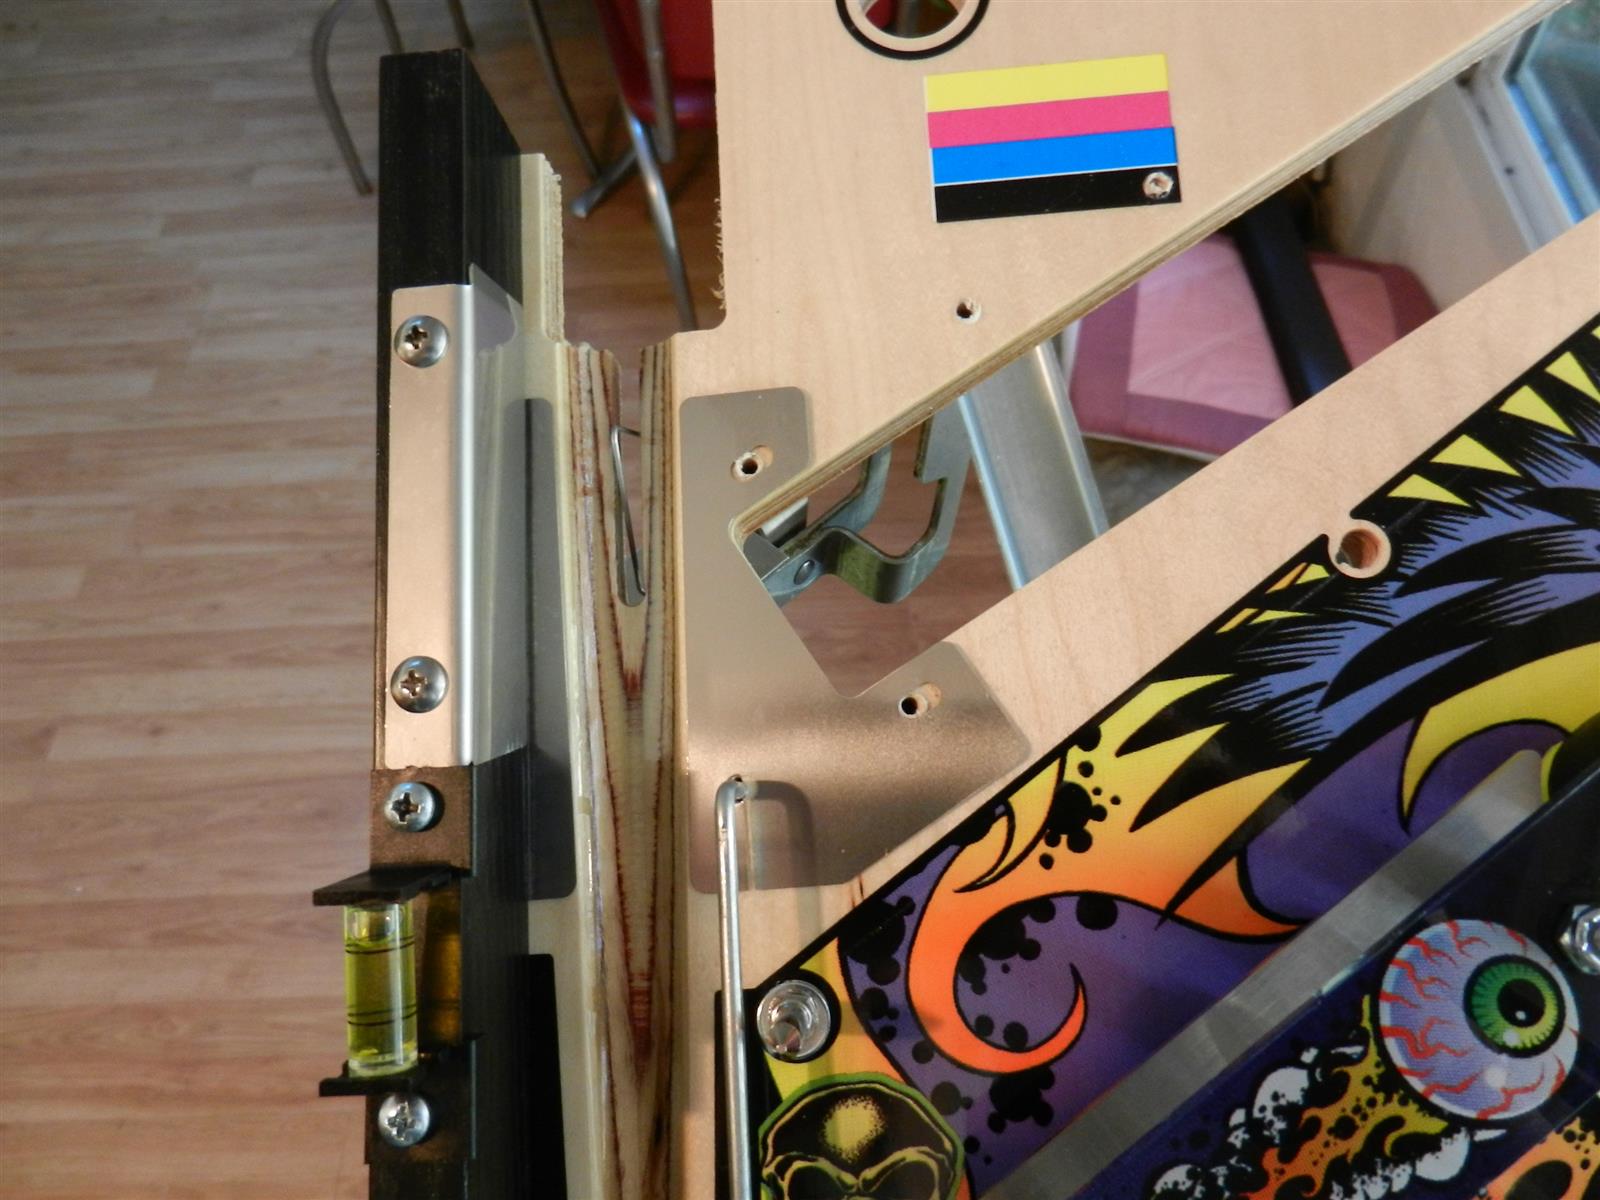
 |
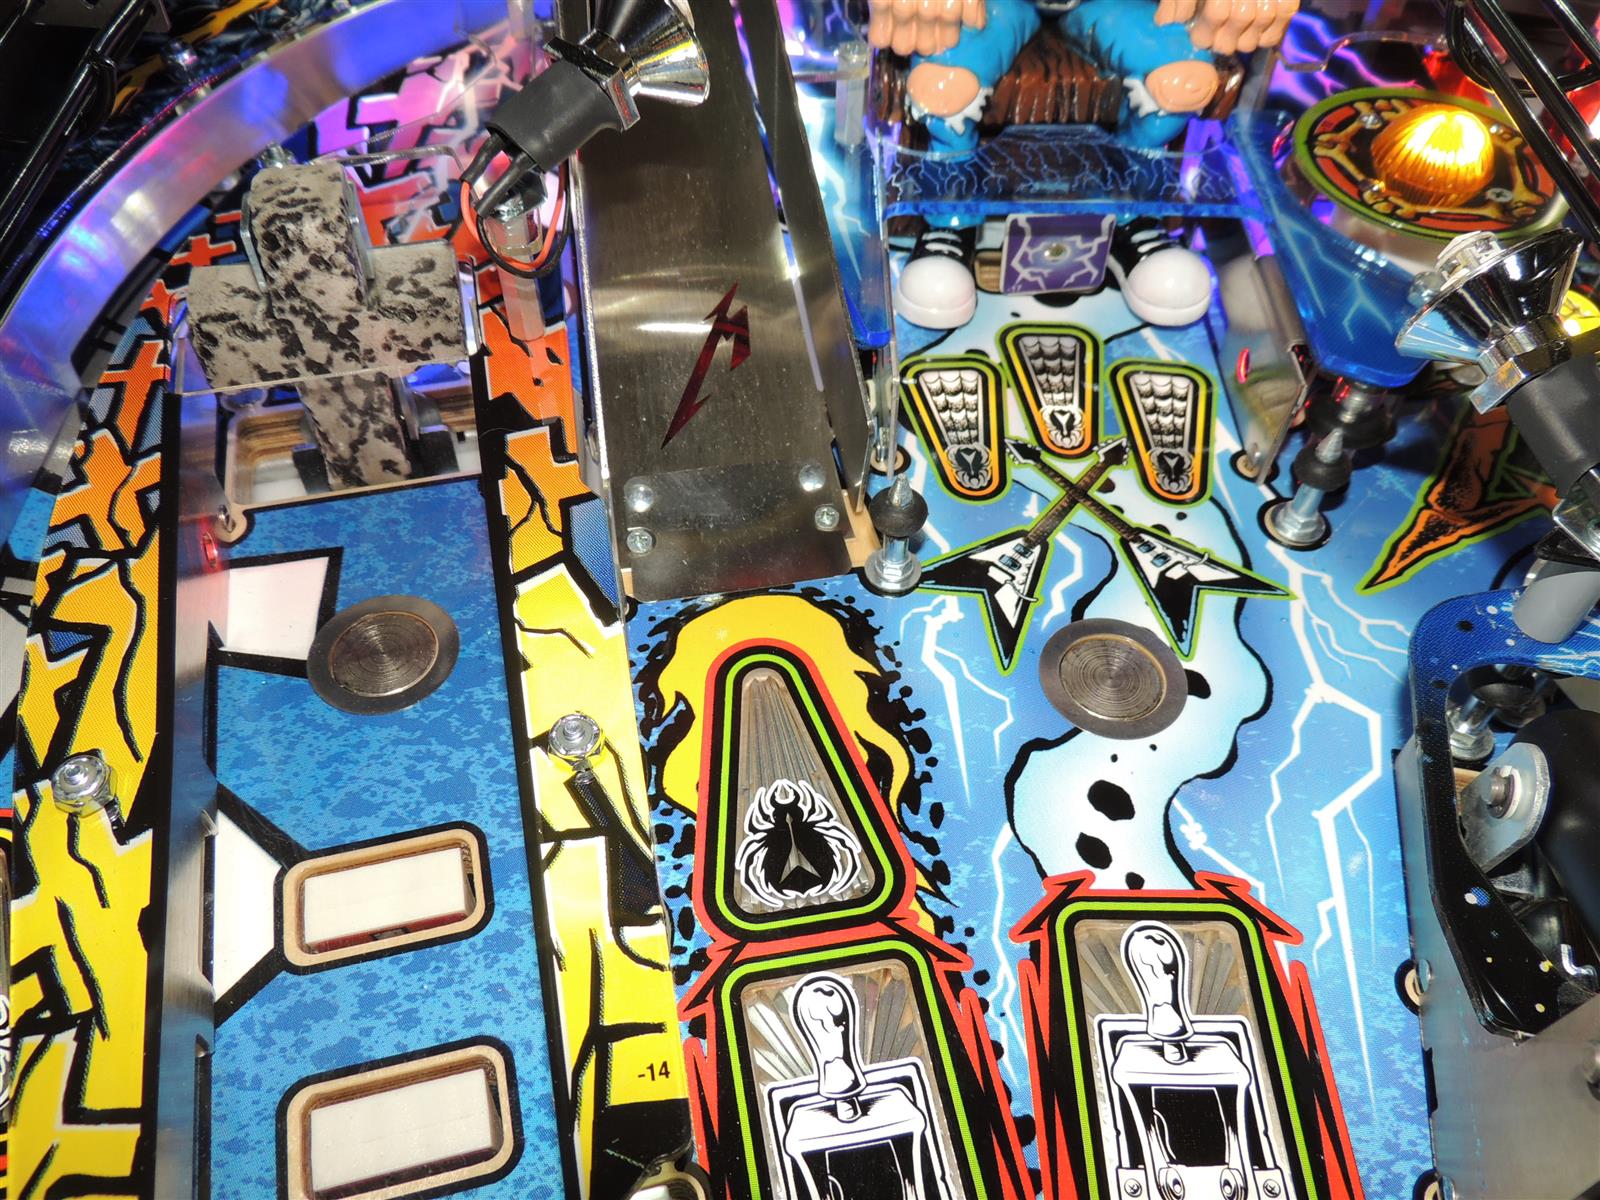
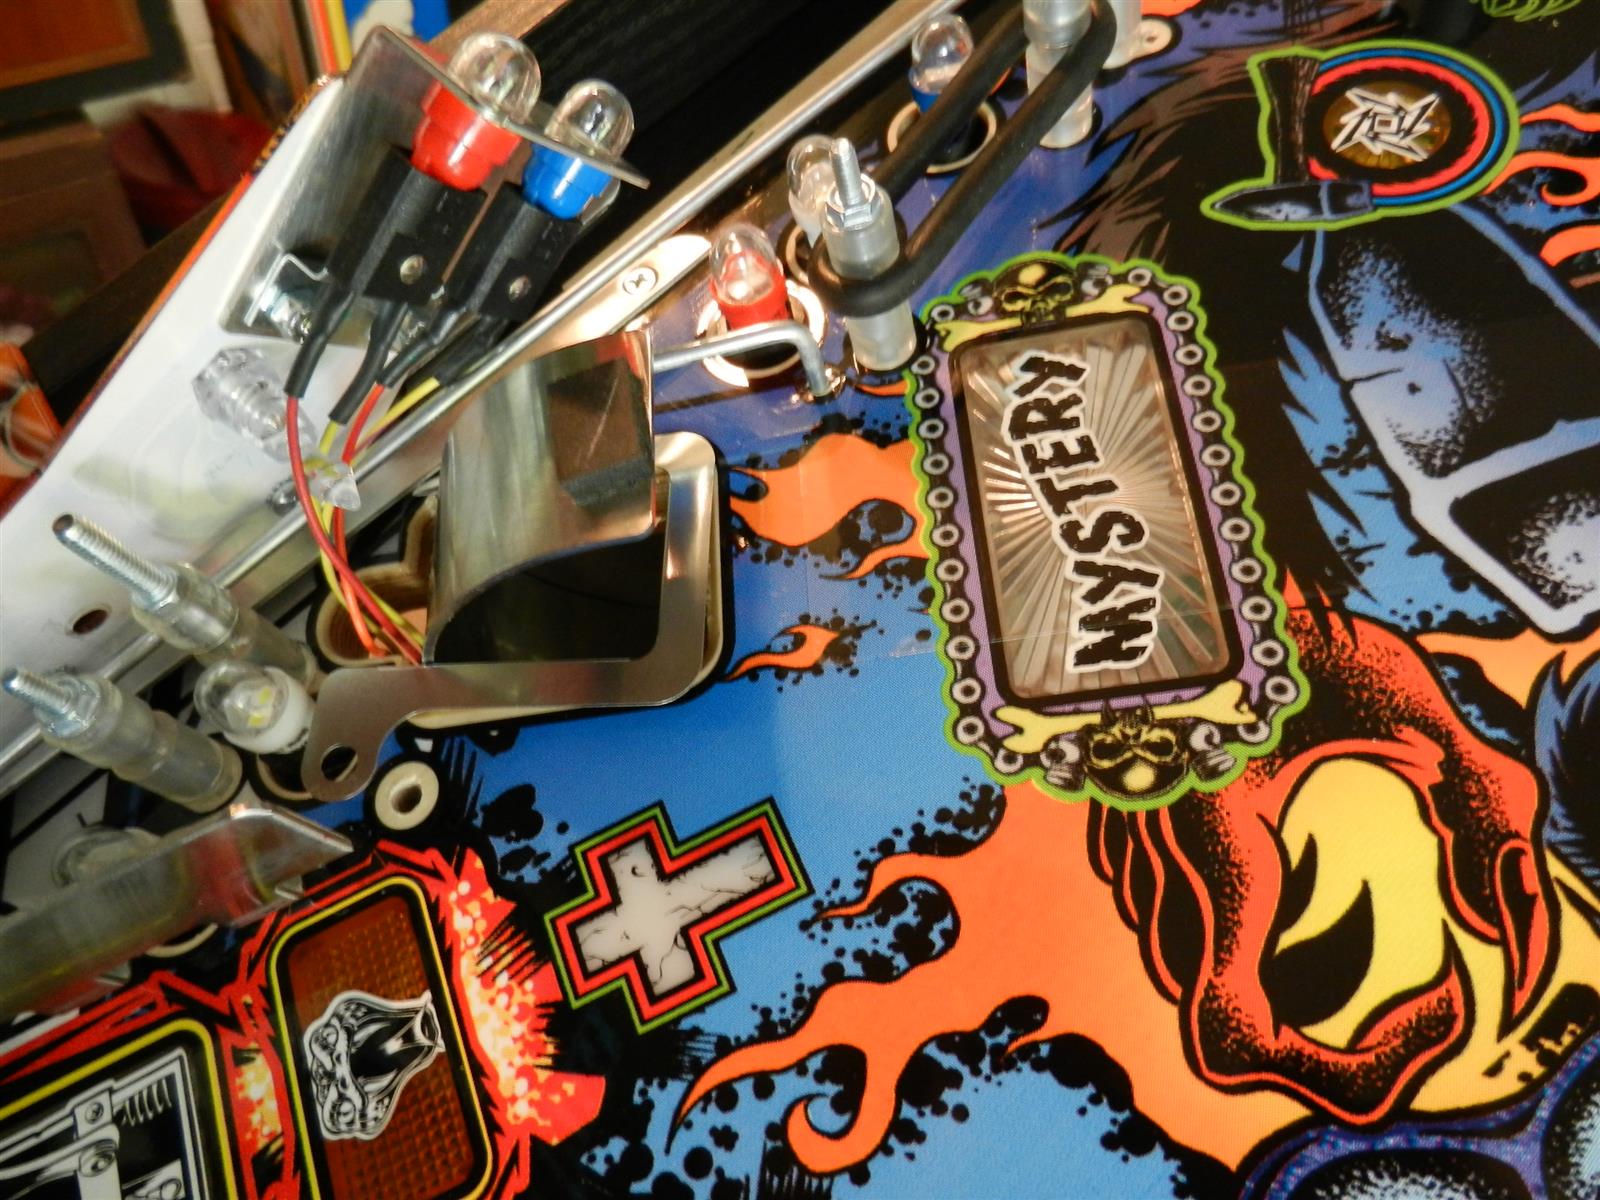
Mystery scoop up next! Time to really pay
attention to what goes where as we need to take off a few plastics,
ramps and posts. Fortunately I took pictures just for you.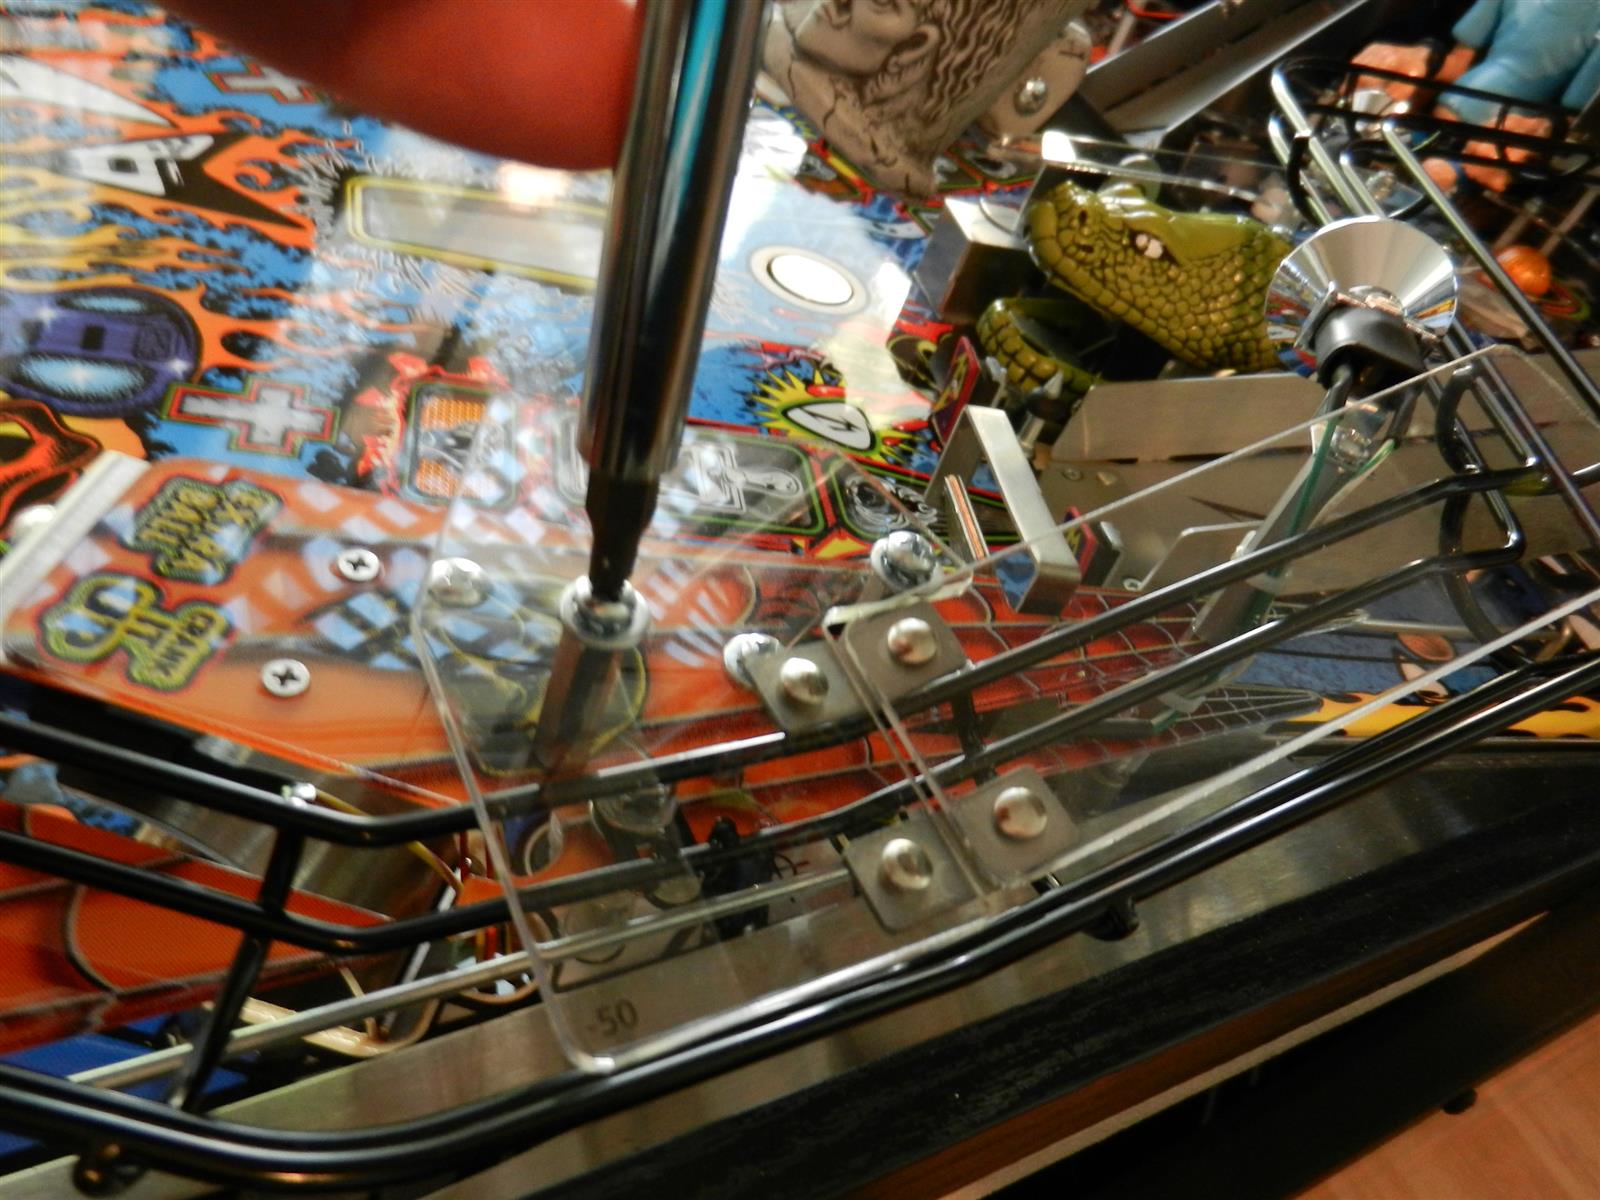
 |
More...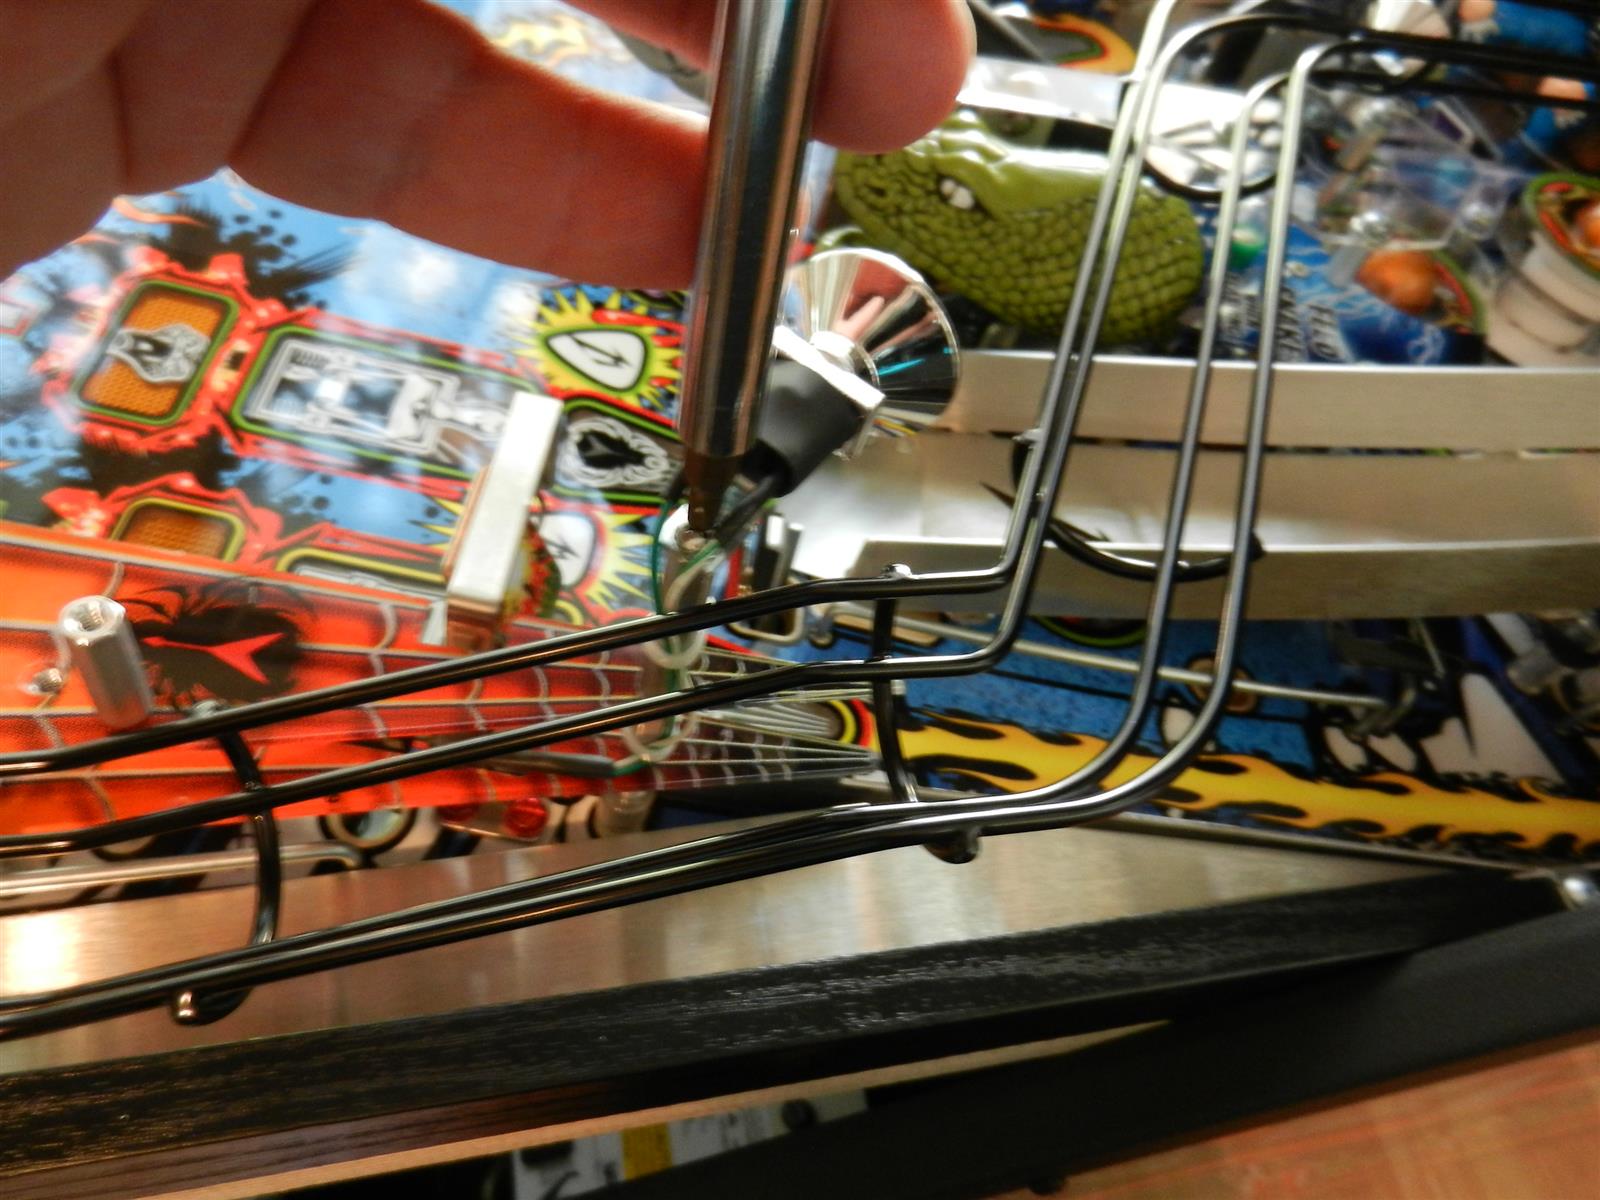
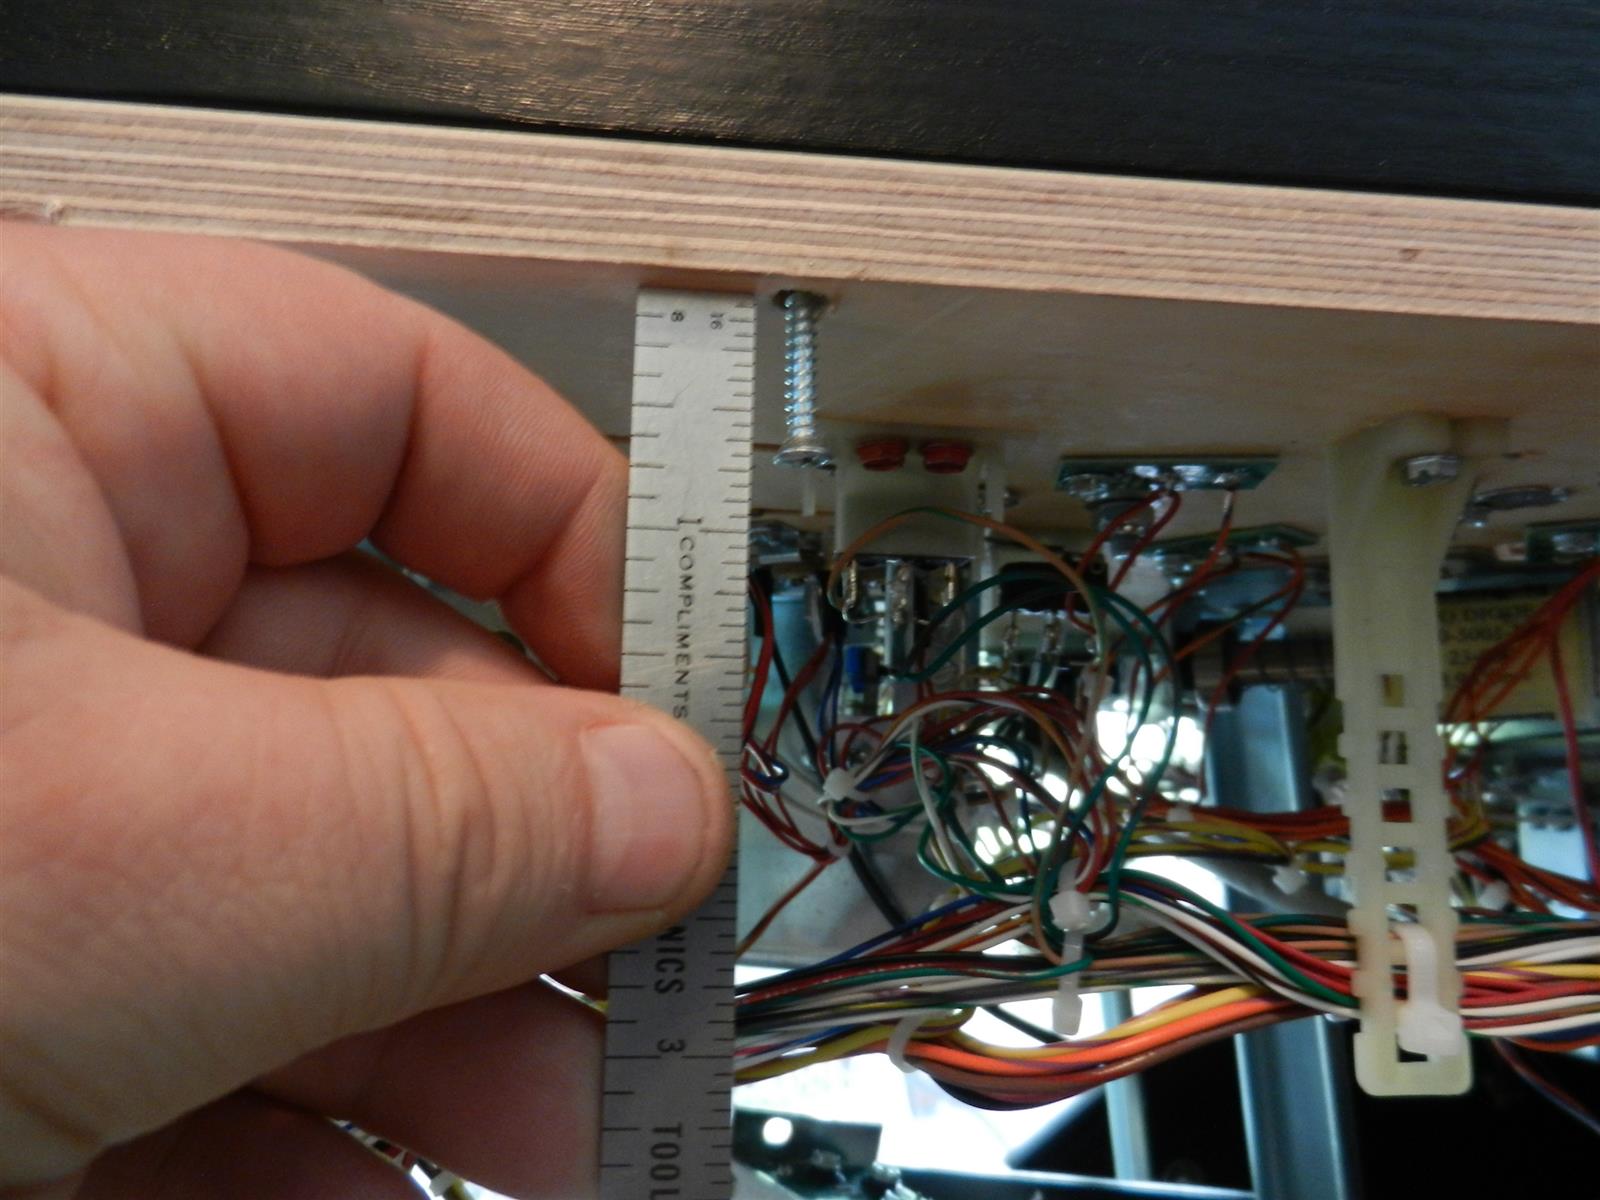
 Whew! All that to get to..... |
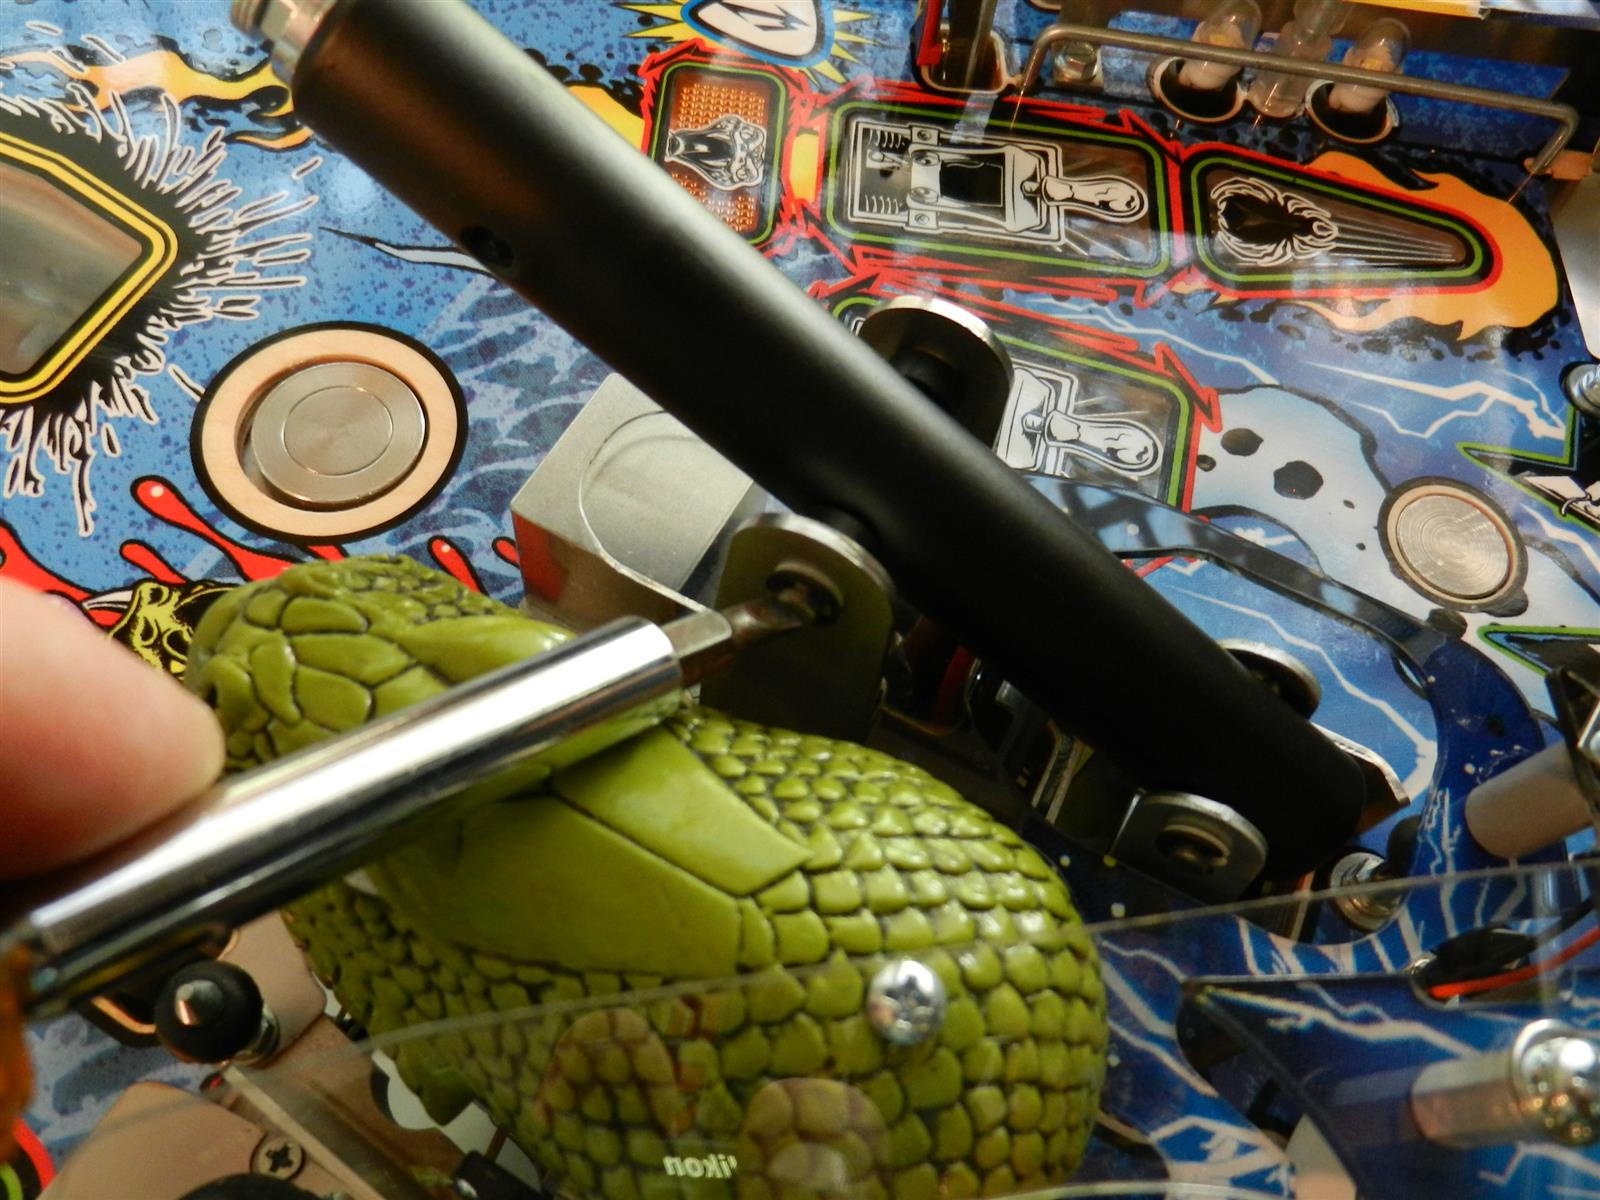
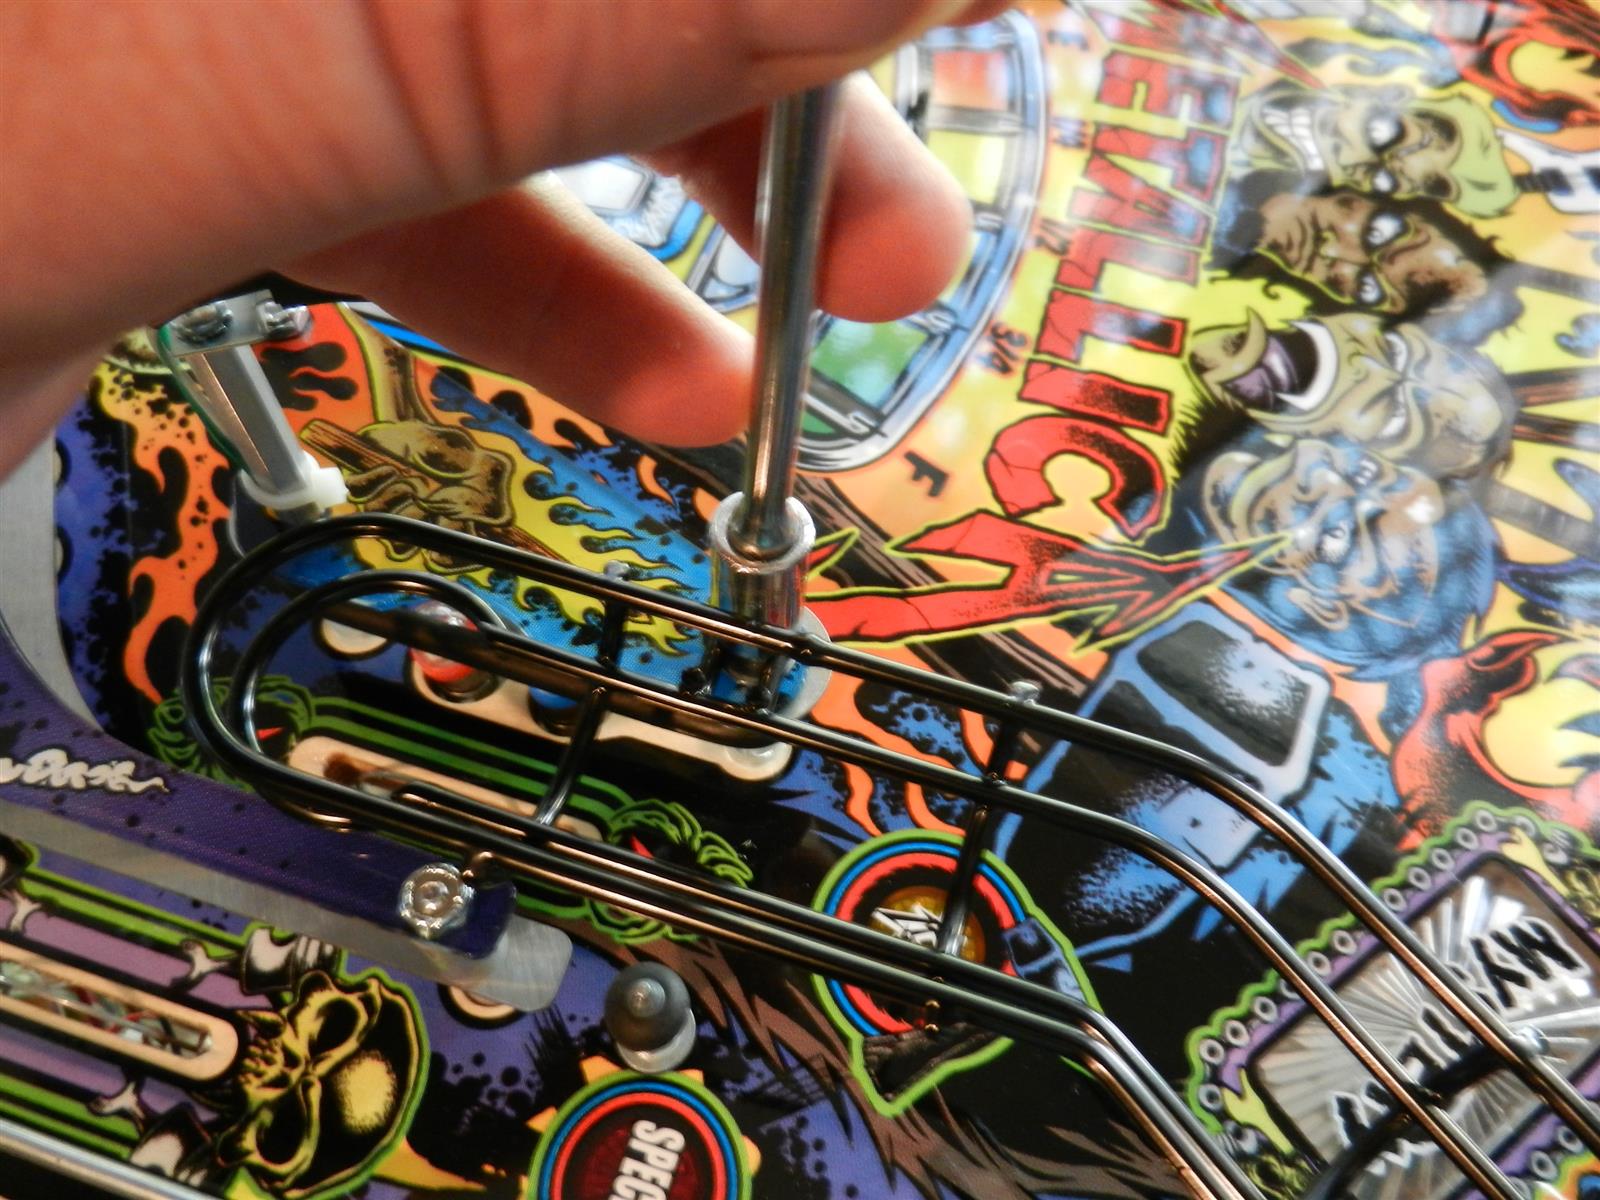
... this guy. This guy right here. Not the
Jimmy Dean sausage link finger. The post it's pointing too!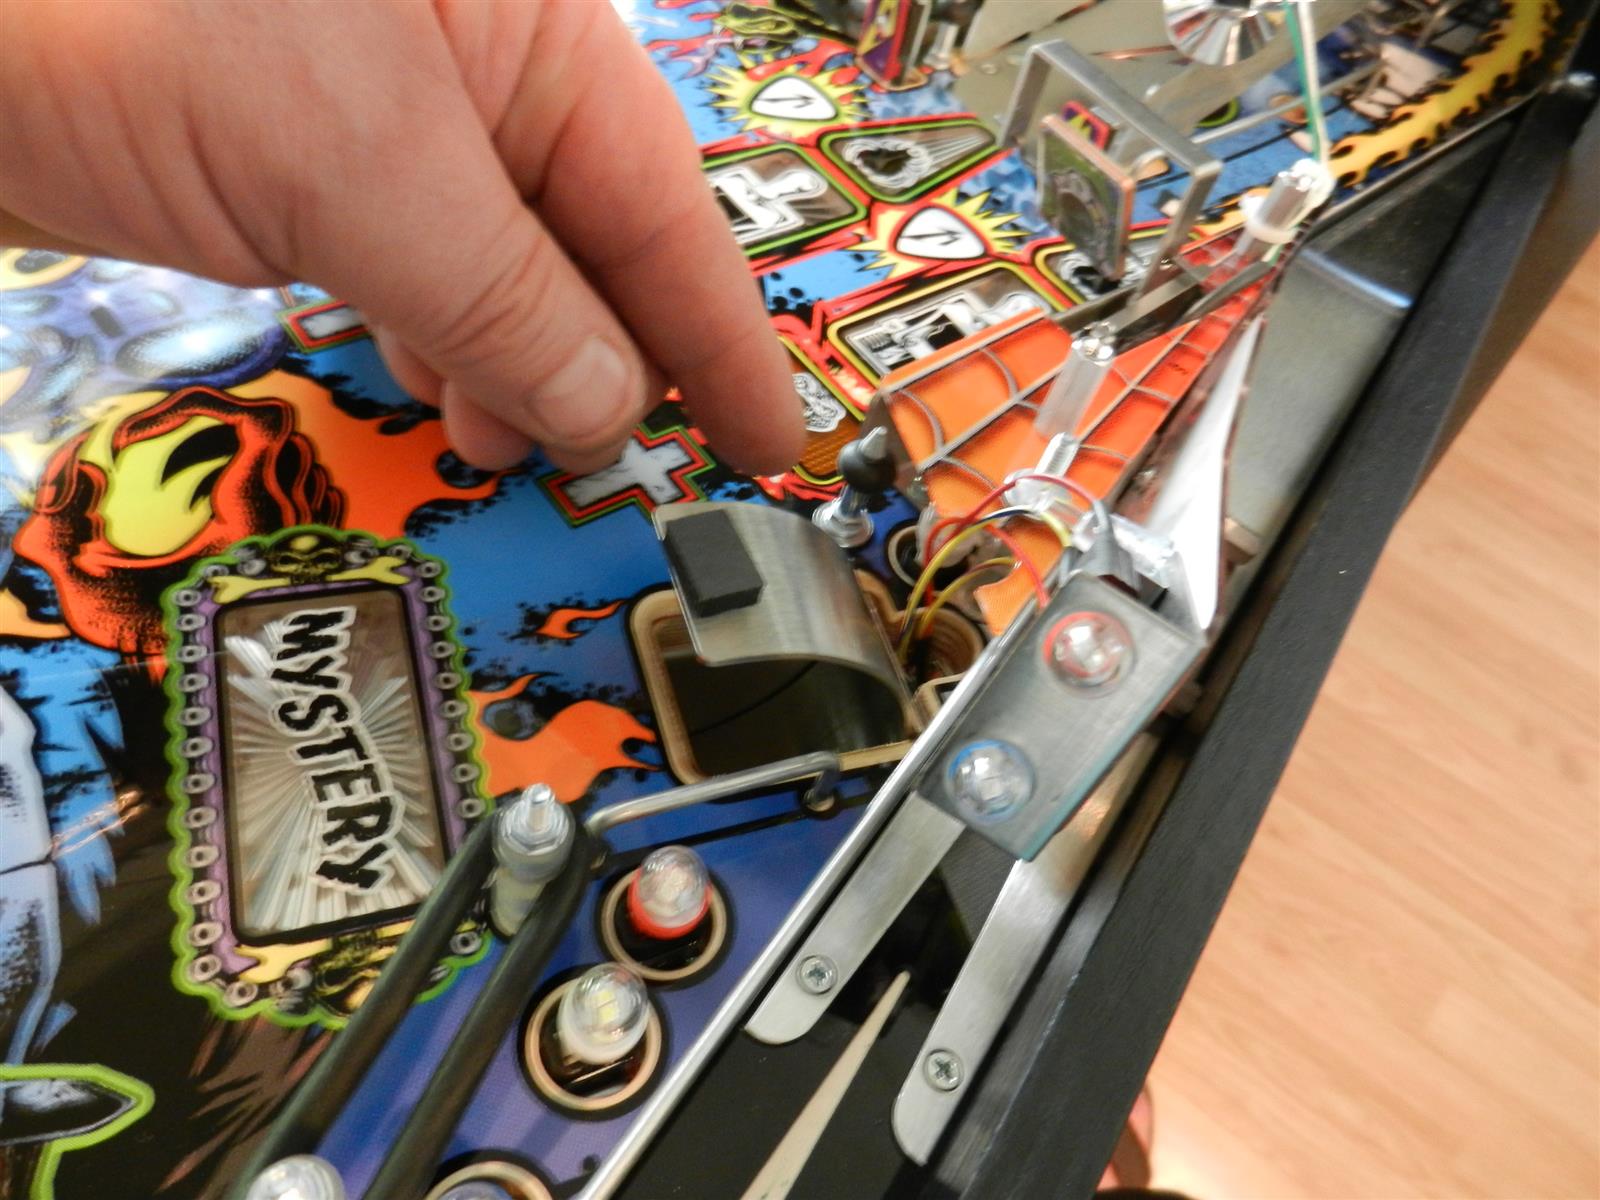 And a doggone nut that holds it underneath, here; 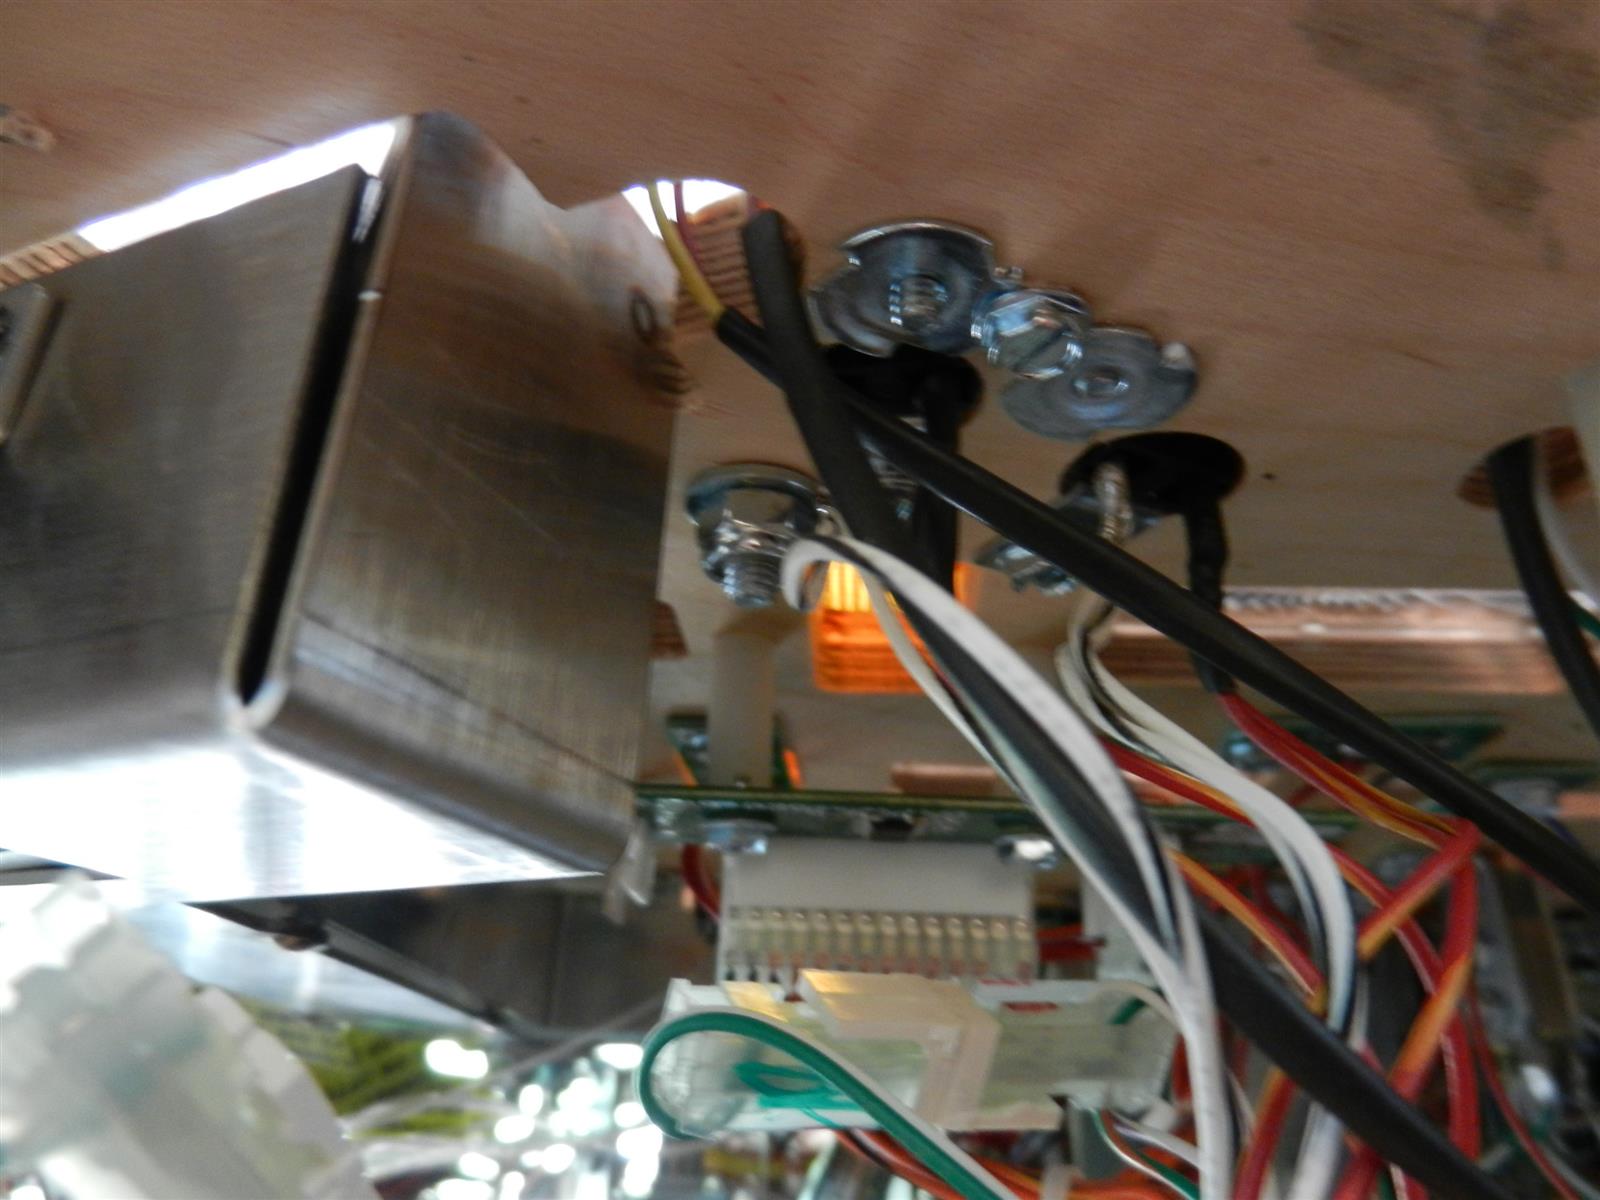 Use a 3/8" nut driver to remove nut and washer. 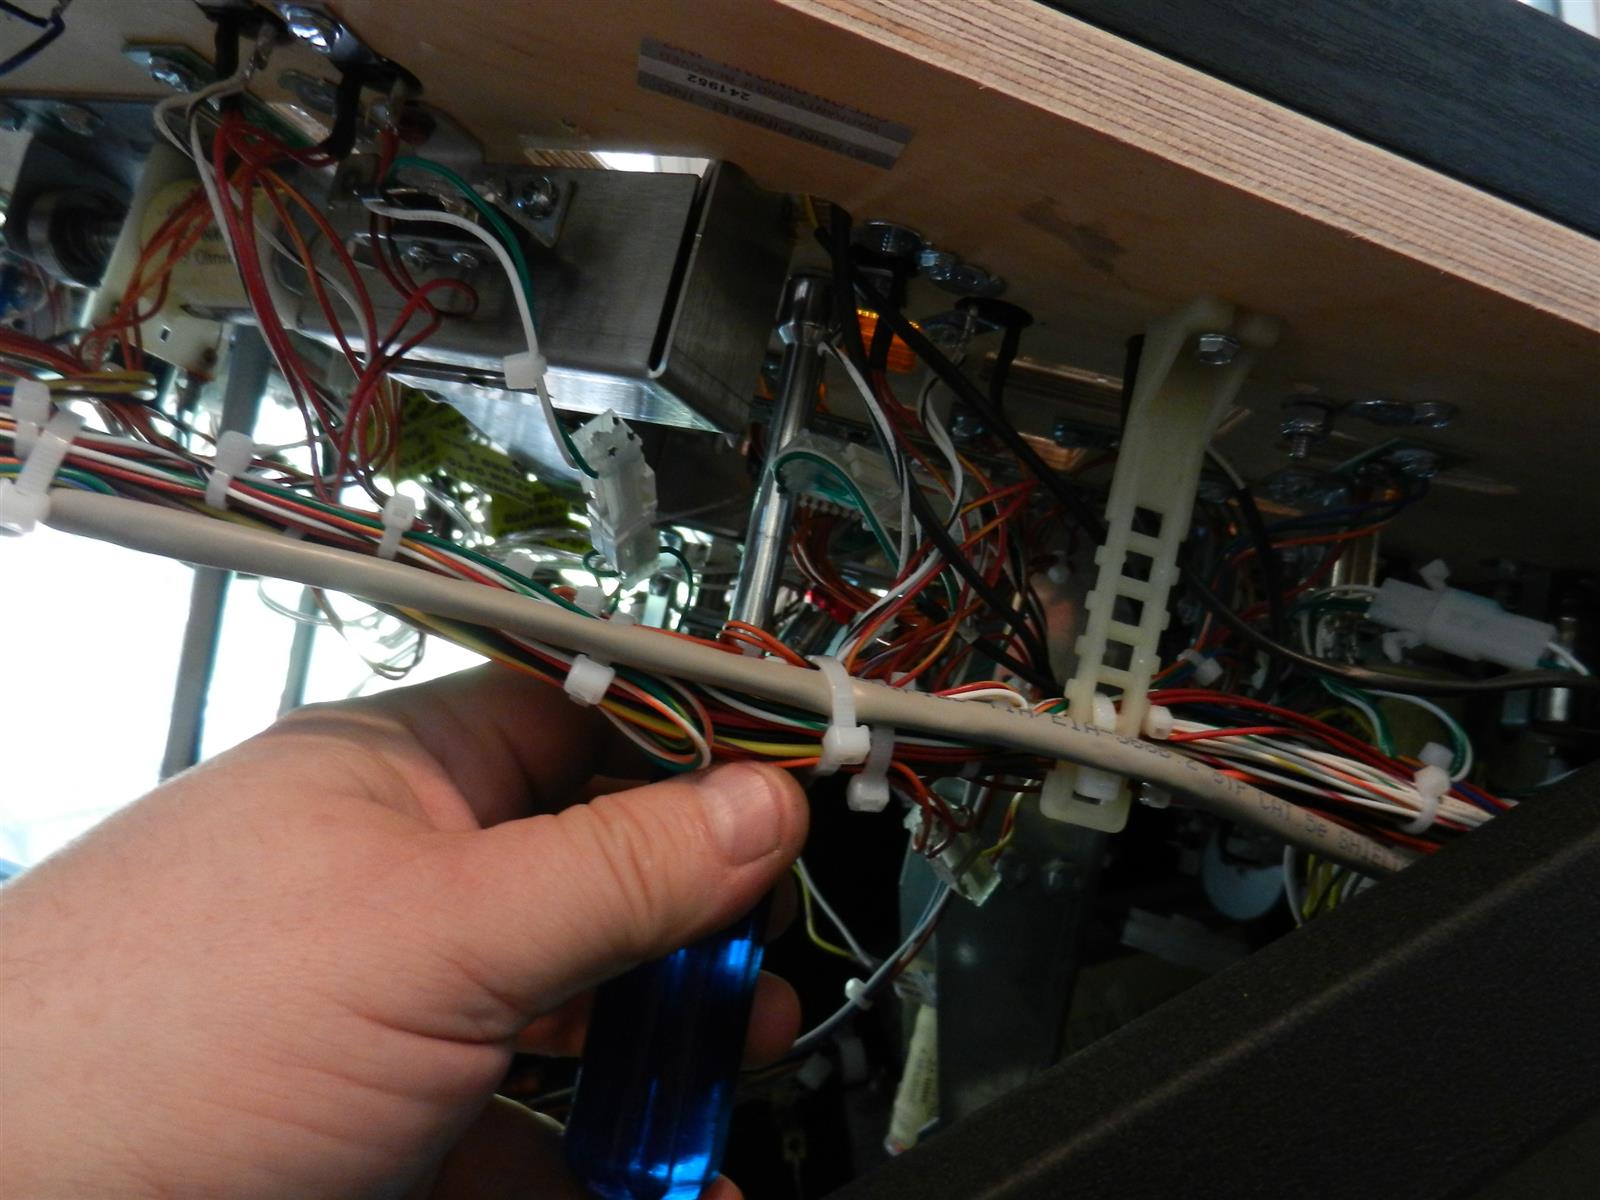 |
Remove black rubber ring from mini-post
and count yourself blessed if you happen to have an ultradeep 1/4"
socket. Use this socket or a 1/4" wrench to unscrew the mini-post. Yes,
it's a machine thread but Stern milled the playfield hole with zero
clearance so this post is truly screwed in.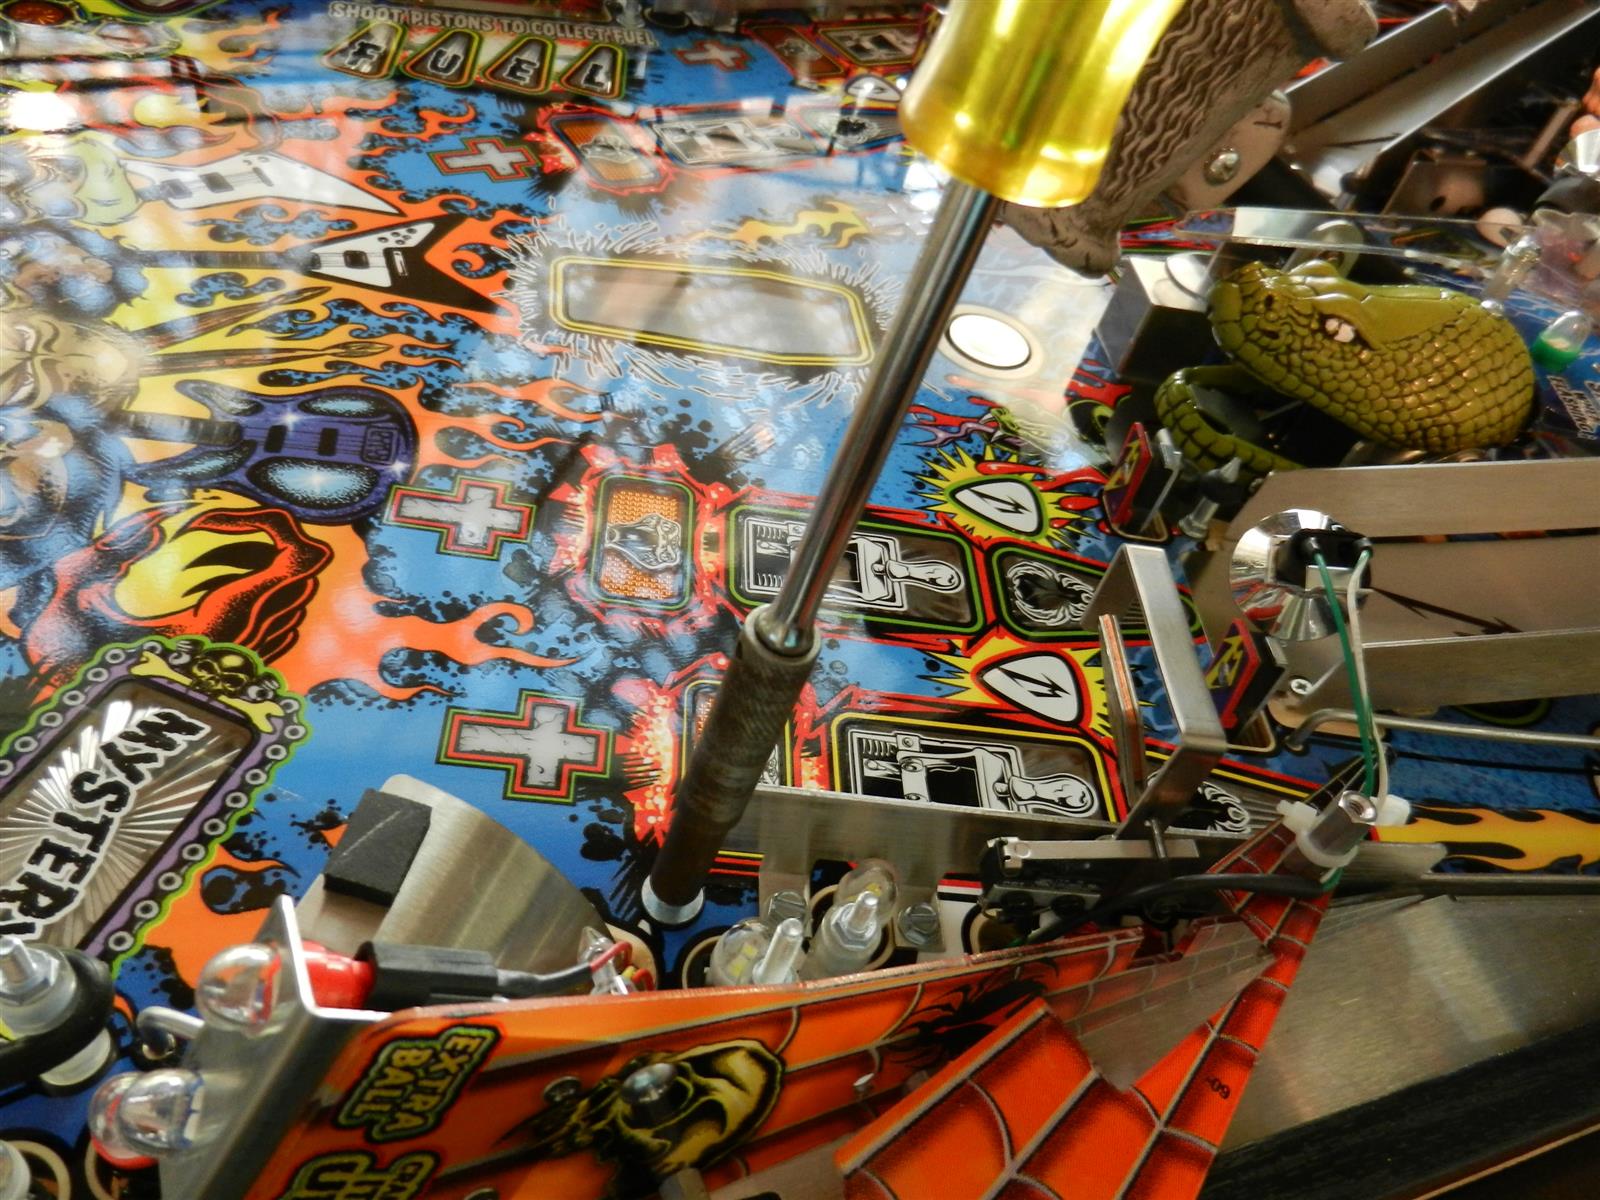 |
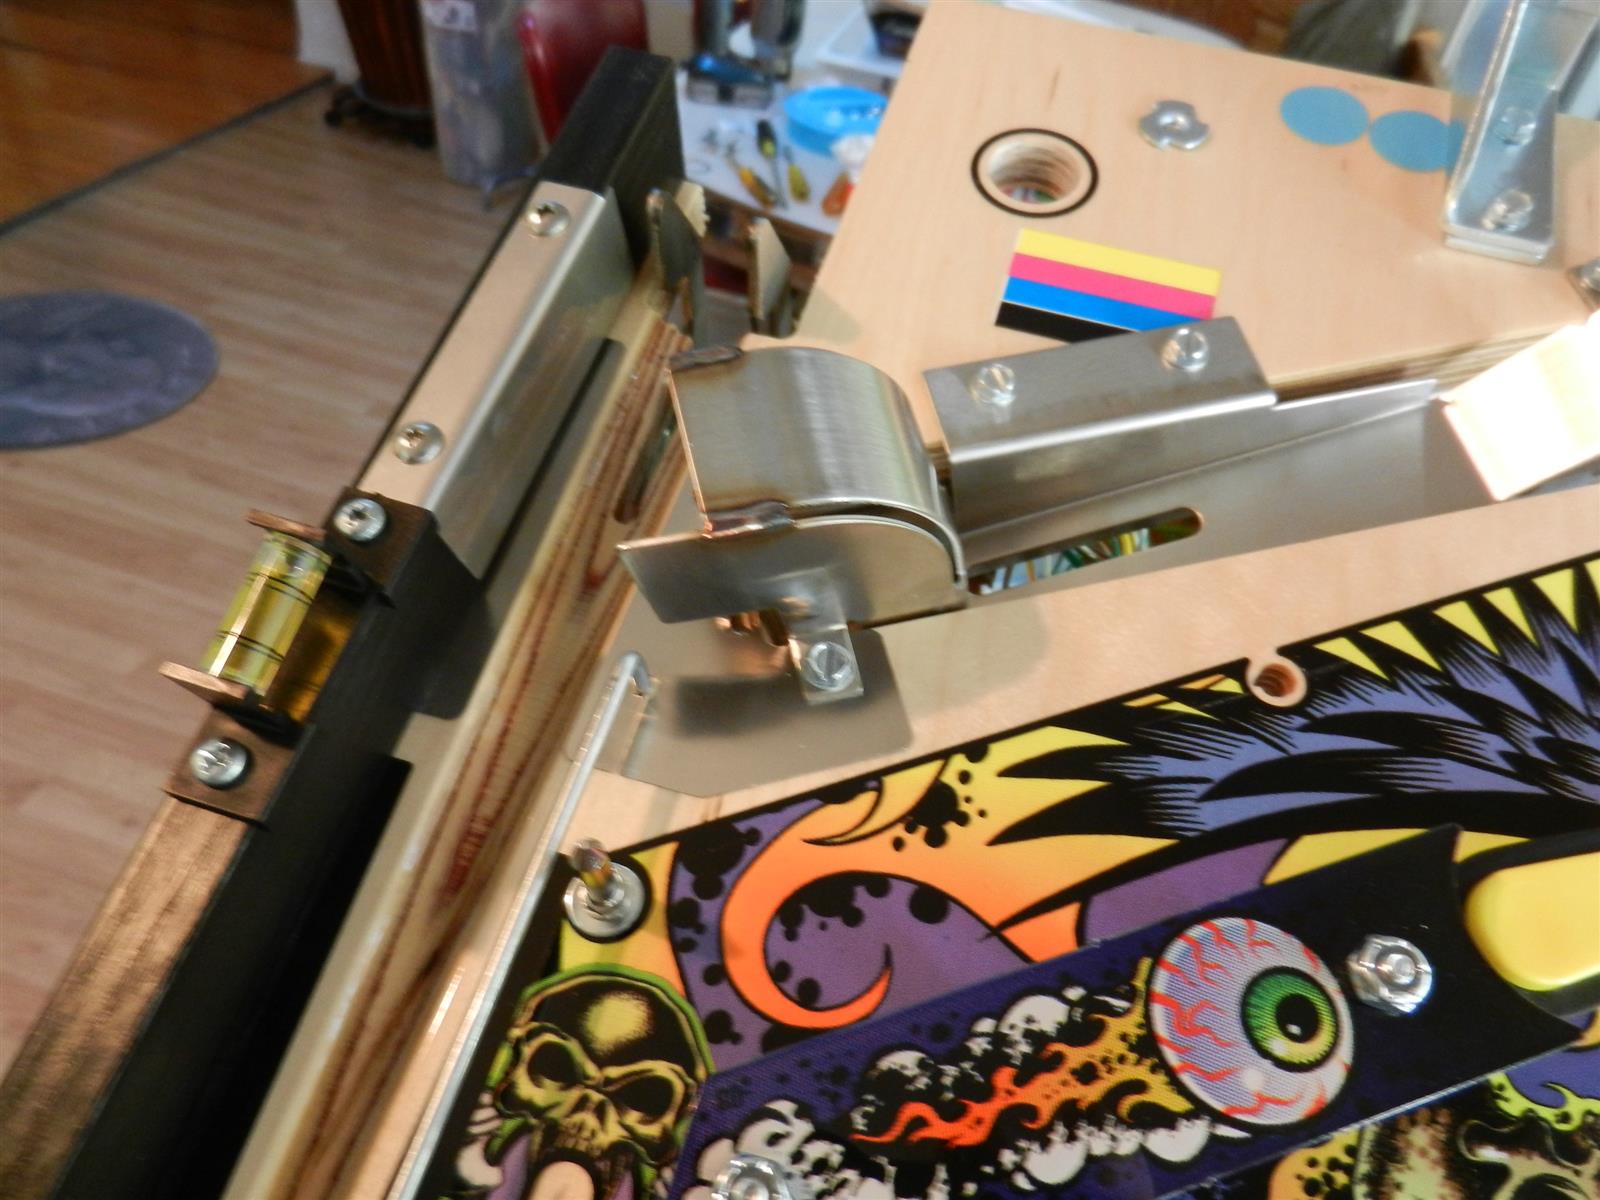
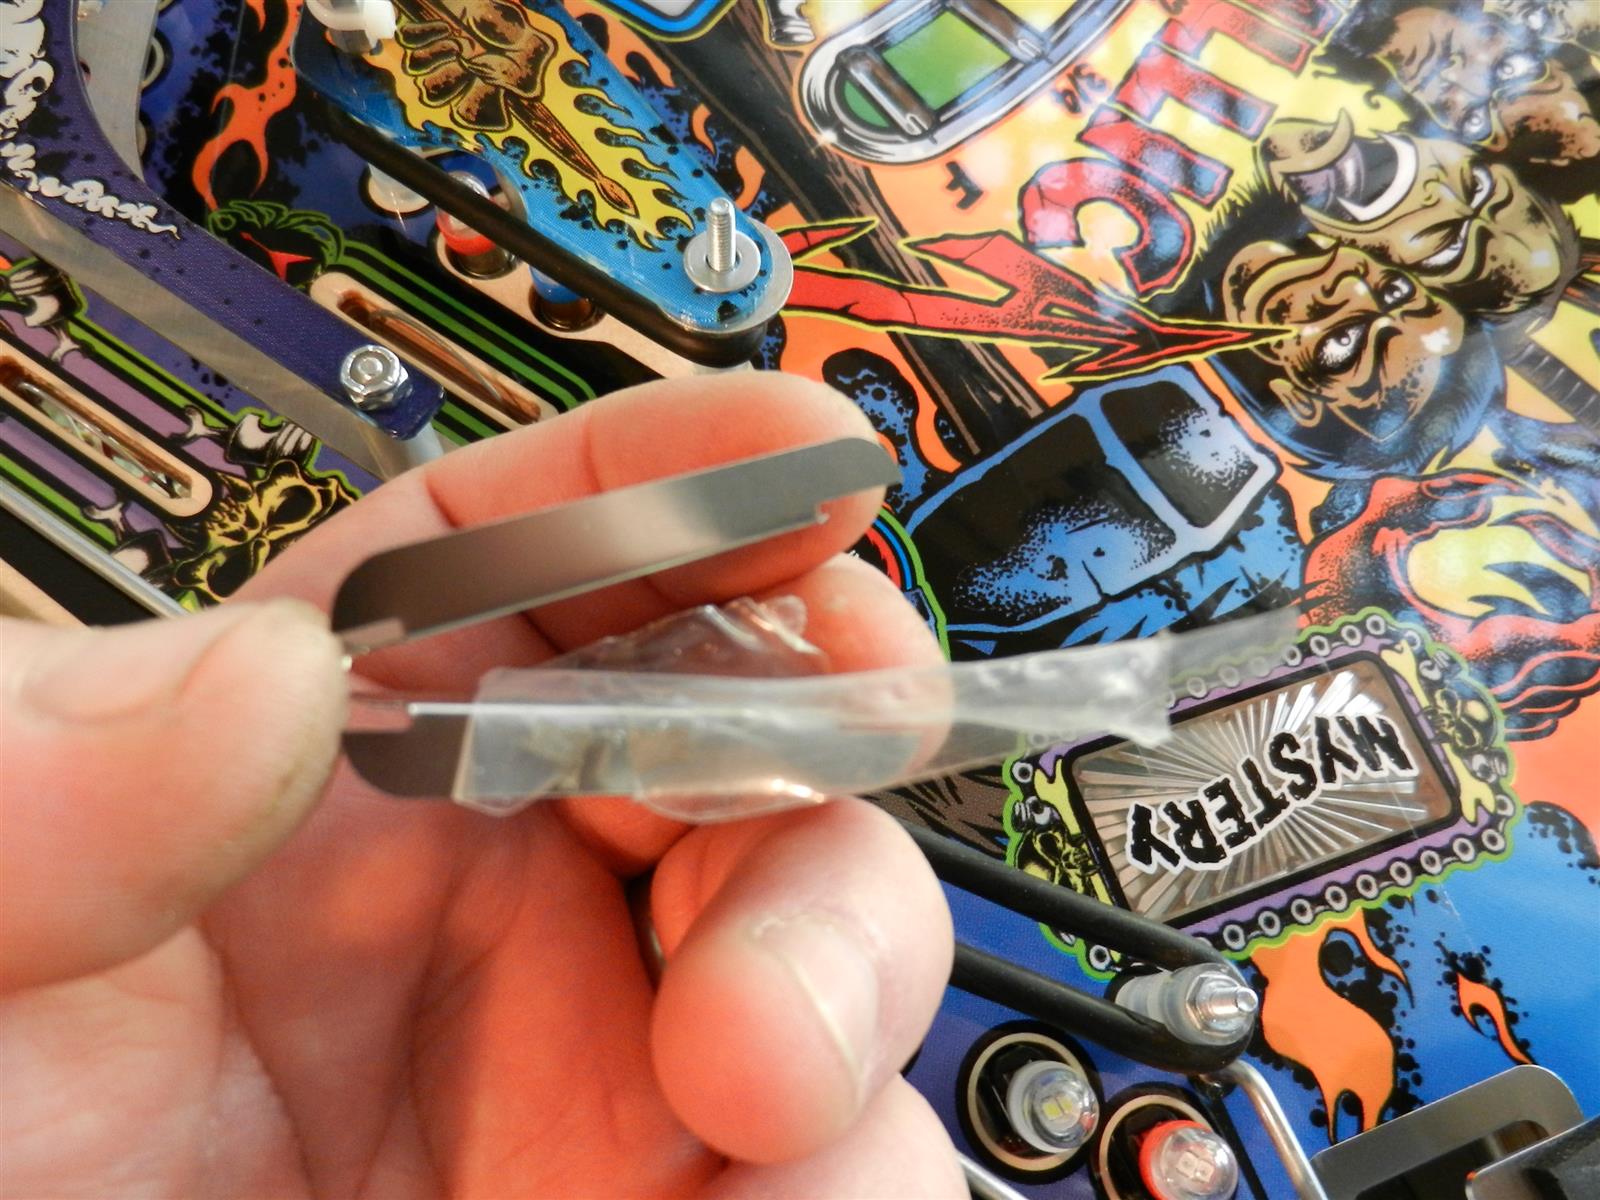
Prepare the protector. Remove protective
film.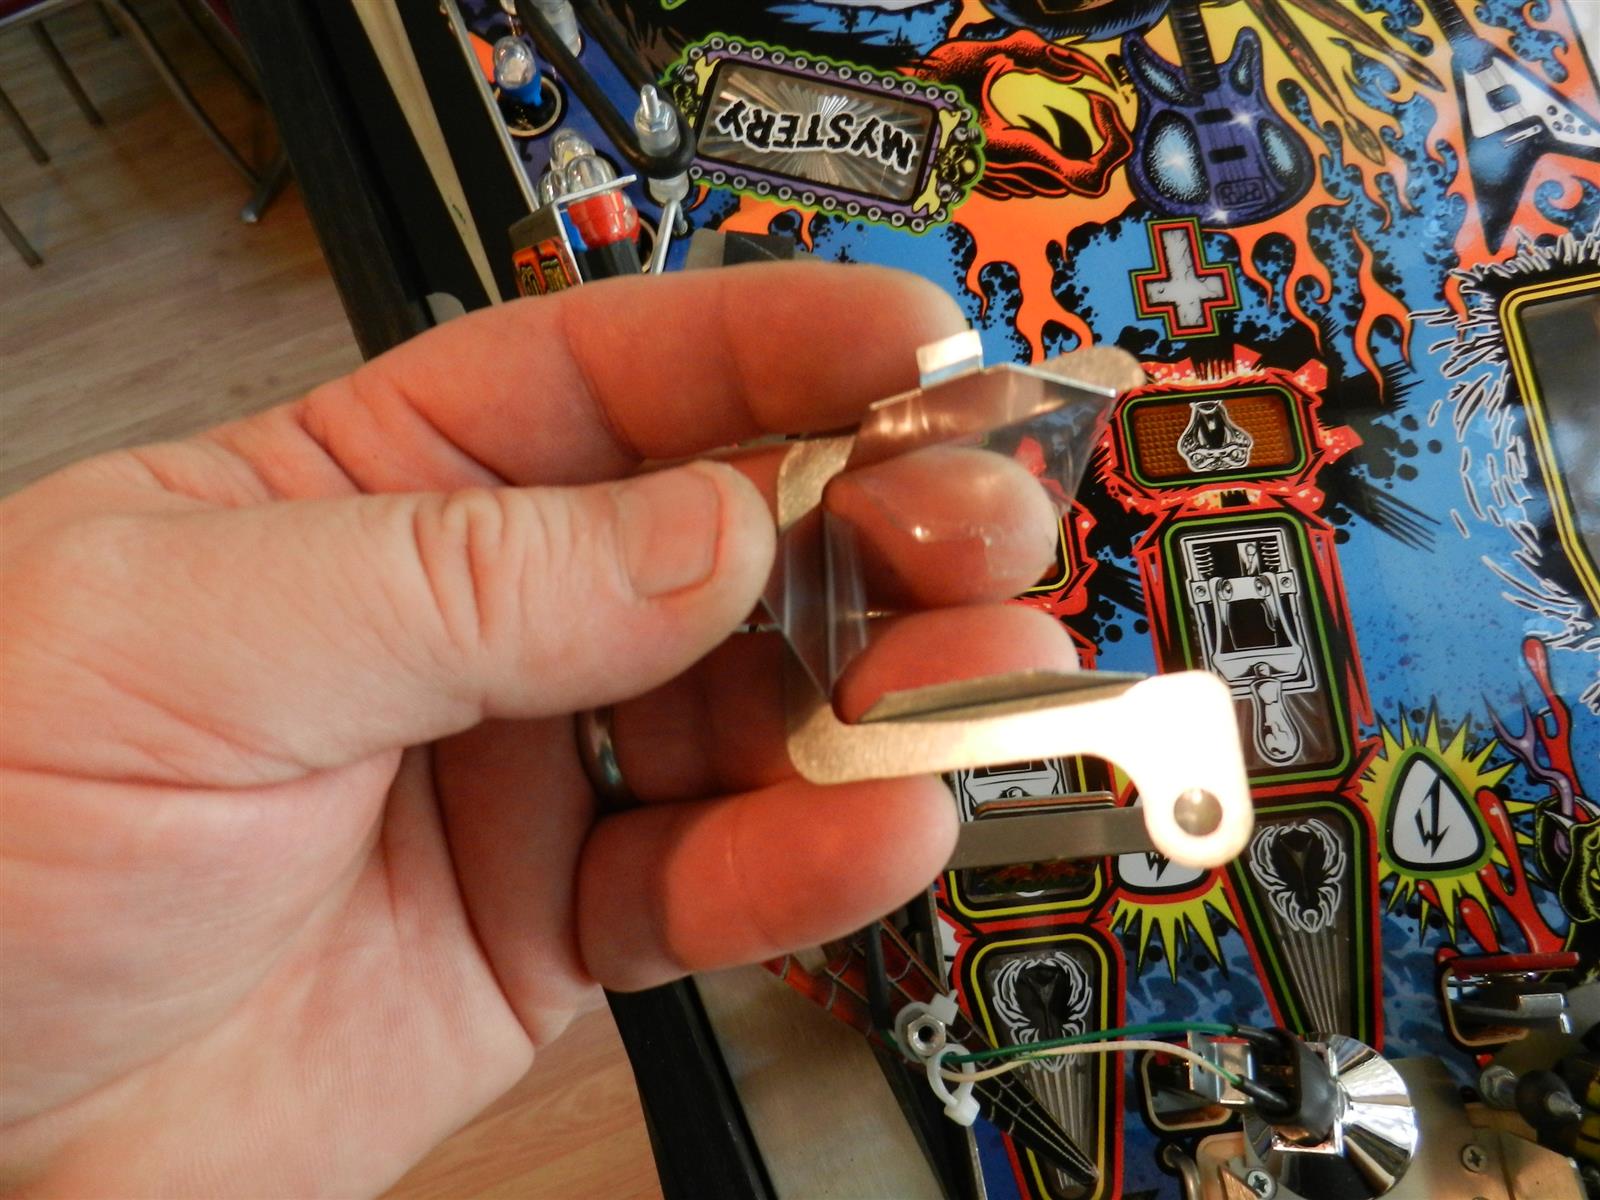 Take care not to snap the tabs off. Place protector into the scoop at a
slight angle so the right side clip goes in first.
Take care not to snap the tabs off. Place protector into the scoop at a
slight angle so the right side clip goes in first.
 |
Gently twist and push downwards and out to
the right side. Then pull towards the front while pushing down and
engage the front tab.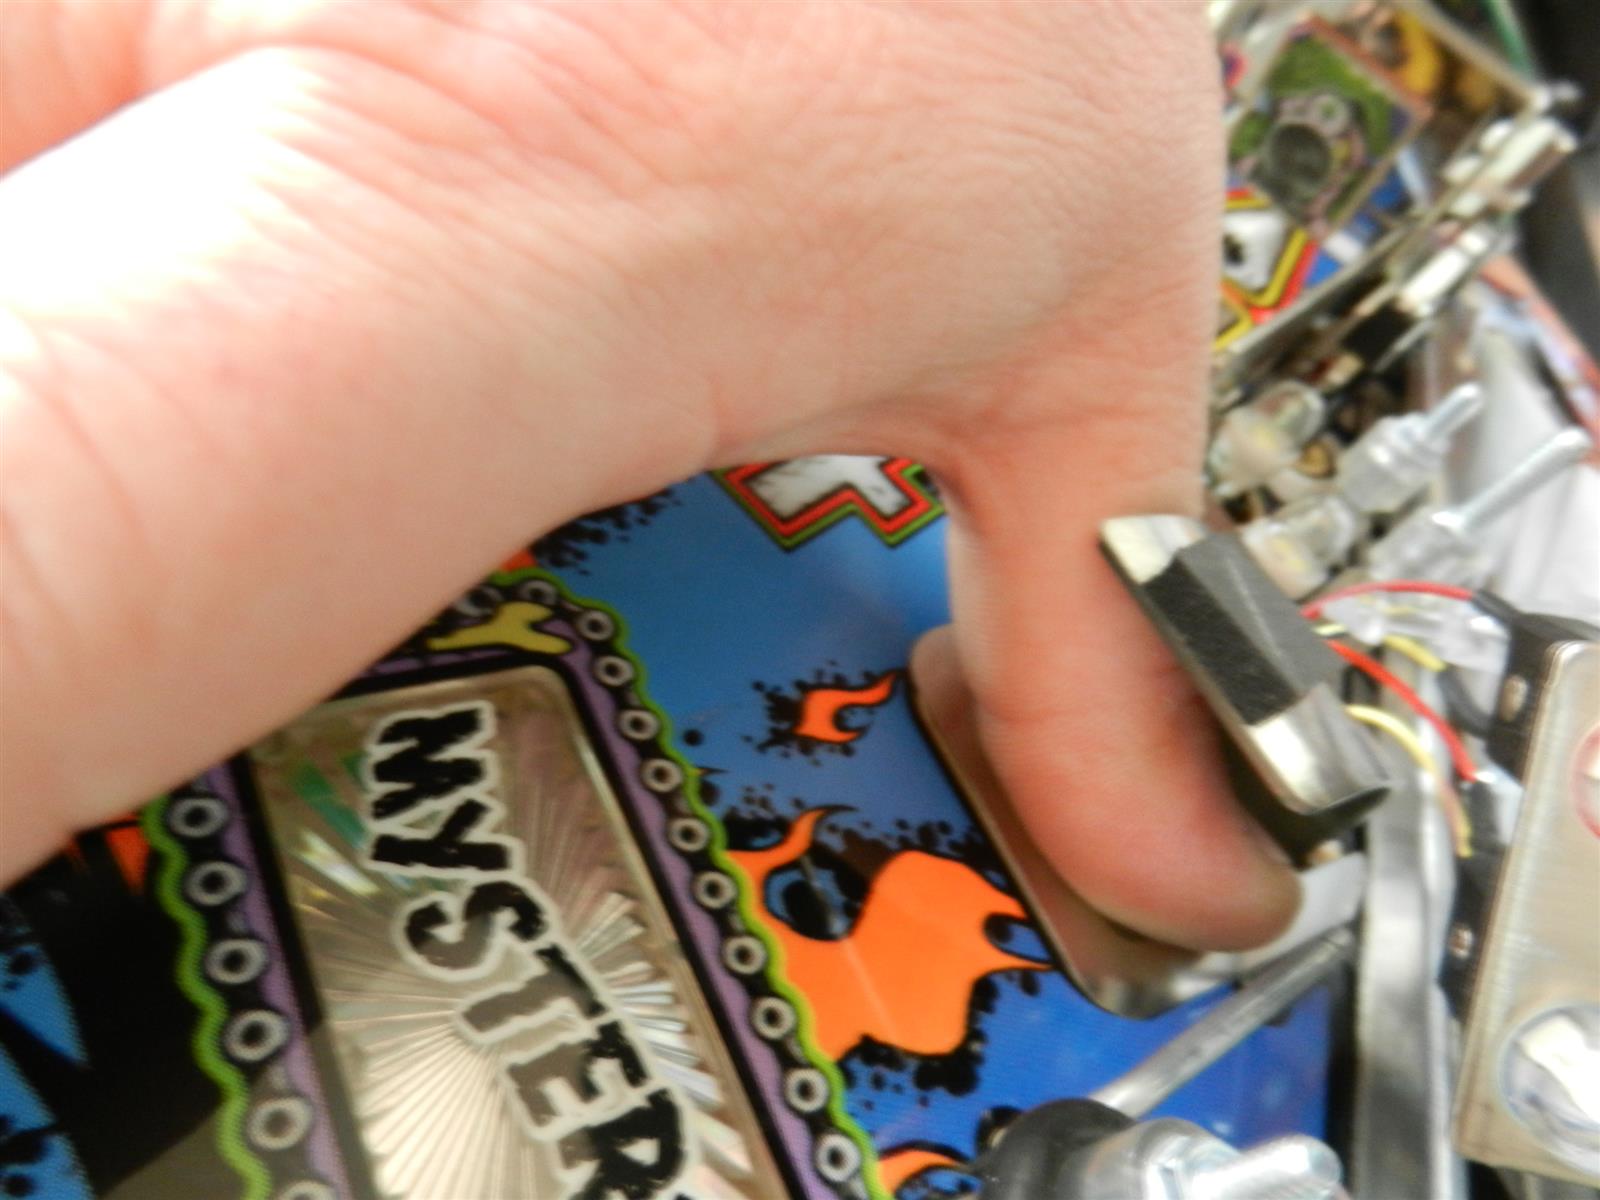 Look underneath to be sure tabs are clipped properly.  |
The post hole should line right up and the
protector should sit flat all around.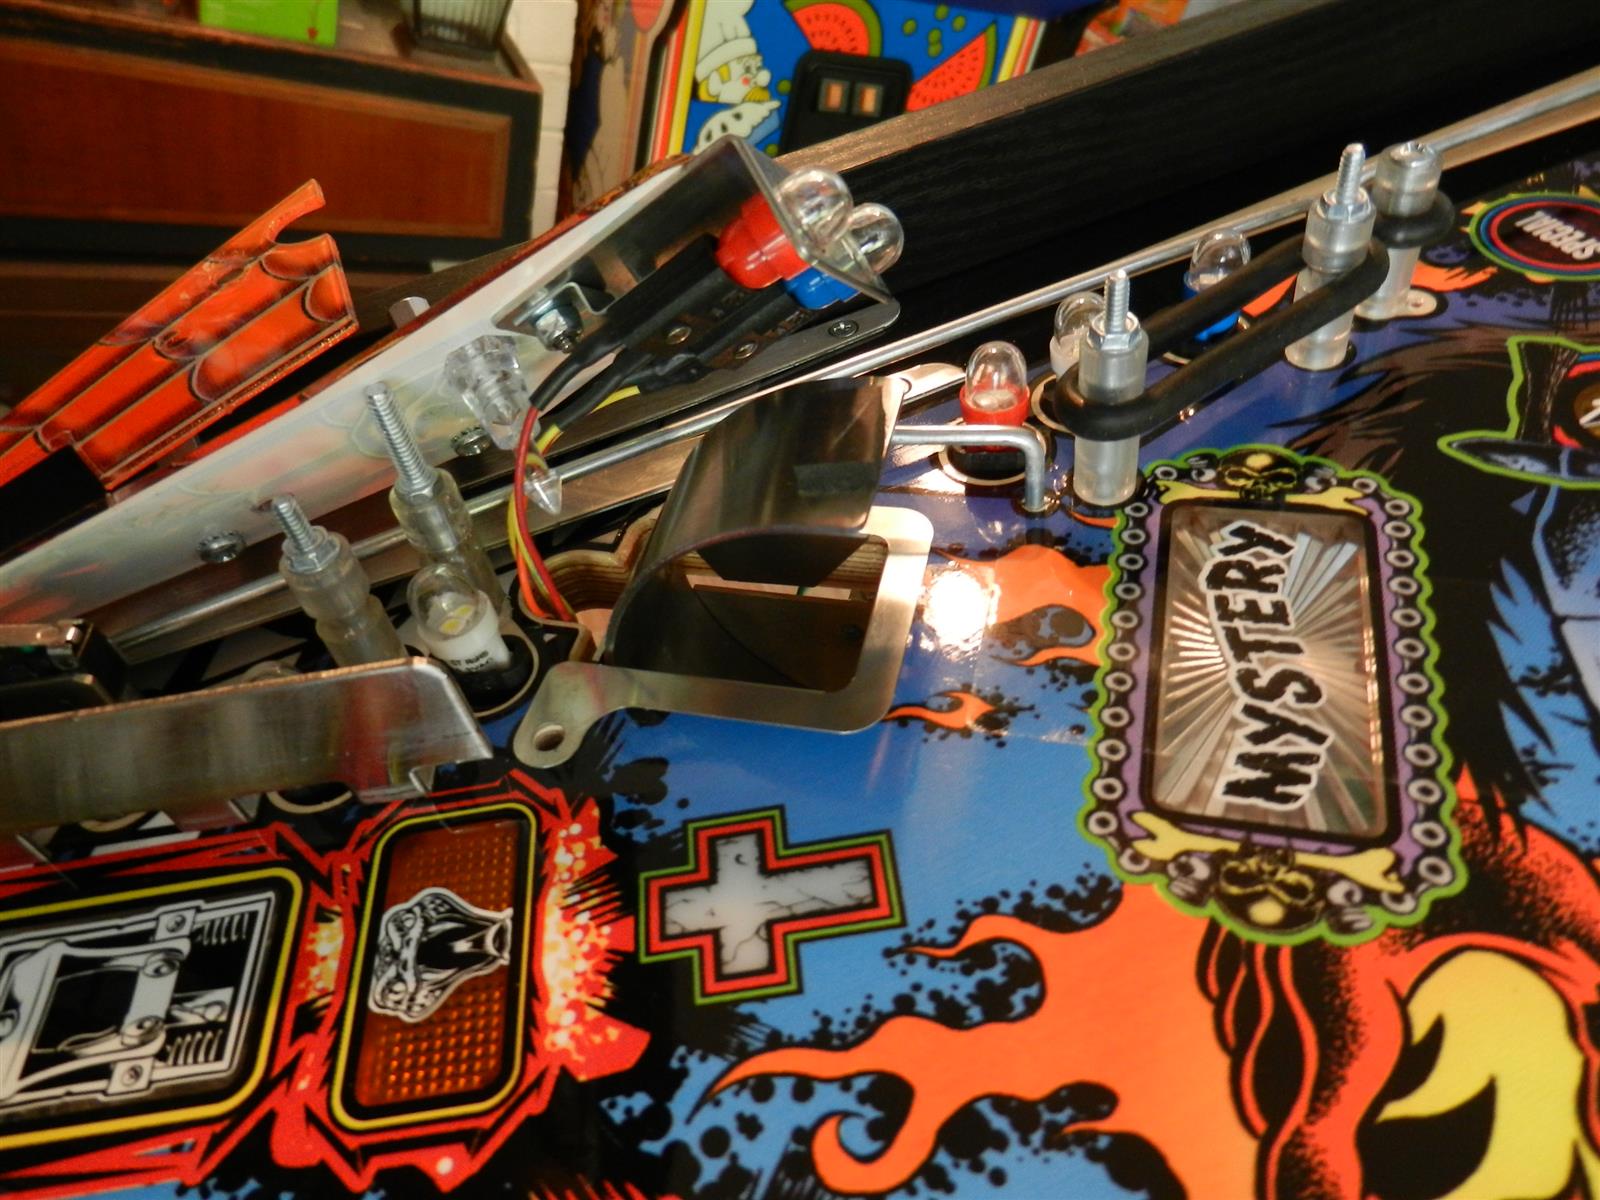 Re-install mini-post and don't forget the nut underneath and the rubber ring on top 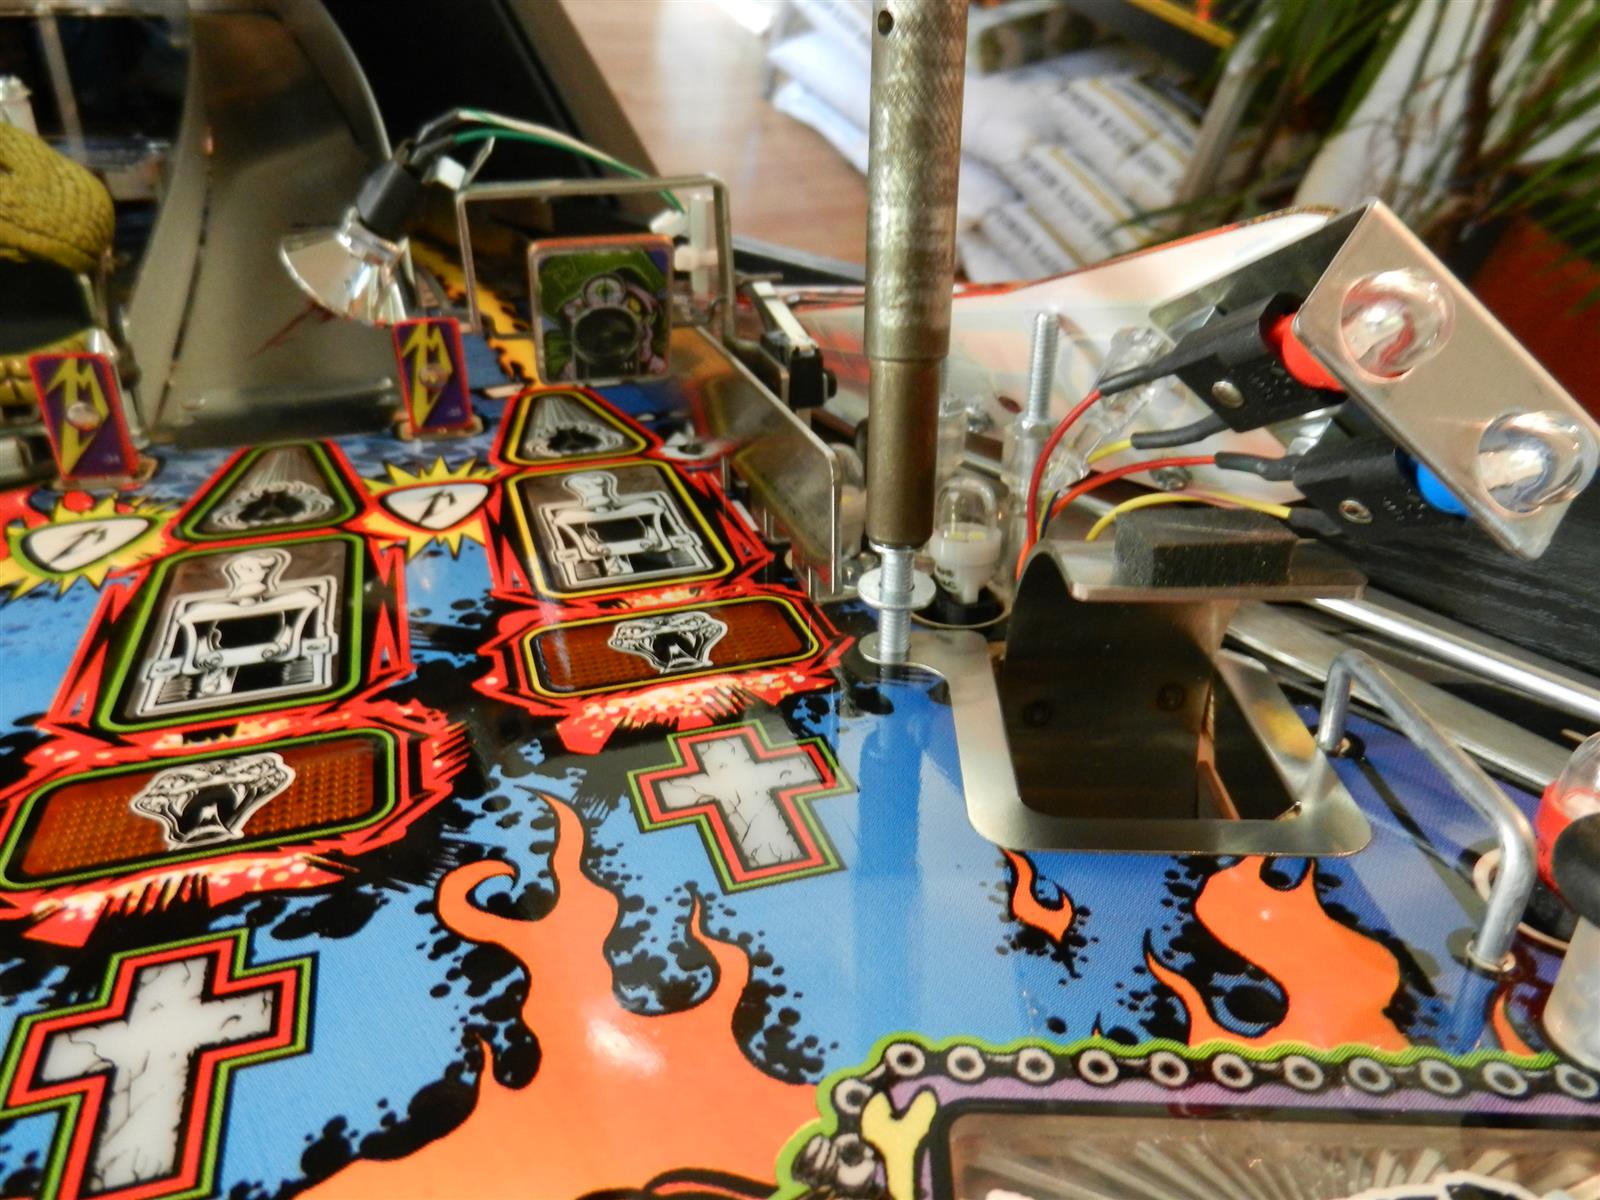 Damn that looks good |
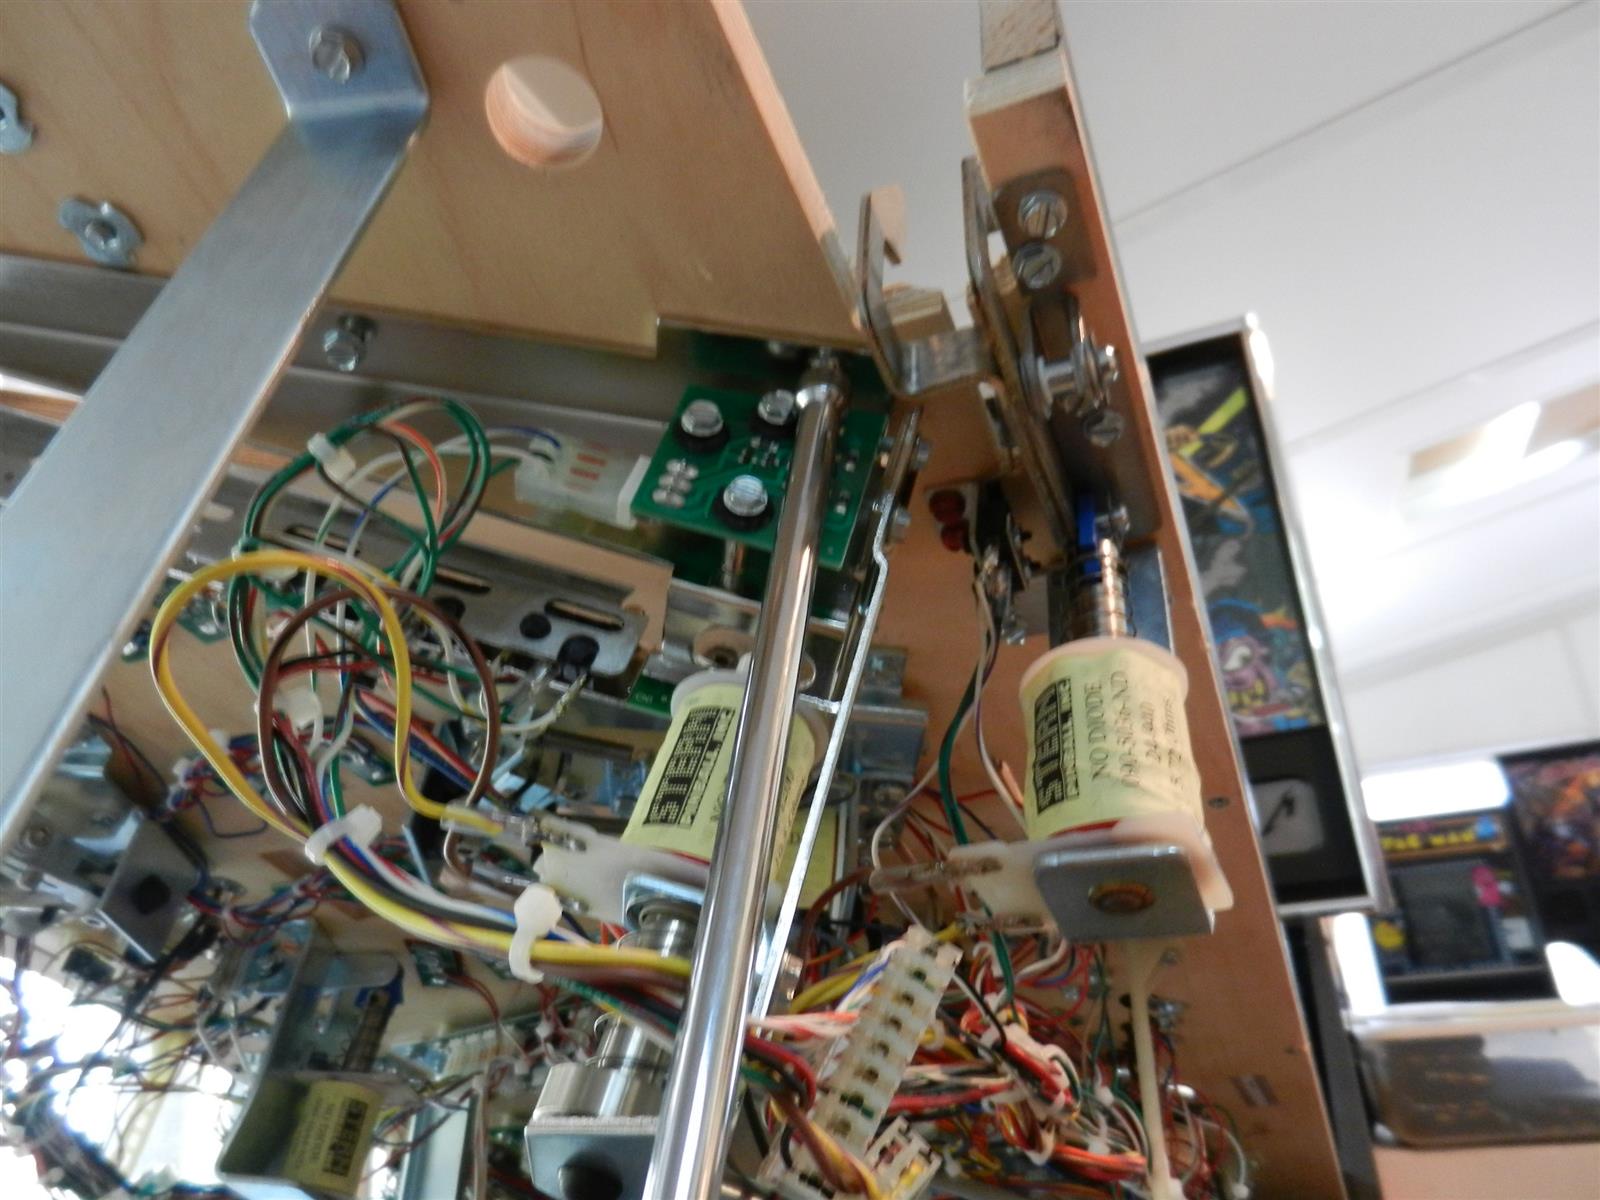
Almost done! Let's do the magnets. We need
to get the Gavel (LE/Premium) out of the way. If you have a Pro model
still follow along please as this applies to the two smaller magnets as
well. Don't bother trying to remove the molded hammer head itself. The little screw at the front is Loctited in and it snaps off easily. Dammit. I didn't know but now you do. |
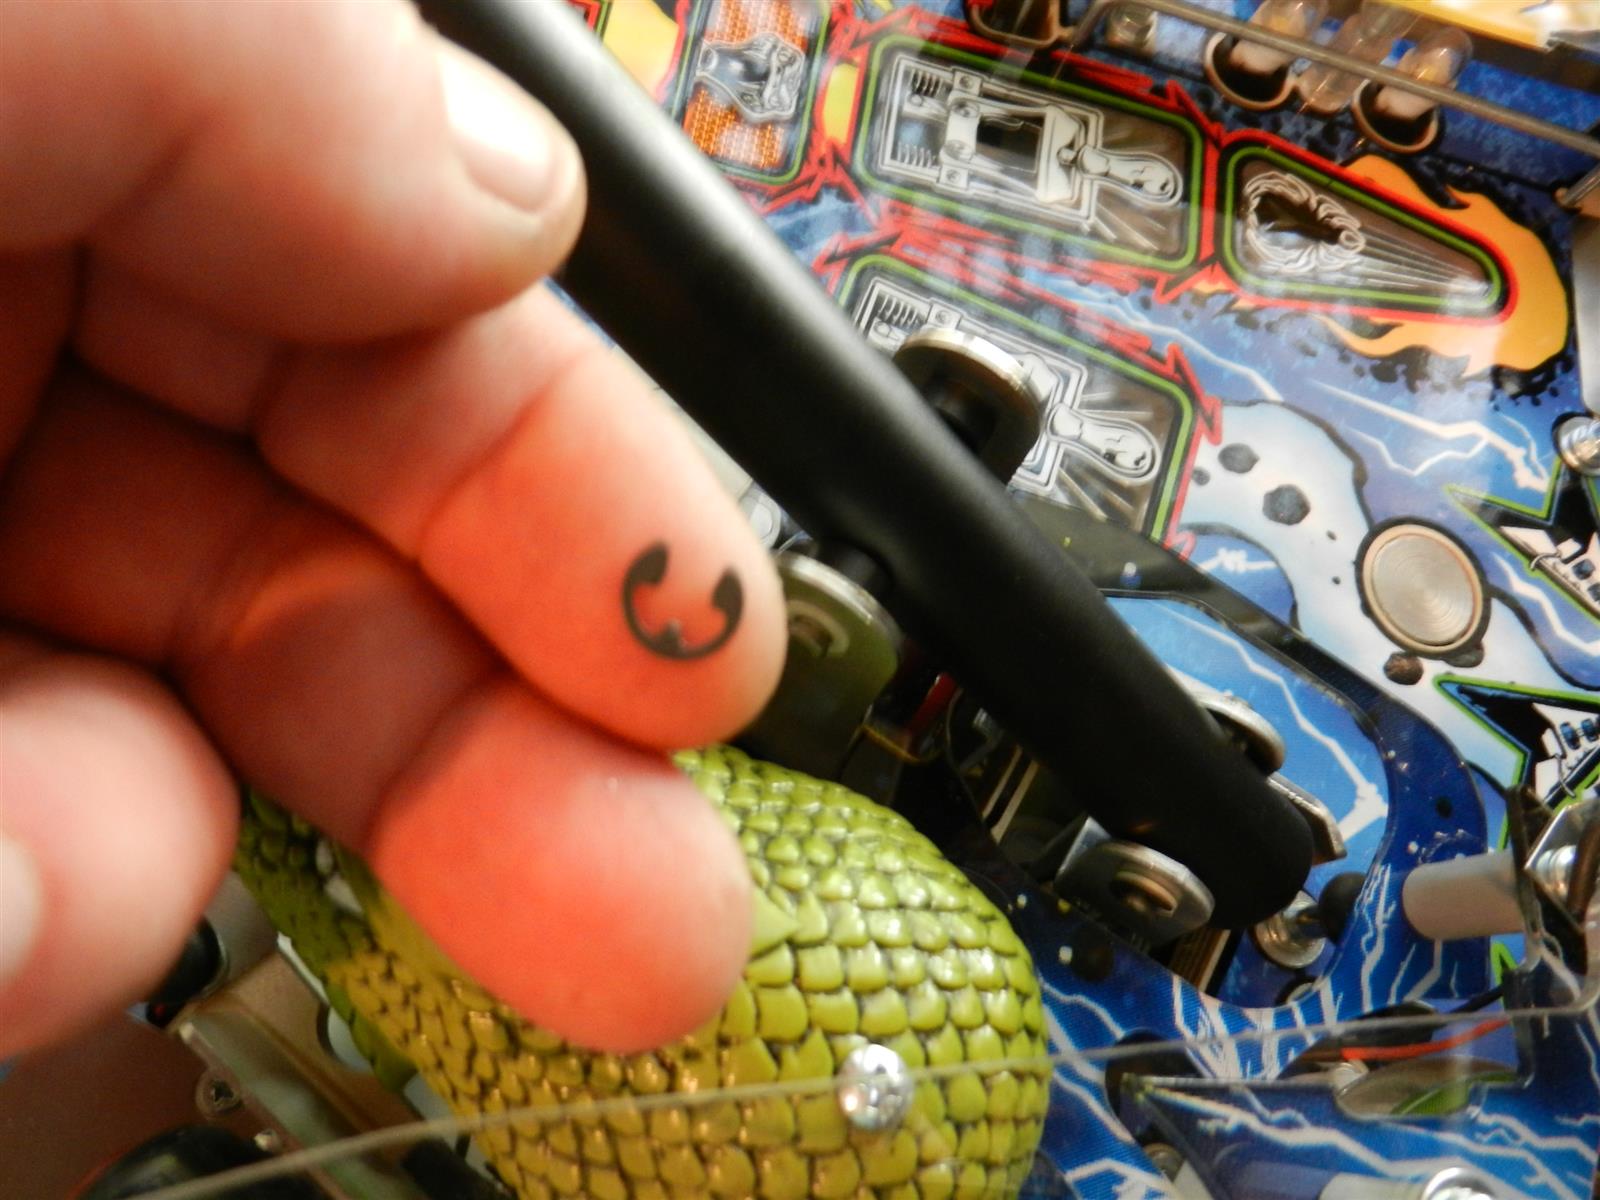
CAREFULLY remove the inner E-clip from the
pivot shaft. Think magnetic screwdriver :)
|
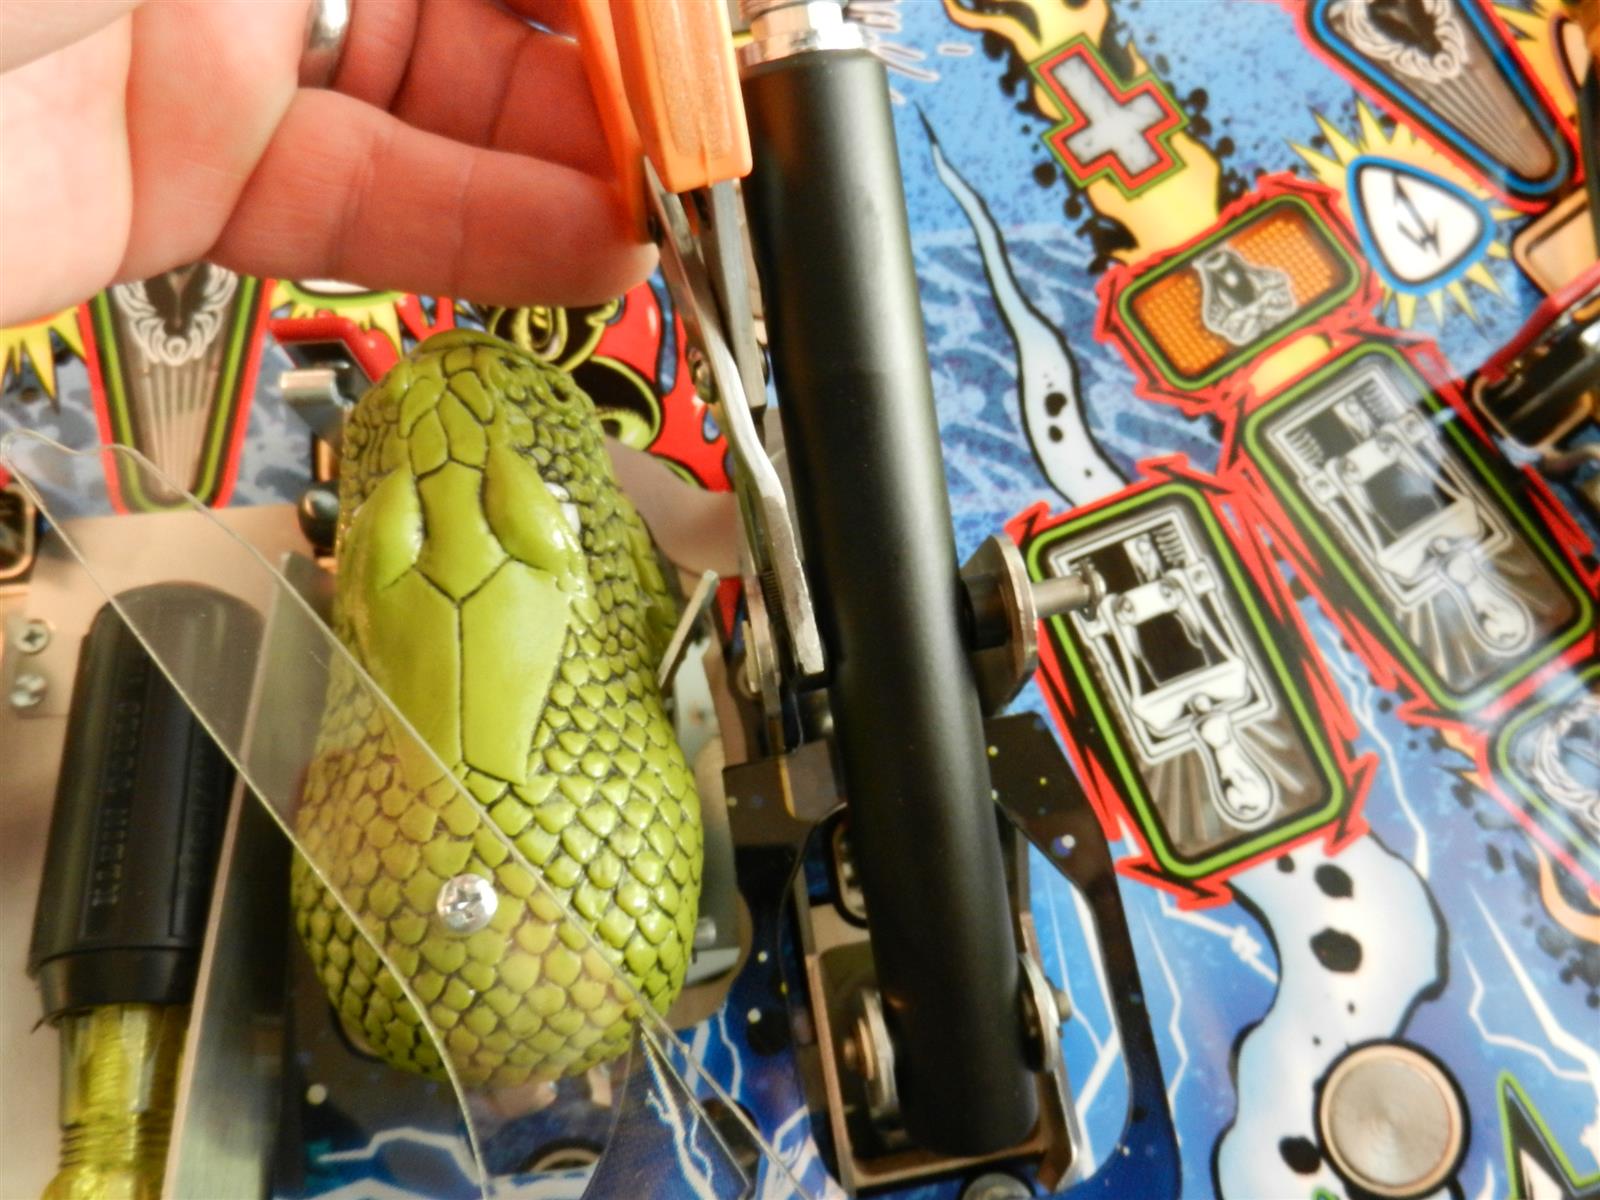
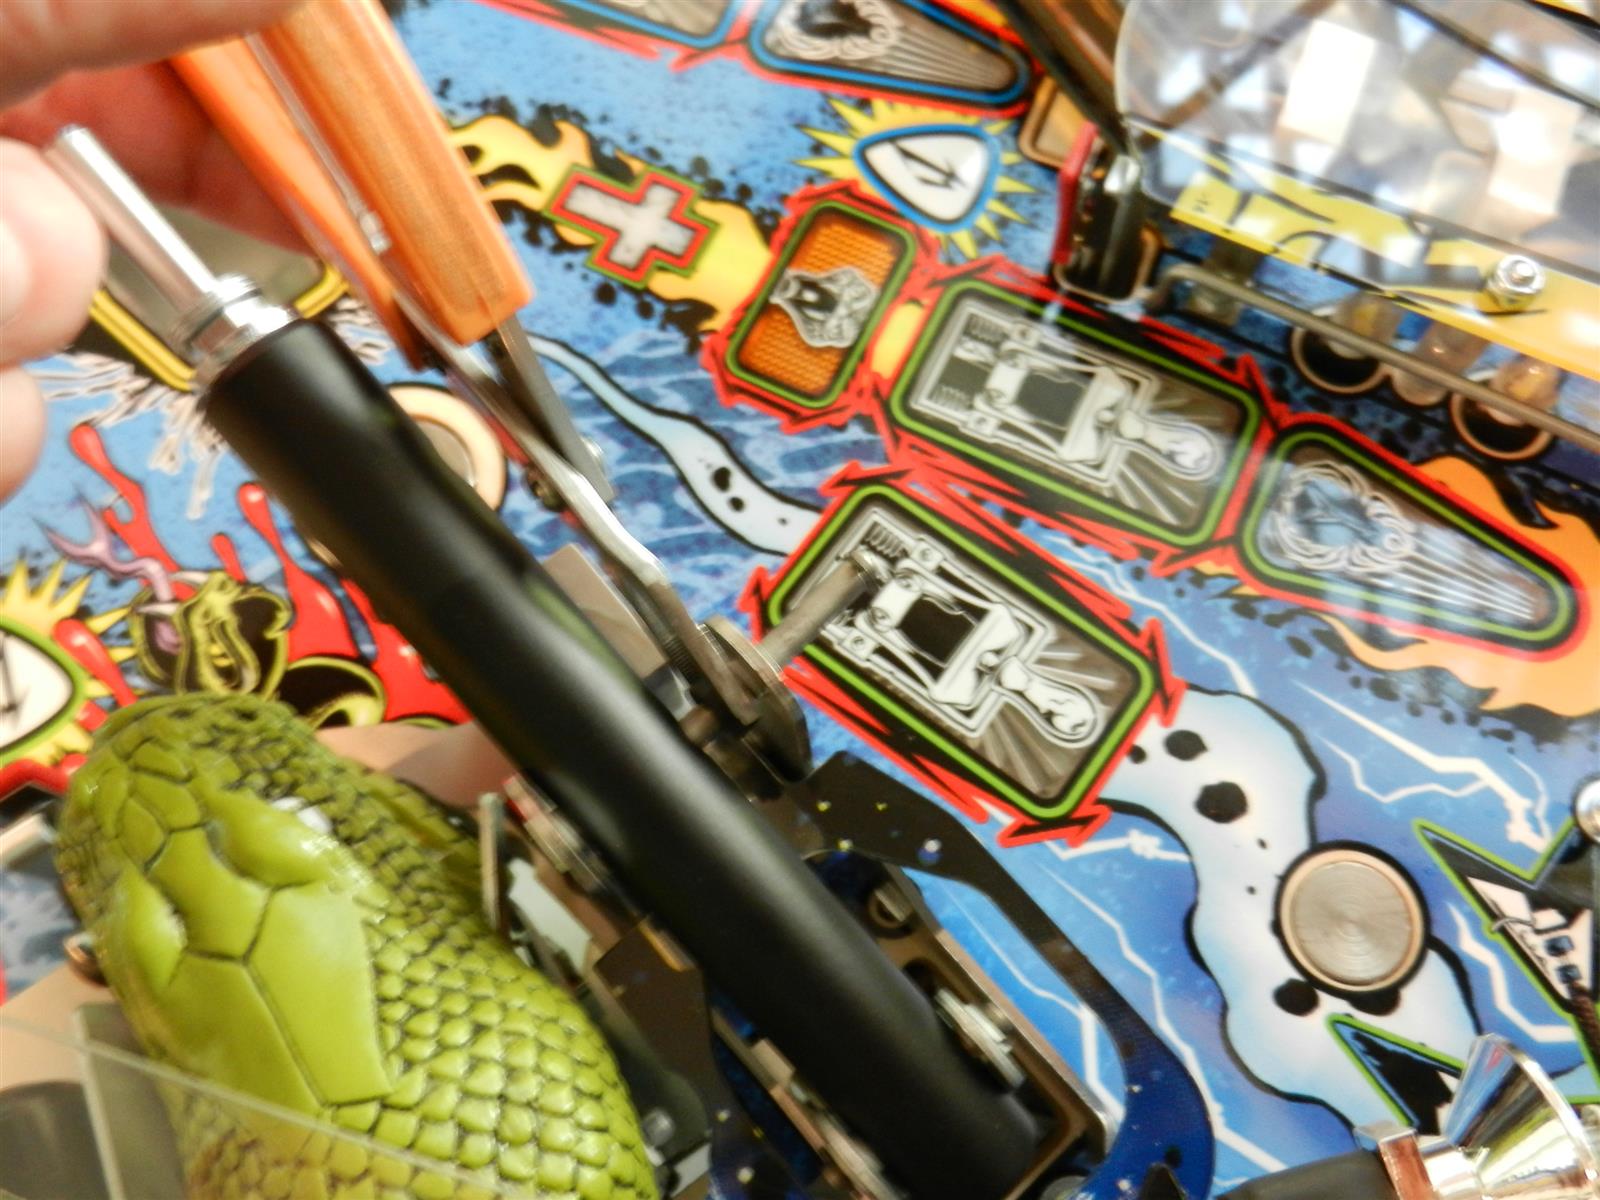
Use needlenose pliers to hold spacers
while you pull out the pivot shaft. One spacer on each side.
|
INSTALL TIP! A great idea from the *OLD* EM (electro-mechanical) pinball guys is to use a white towel to line the bottom of the cabinet. If E-clips and screws fall through the playfield they will be MUCH easier to find. Unless you're one of those OLD EM guys as they are nearly blind by now... like me :) |
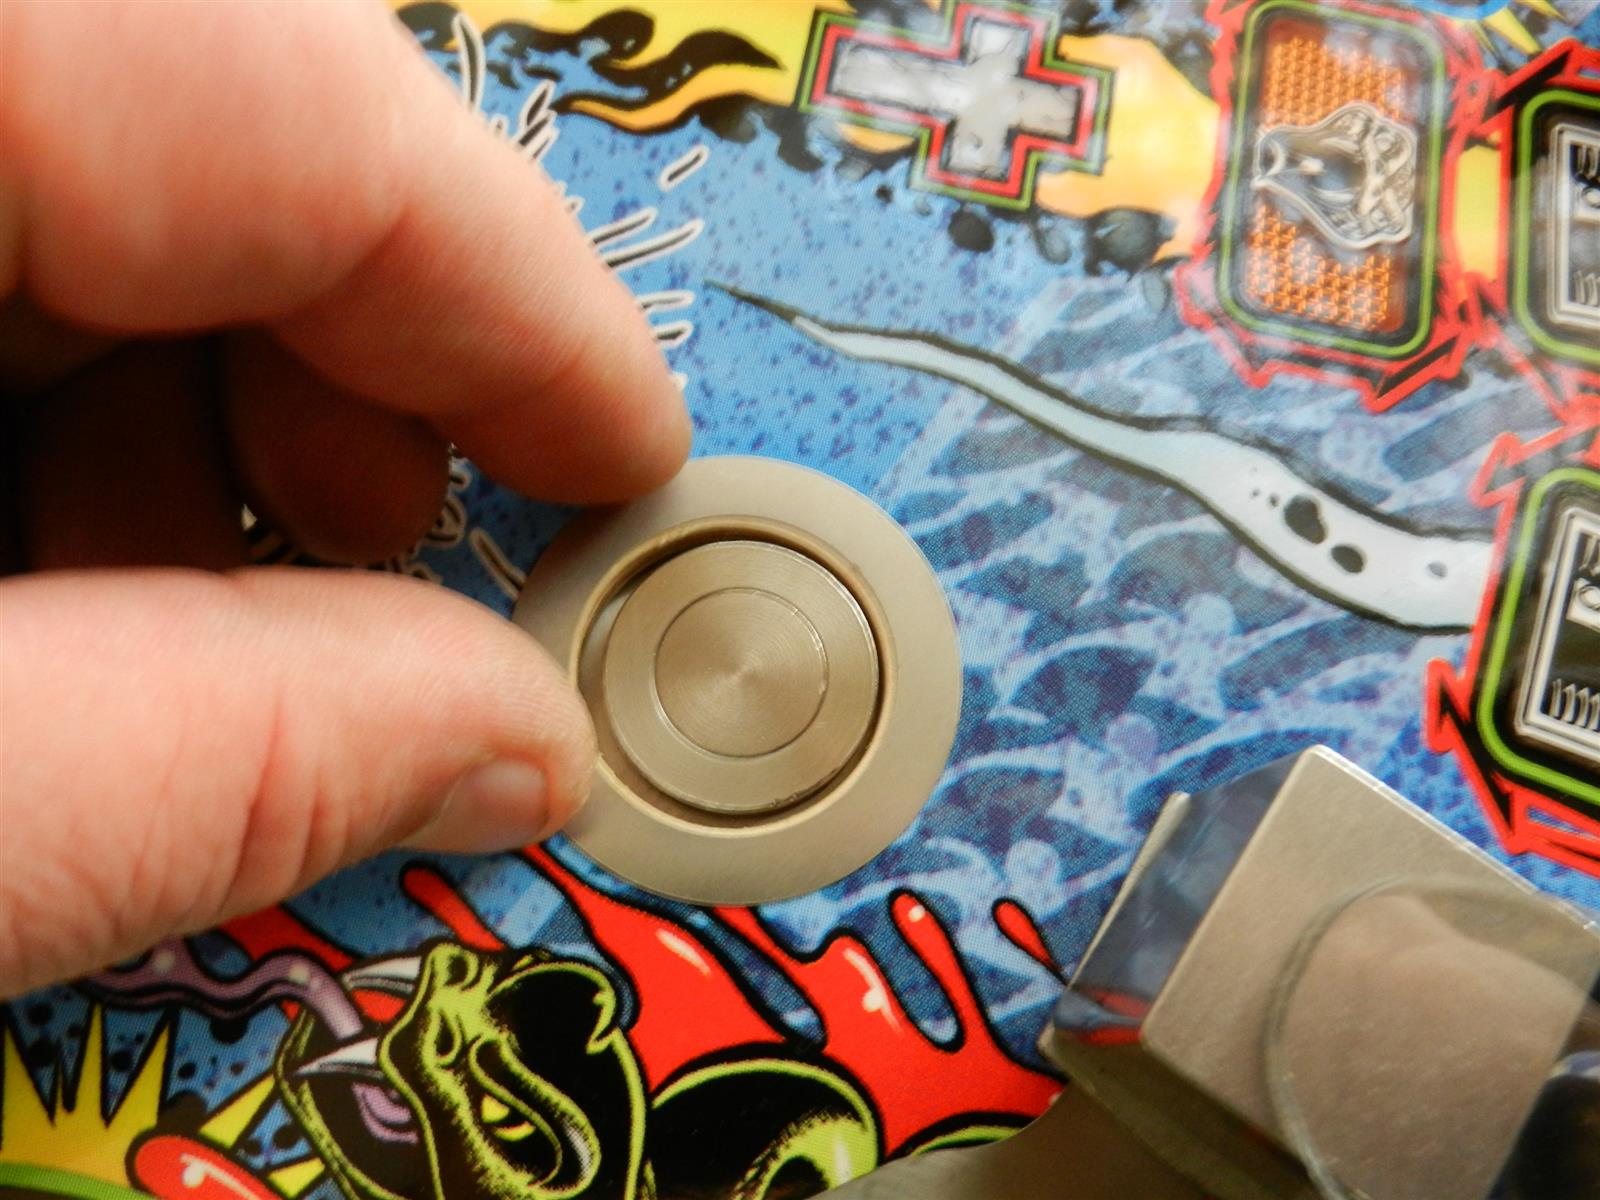
Prepare the protector. My magnet protector rings have no clear film but you should test fit BEFORE peeling the adhesive backing. This gives you and idea of where it should rest once applied. Ok, peel the backing and place over the magnet pole. 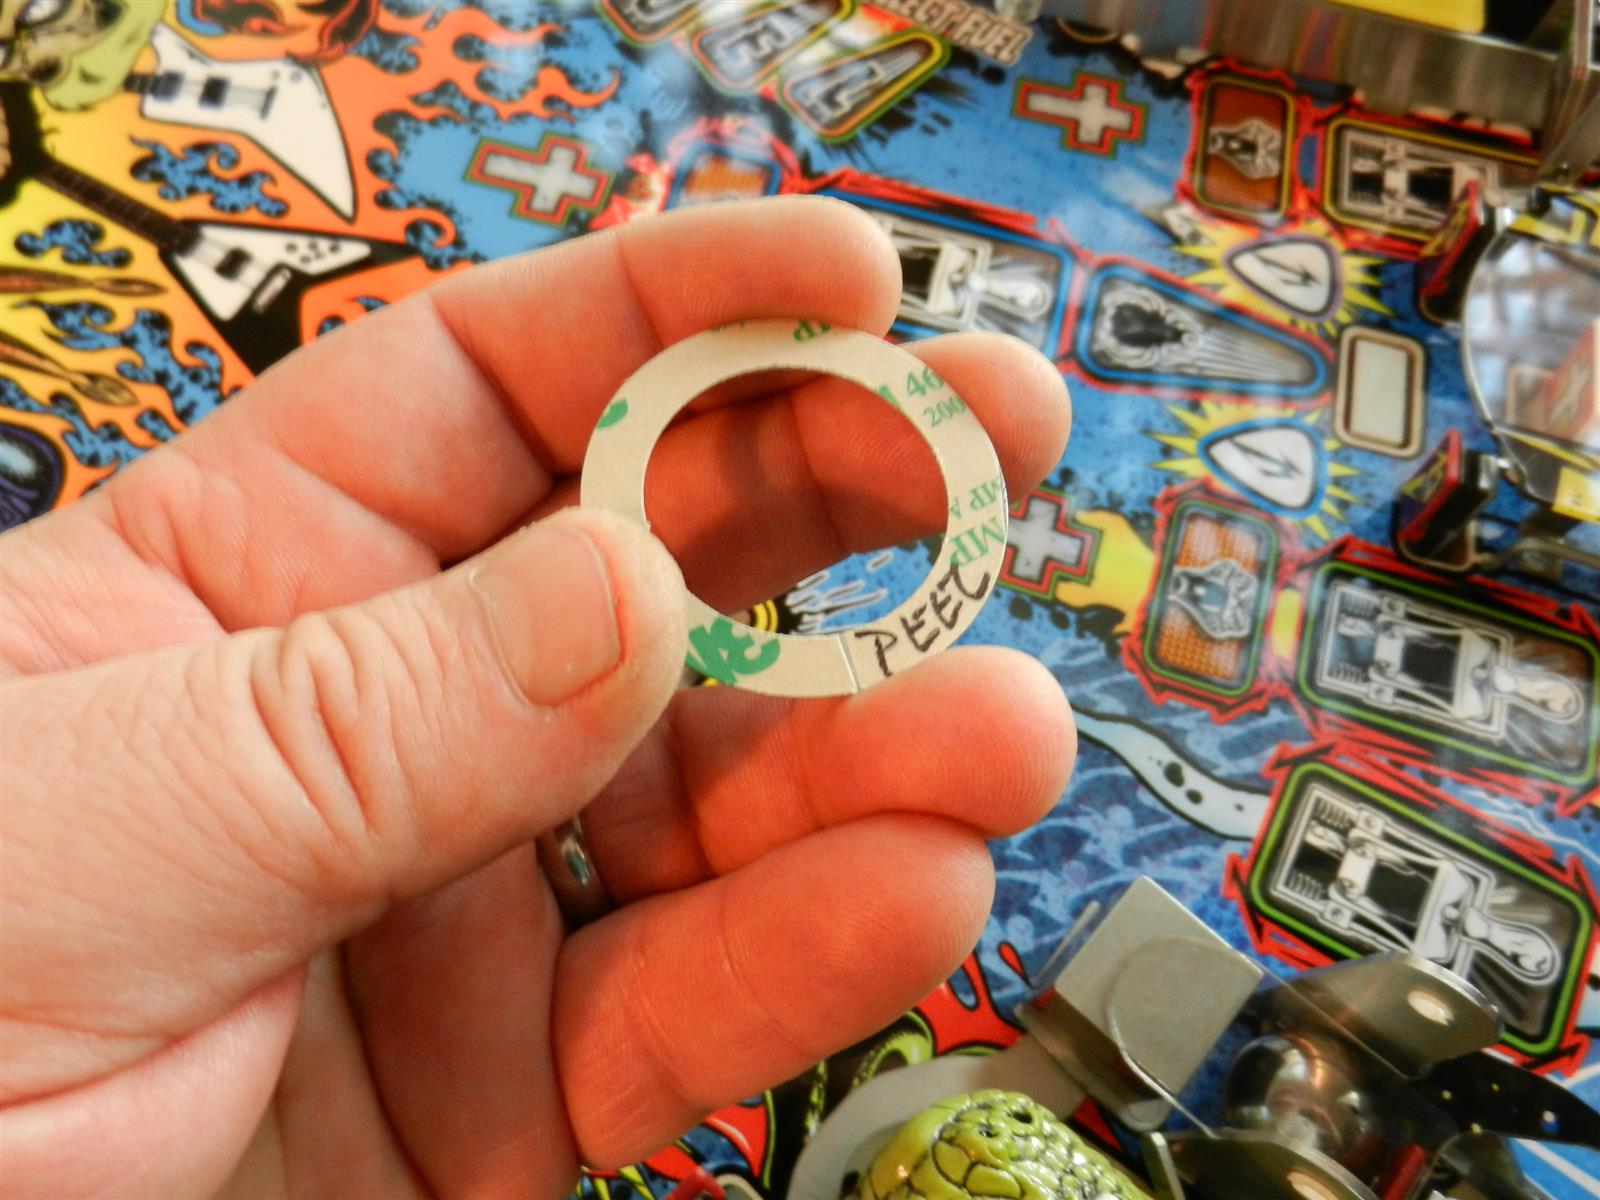
 |
Hopefully you were able to position it
nicely. Now rub it down hard with a soft cloth.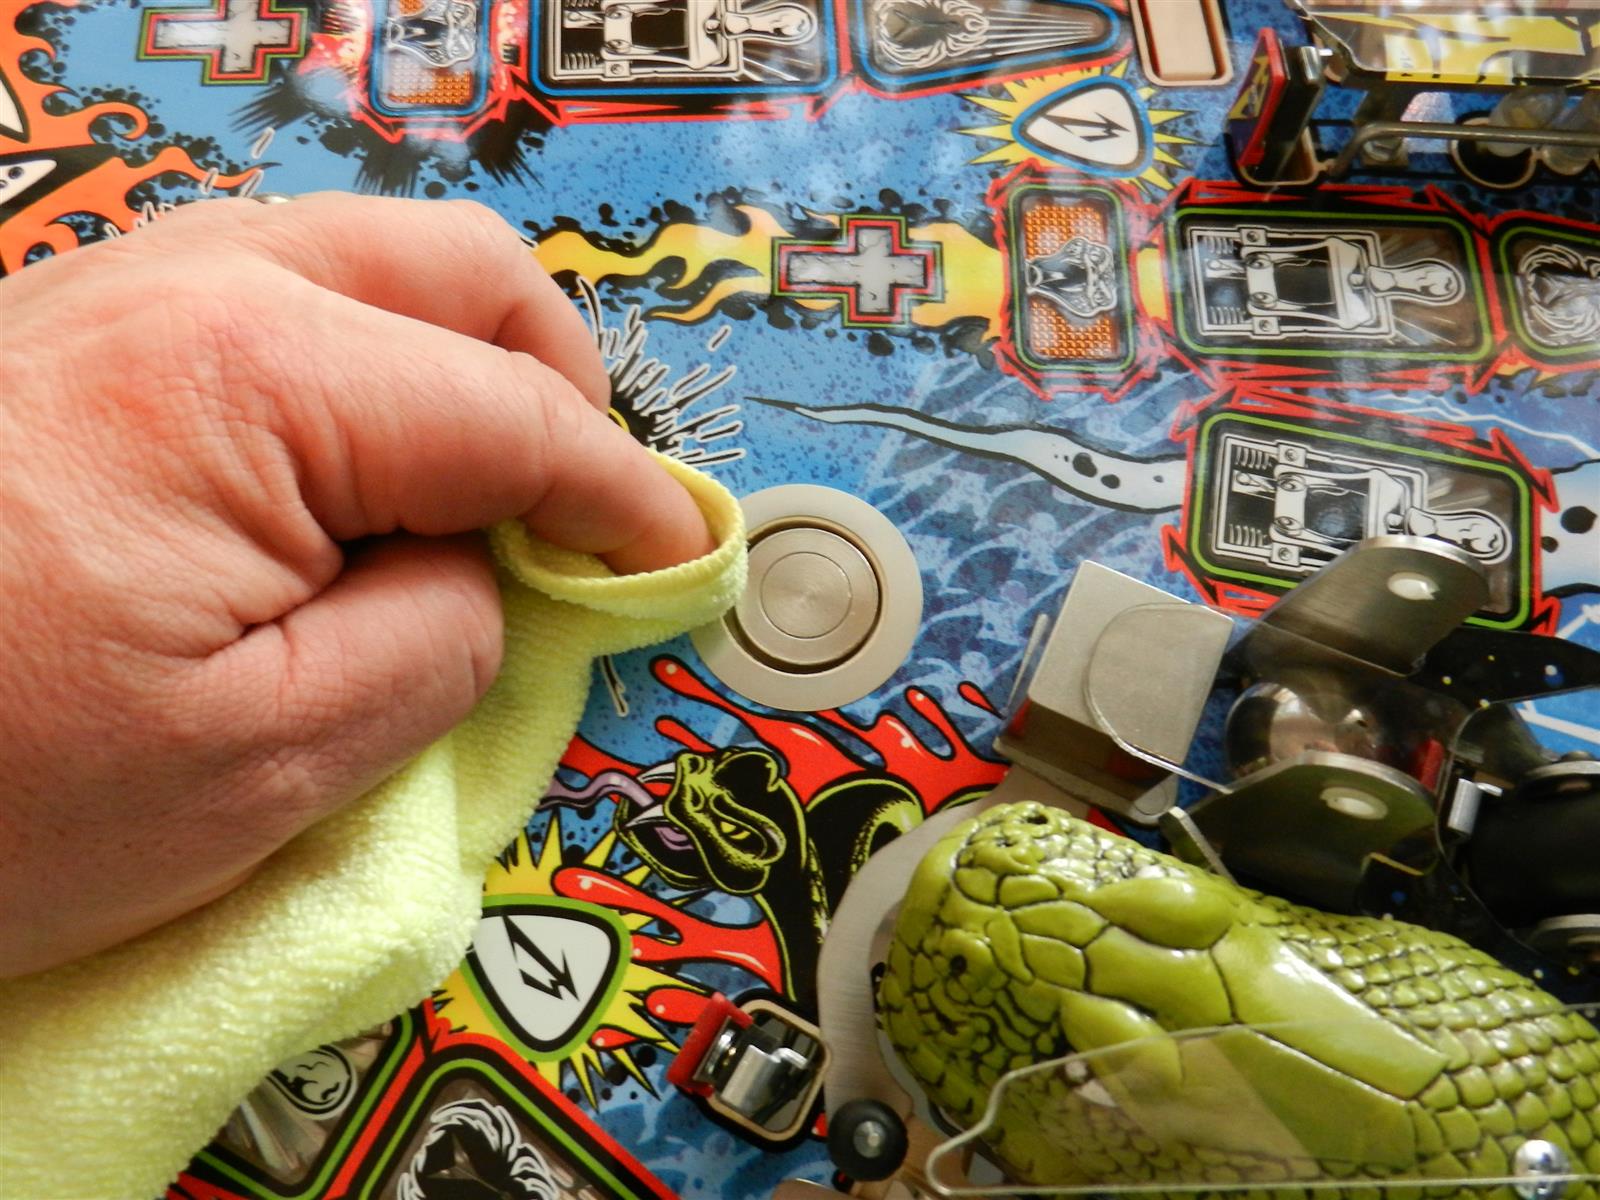 Reassemble the Gavel taking extreme care not to zing the E-clip off into space. Now admire your work once again. 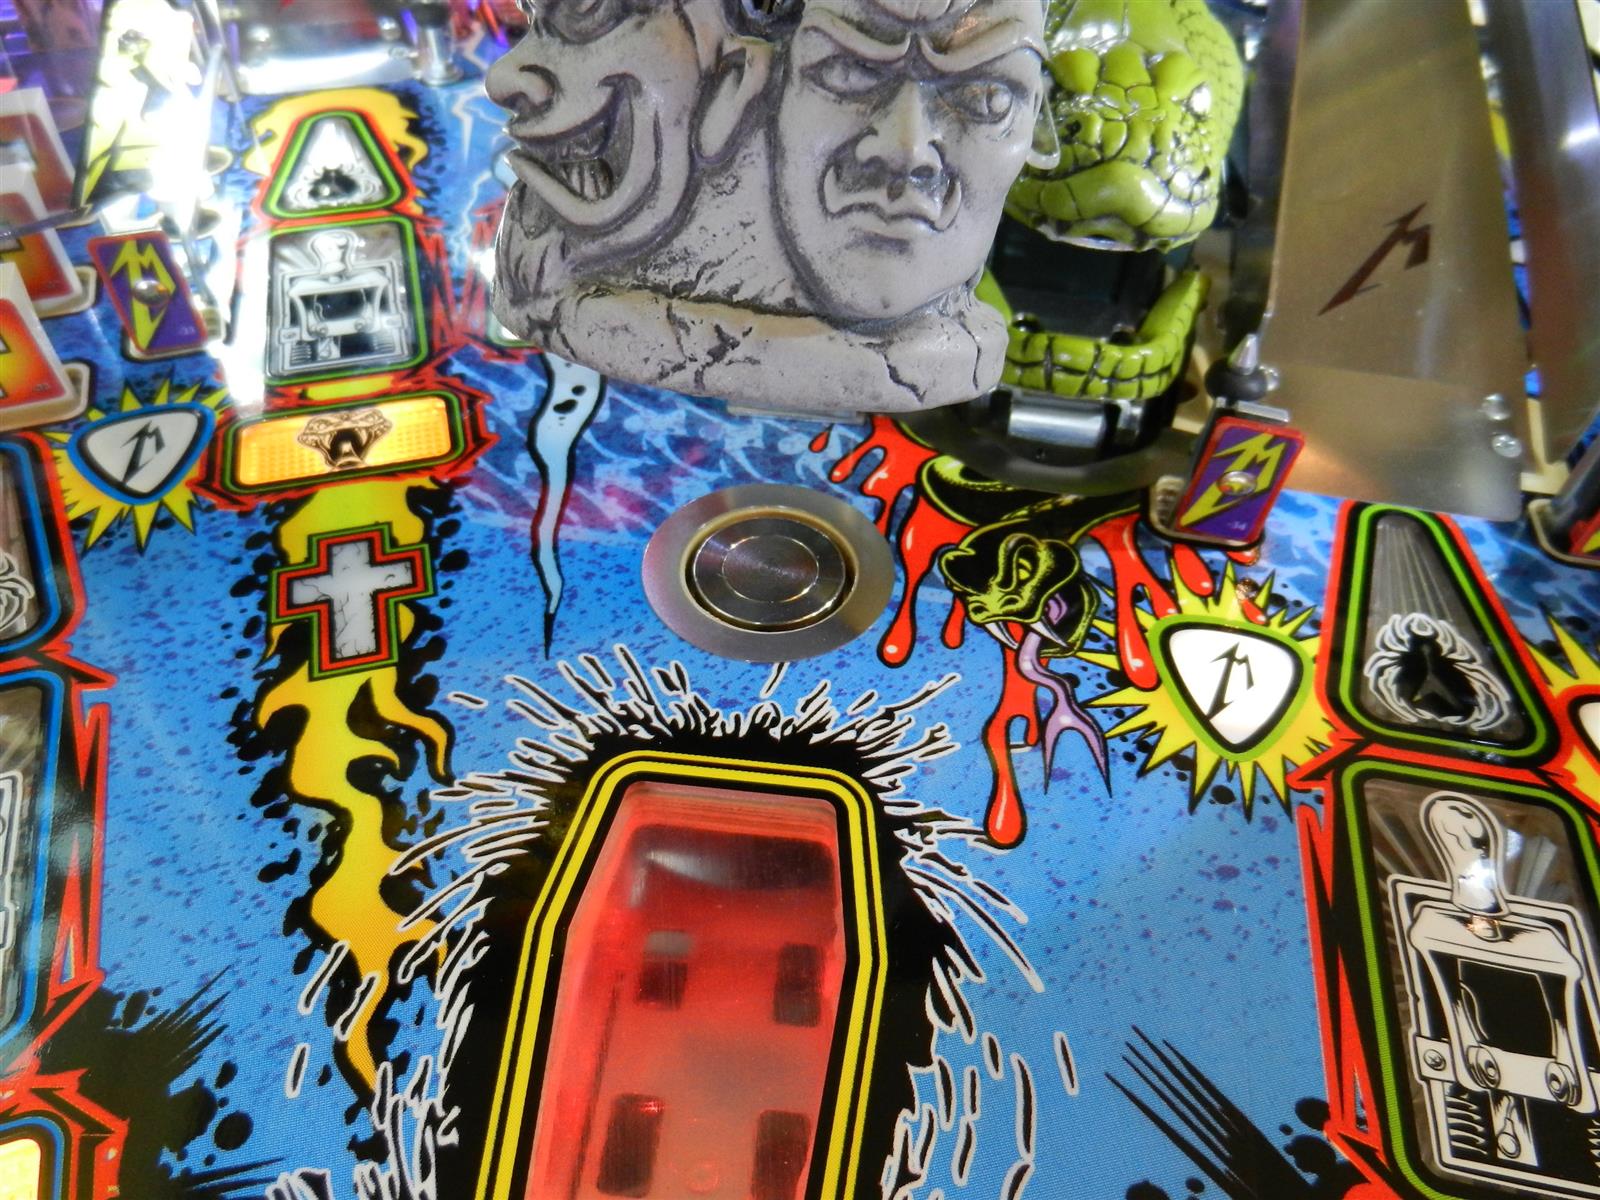 |
Install the two smaller protector rings
the same as you did for the Coffin magnet. I didn't show disassembly
pics here because you should have this part down to a science by now. Graveyard mag 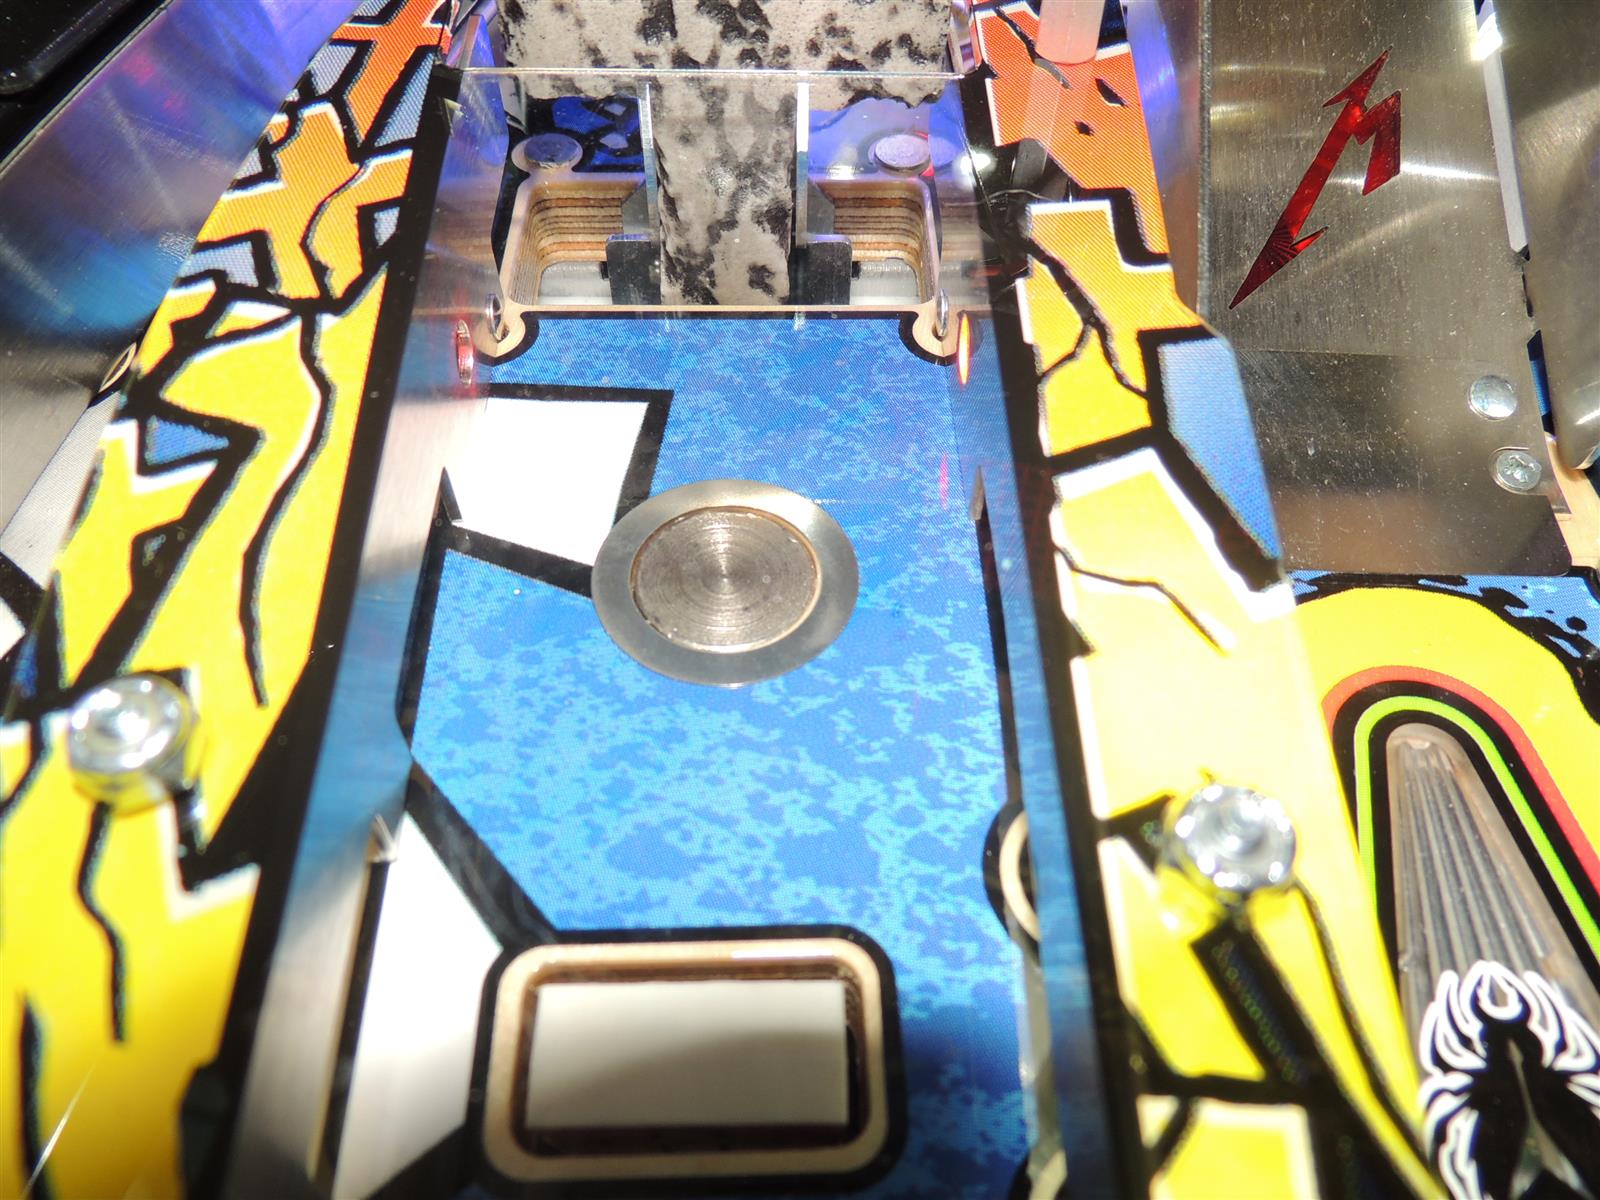 Sparky mag  |
Finally, if you opted to purchase switch
slot protectors, it's time to prepare for those. Remove the wireform
ramps enough to get them out of your way. Peel protective film from
protectors and squeeze open end together. Place into switch slot as
shown.
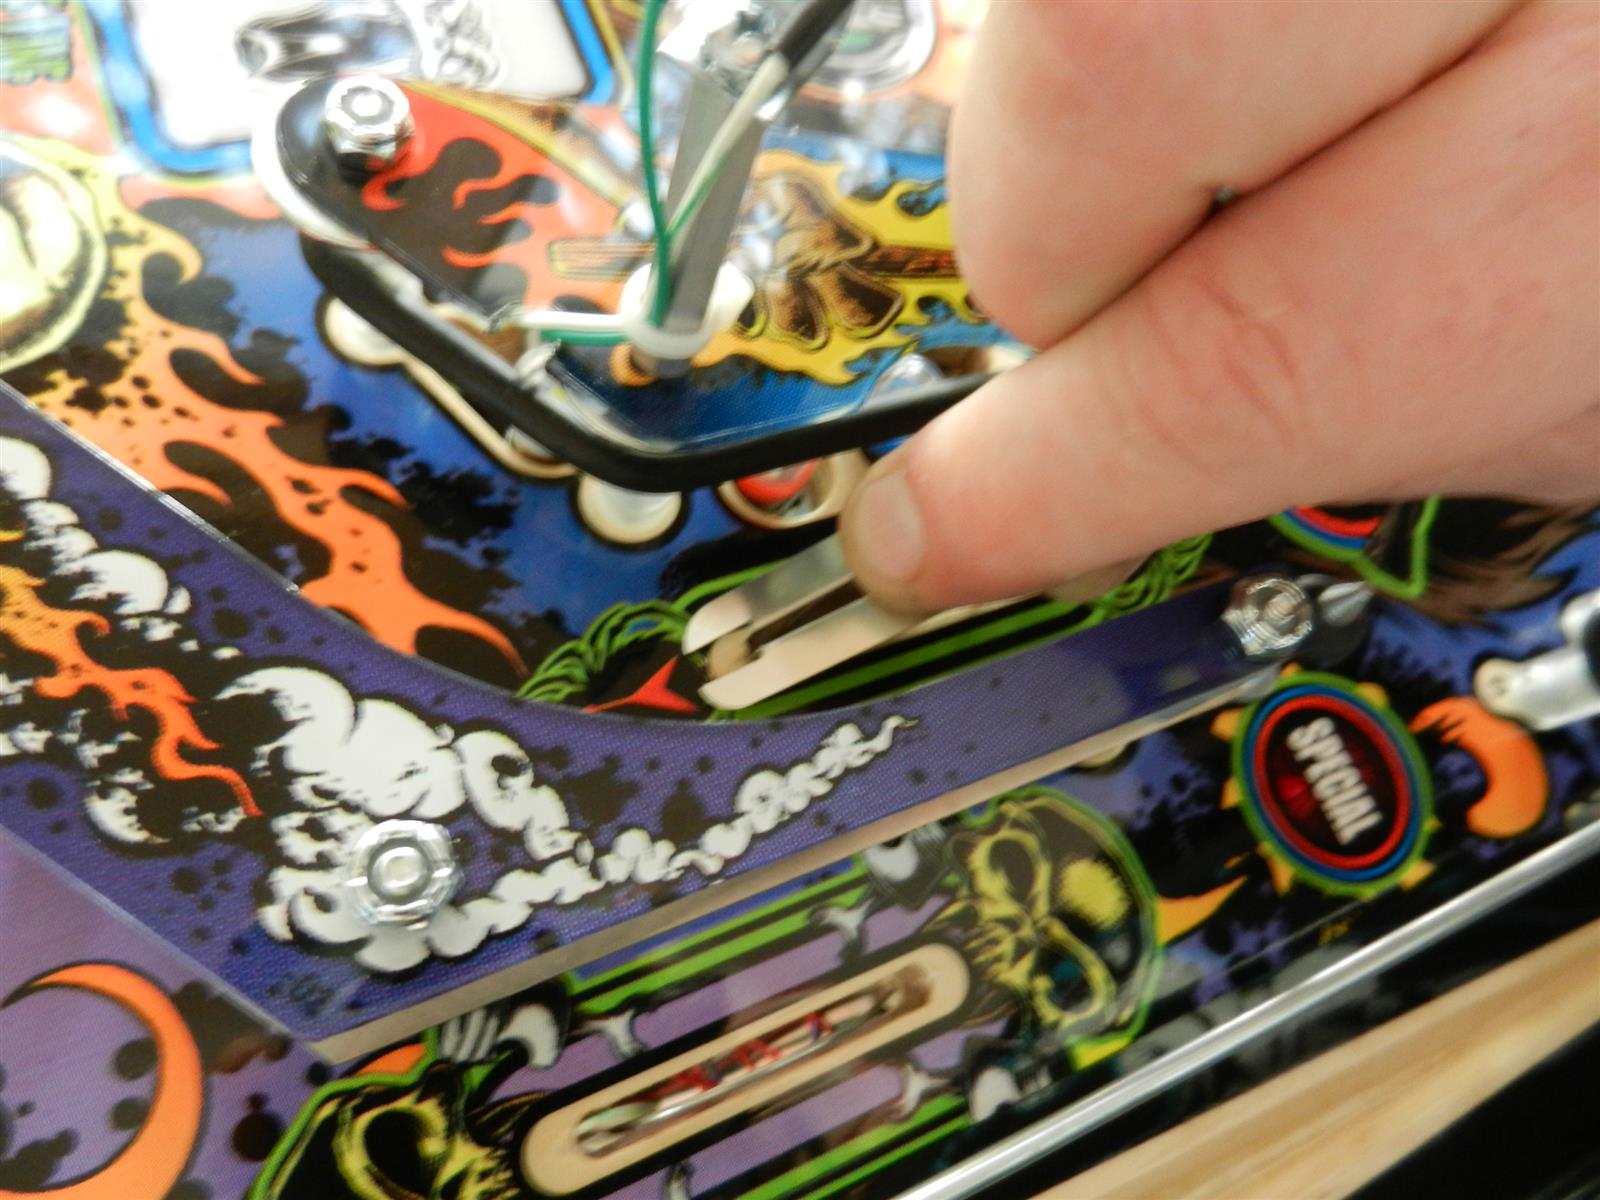 |
On Metallica I prefer the open end down.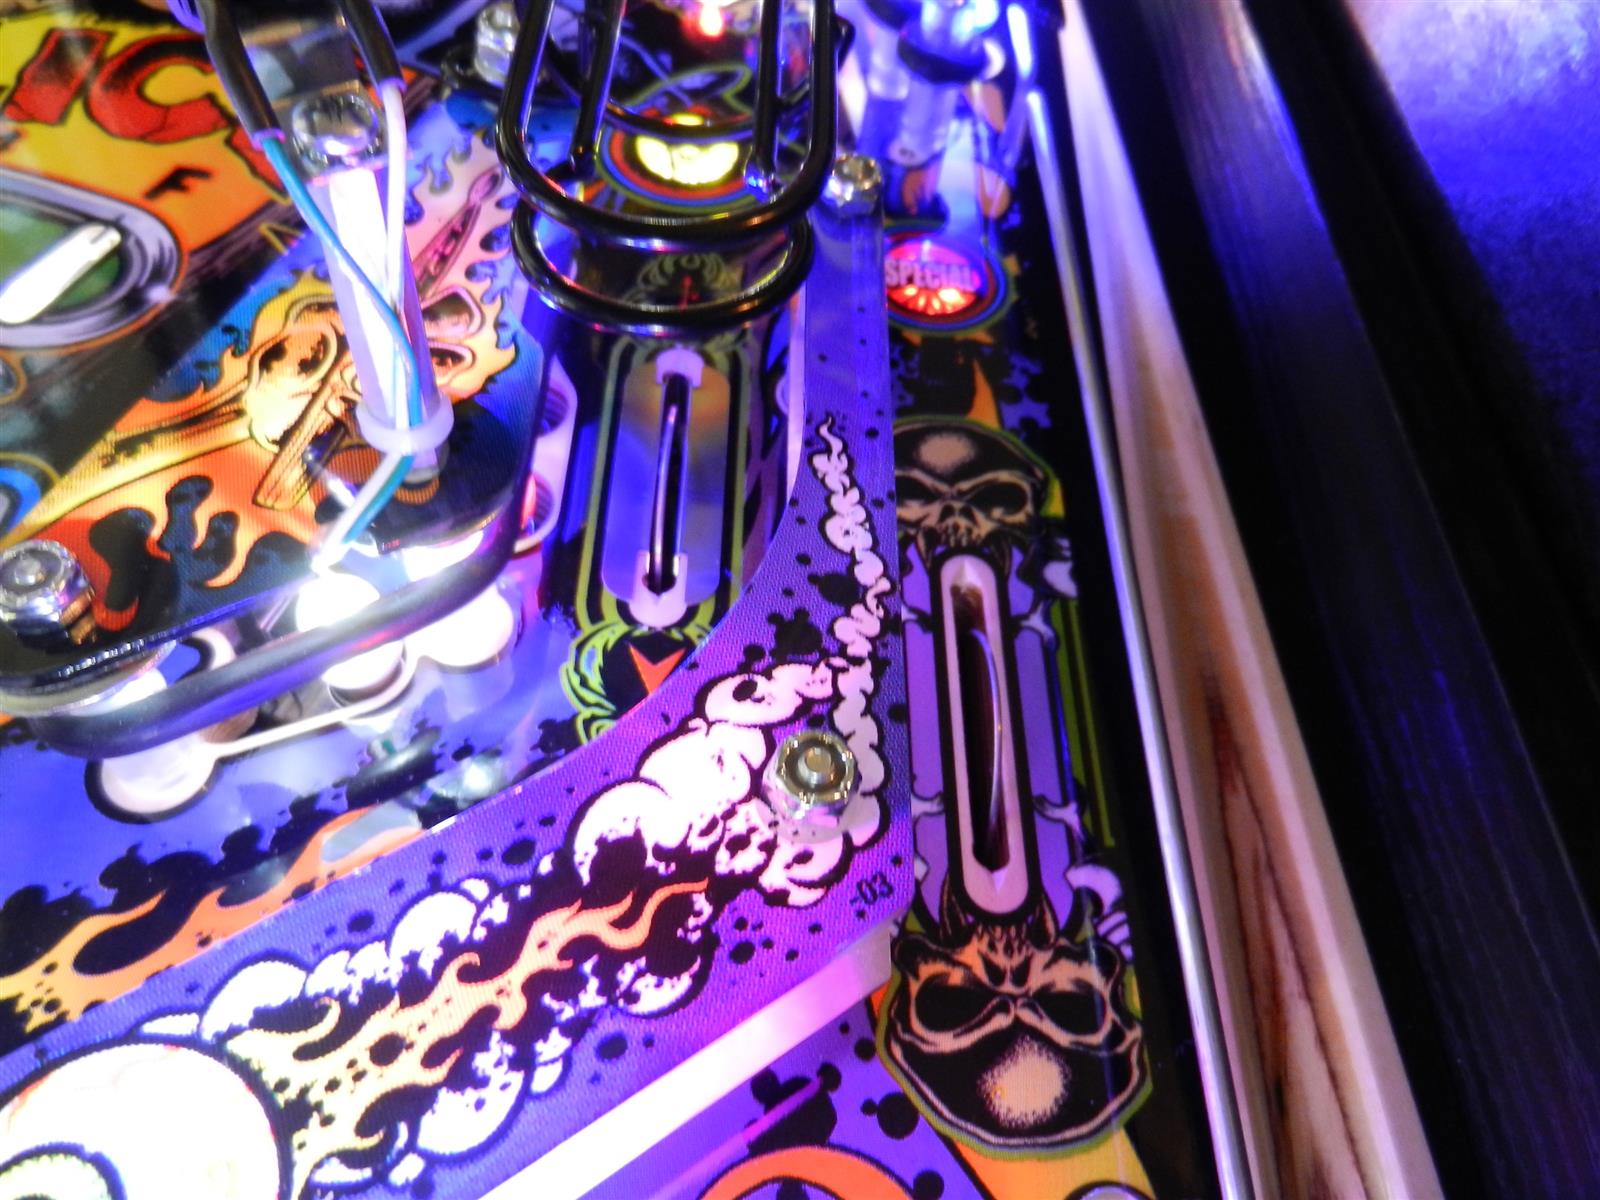
 Reinstall everything you removed and you are DONE! Step back for one last look and then fire that F&#%ER UP! |
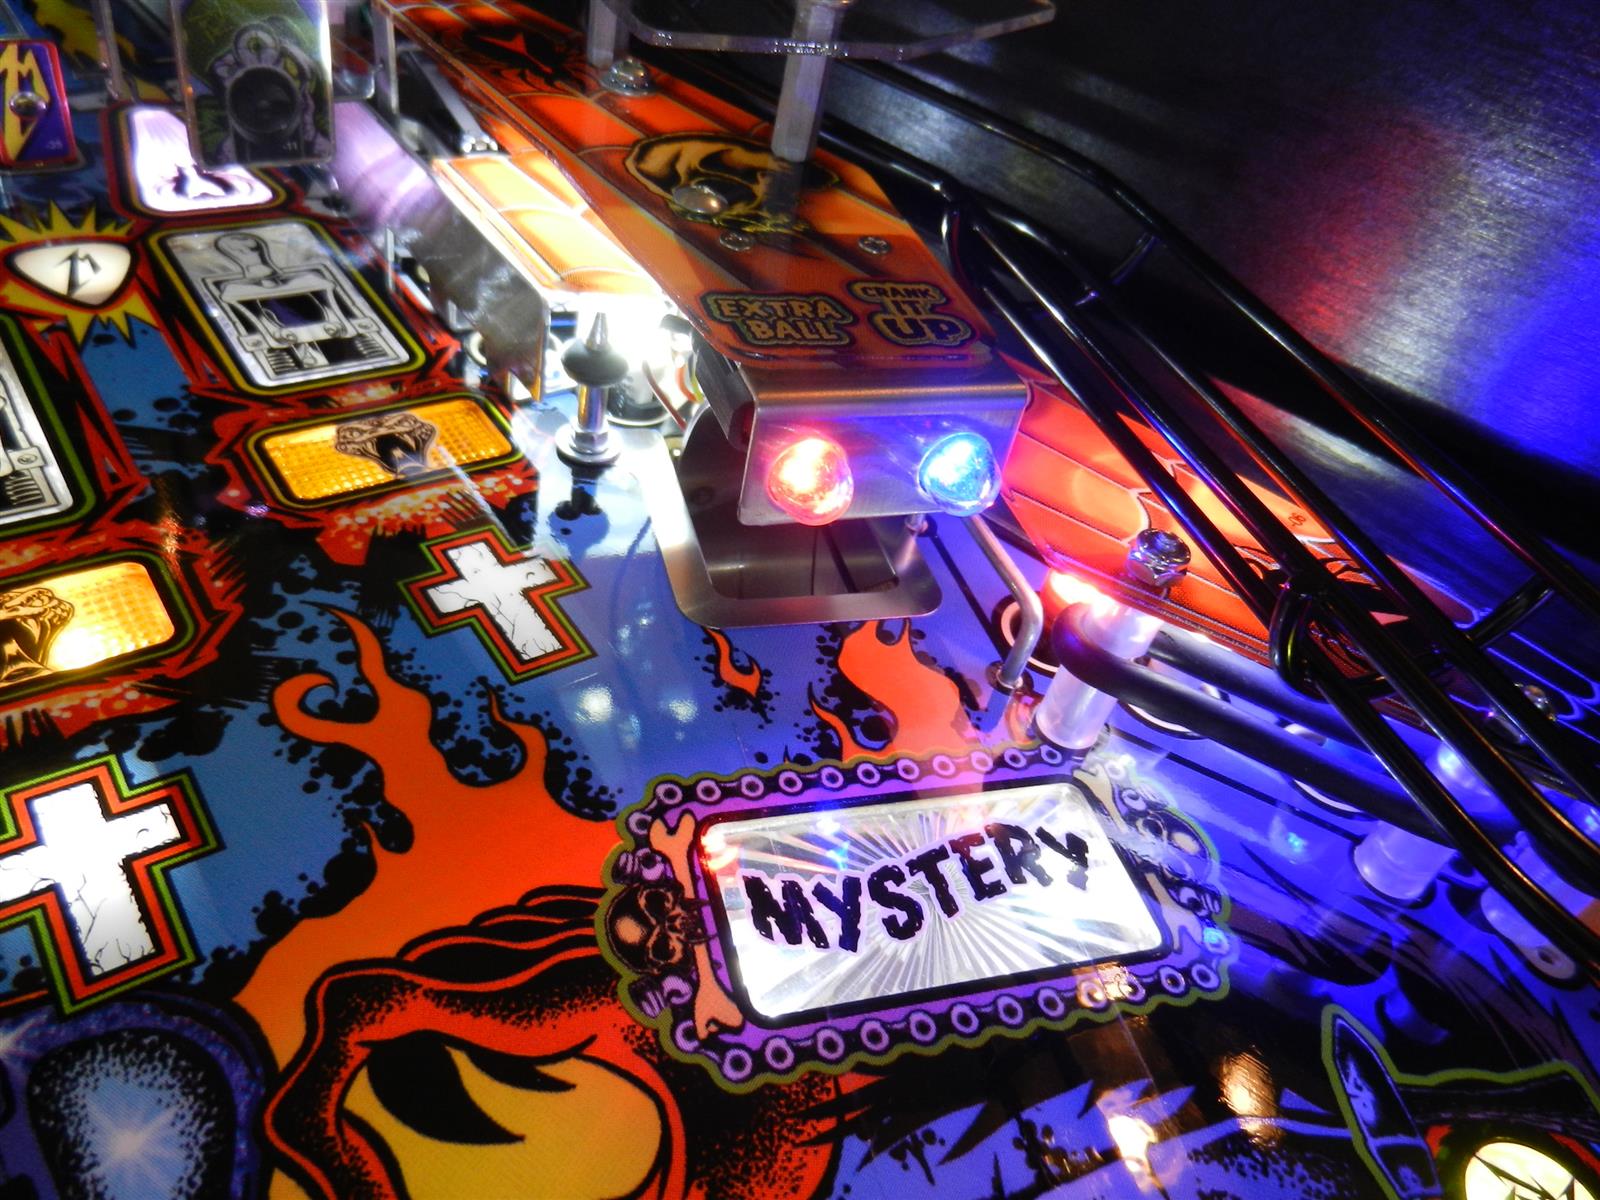
BEAUTY SHOTS!
|
Now that you know how to install them click HERE to go back and buy 'em! |