Herein lies the tale of what was intended to be a quick and intentionally NOT so thorough playfield restoration. As purchased the game itself was in average shape, appearance-wise, and mostly playable. Anyone who has seen Jumping Jack and Jack in the Box (4 player version) can attest to the fact that they ALL get pretty bad wear spots outside of the kickout saucers and around the pop bumpers. Some owner or operator prior to me made an attempt to paint over the damage at the kickouts and this is fairly common as well (and usually not very good) So all I wanted to do was match the pinkish inks, fill the kickout damage, touchup and clear with Varathane. Unlike some of my other games I really just wanted a player that looked good. Follow along on this supposed weekend restoration that ended up taking over 3 years :)
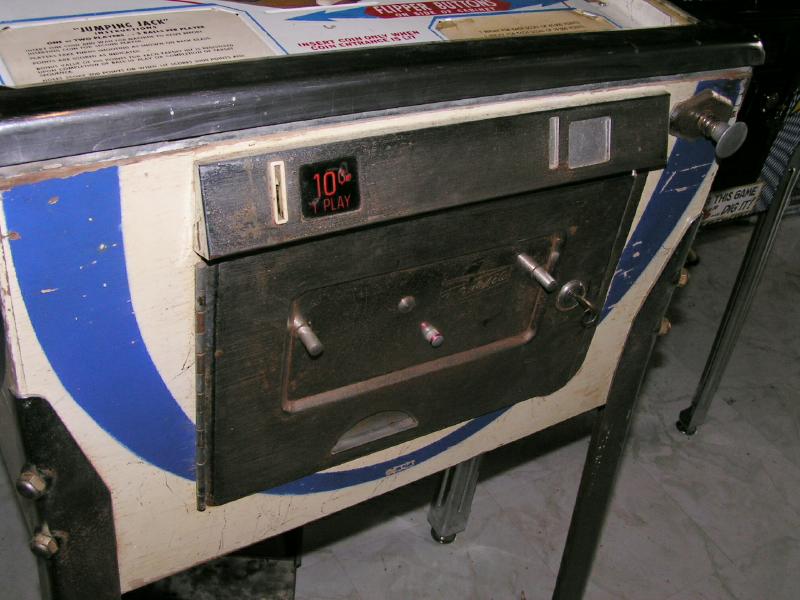
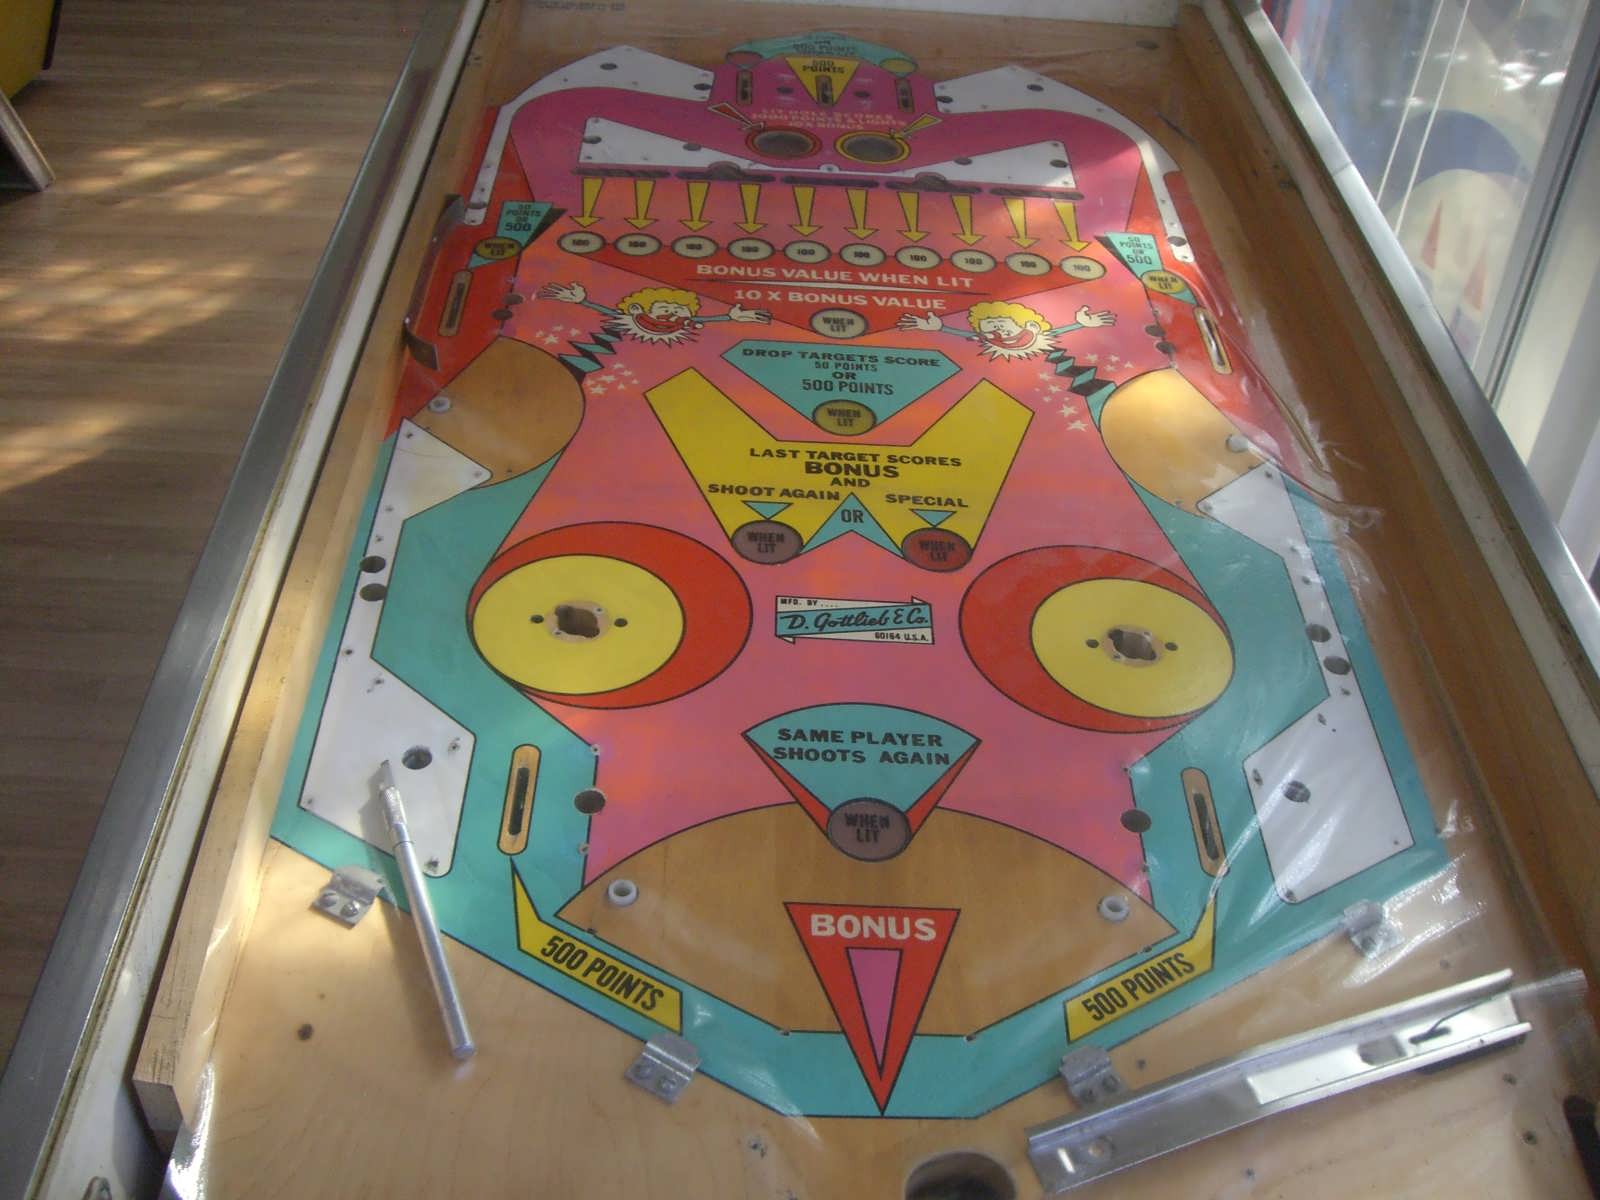
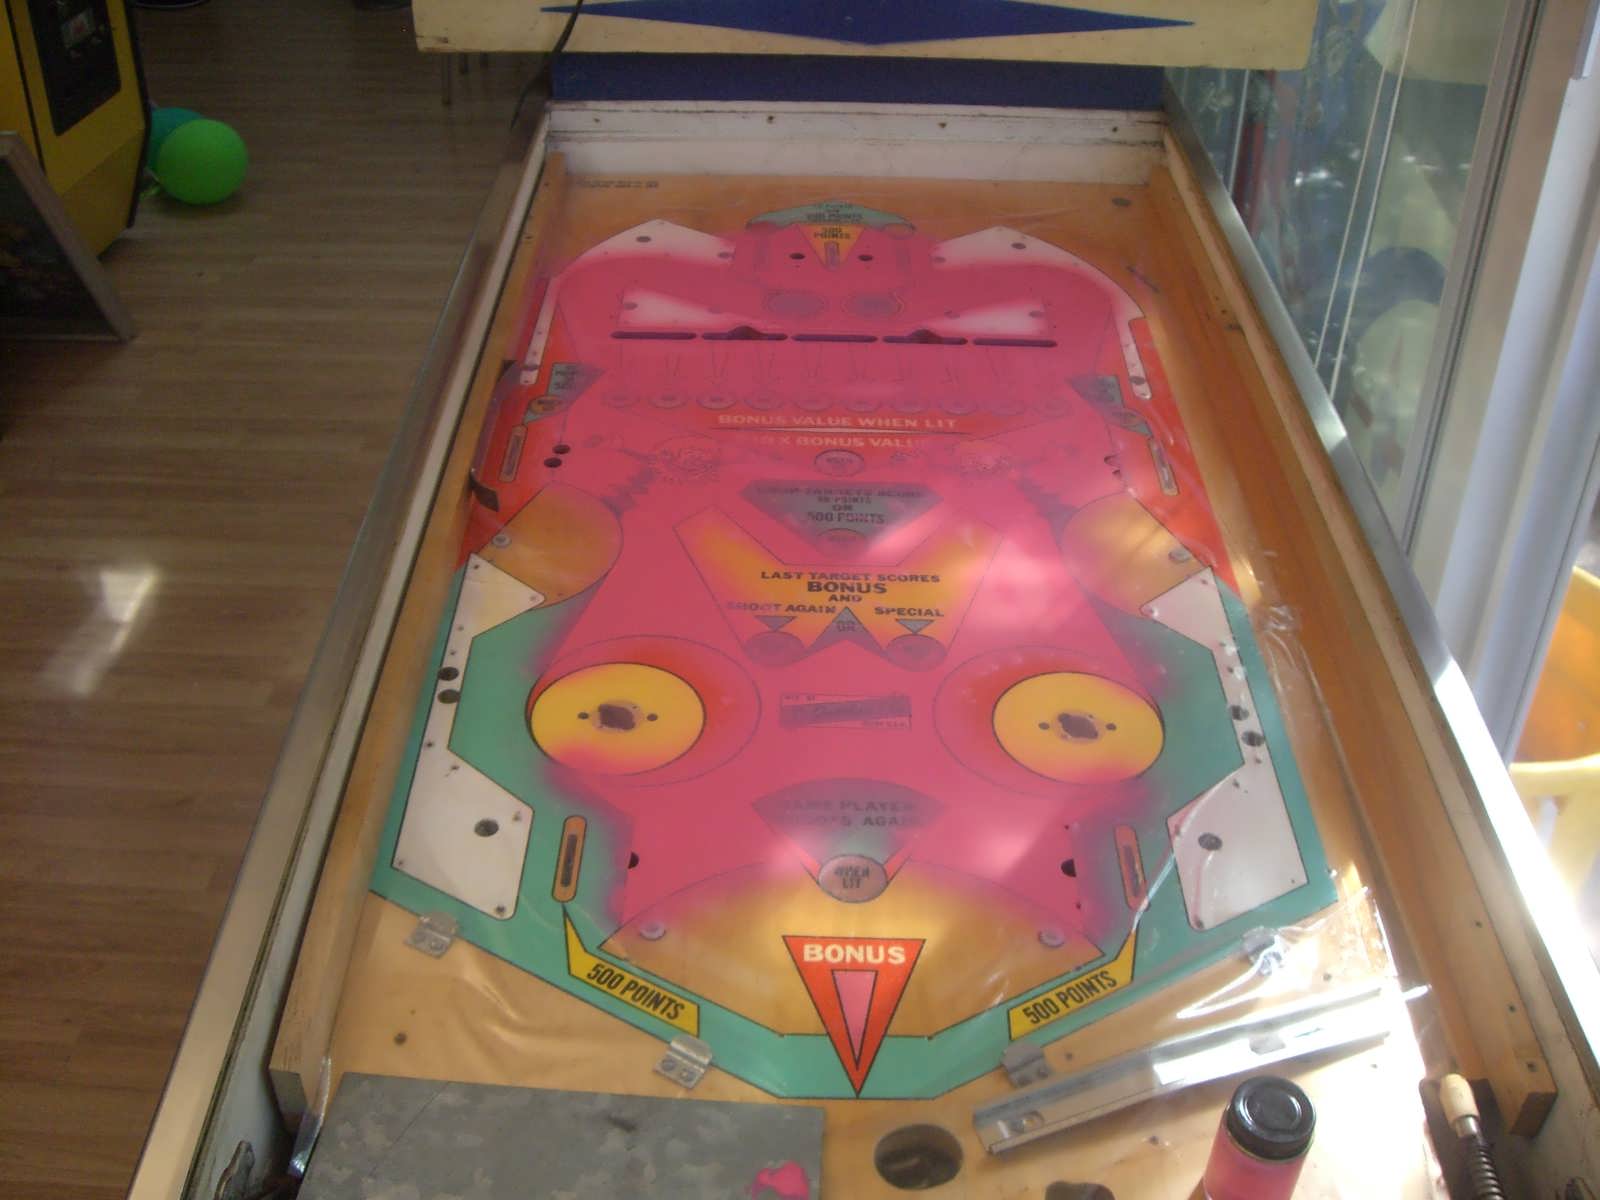
Here are a few pics immediately after
bringing the game home. No prize but a good deal on a fun playing game.
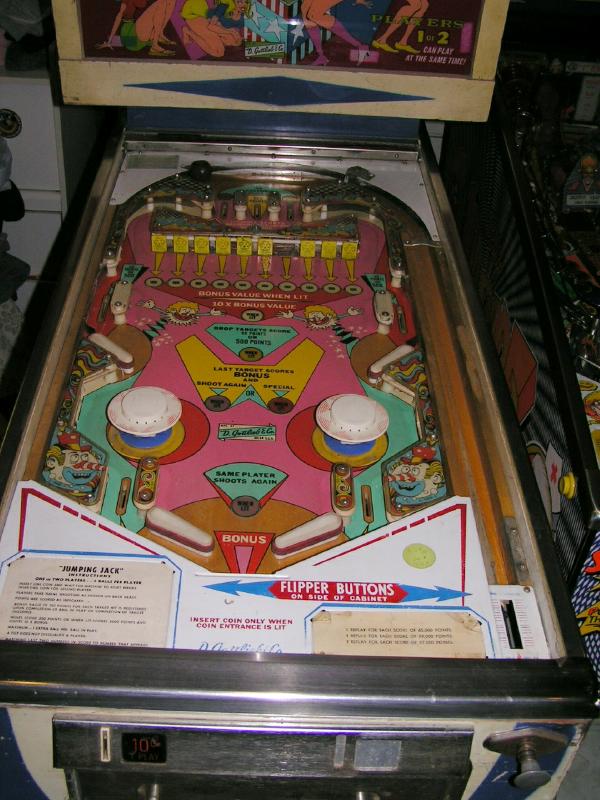

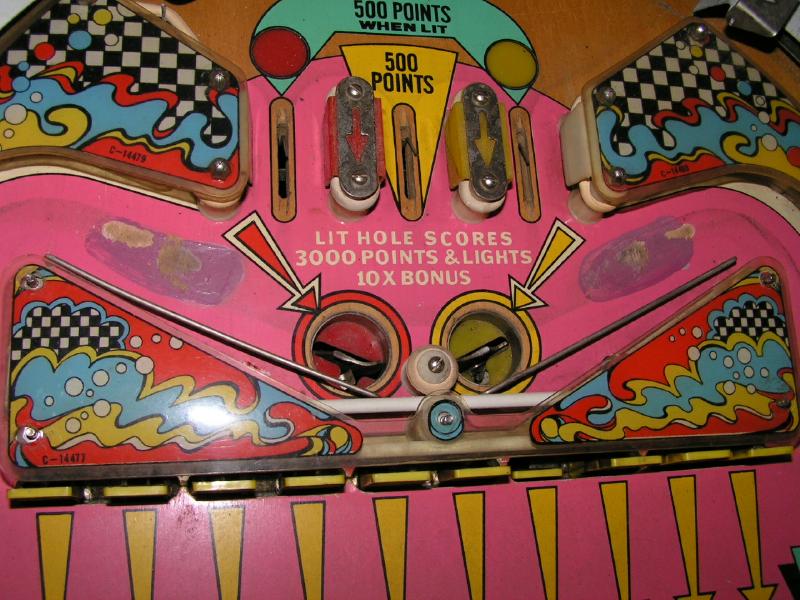
 As you can see it had a few nasty but common for it's age problems.
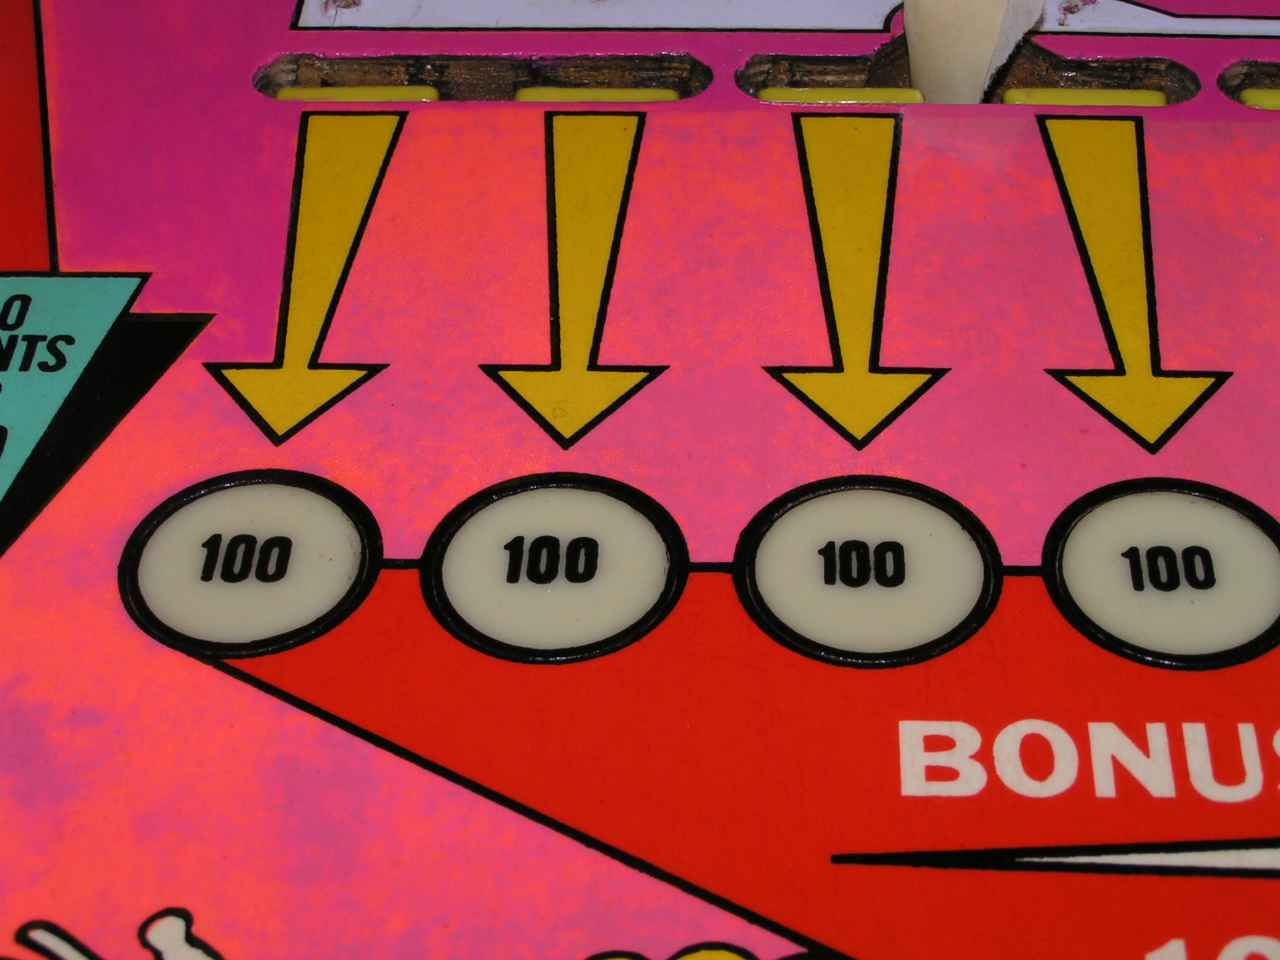
Although a little hard to see in the pics even the drop targets were missing
their little happy clown faces. Kickout wear and repair = BAD. Pop bumper wear,
typical. I had started the teardown to show bumper wear.
Ok so I figured on sanding out the weird purple someone used to patch the kickouts, filling with epoxy putty and repainting just that area. Matching would be hard but not impossible. As it happens there is an acrylic craft paint that was darn close to dead on. It's Folk Art brand Hot Pink #634. I did the fix, painted the wear areas with a super soft brush and it looked great. Next up was the clear waterborne Varathane I always use. Of course, before I forget, the entire playfield was cleaned with a Magic Eraser and 90% Isopropyl alcohol. I actually had a tougher time matching the yellow for the pop bumper area but since I was painting the entire area all I needed to be was close. Ok, back to the clear. All was looking great, I was happy to be nearly done so soon, my plans falling in place like a well played game of Tetris. I sprayed the first two cross layered coats, one on top of the other as I always do. Not too heavy but not a fog coat either. Looks nice so I walk away to let it cure. This was going to be an overnight dry as it was late. I knew I would have a couple more coats, some insert leveling and a final coat and be done. If all went well the next day could be the last day. Right. The best laid plans of mice and men....
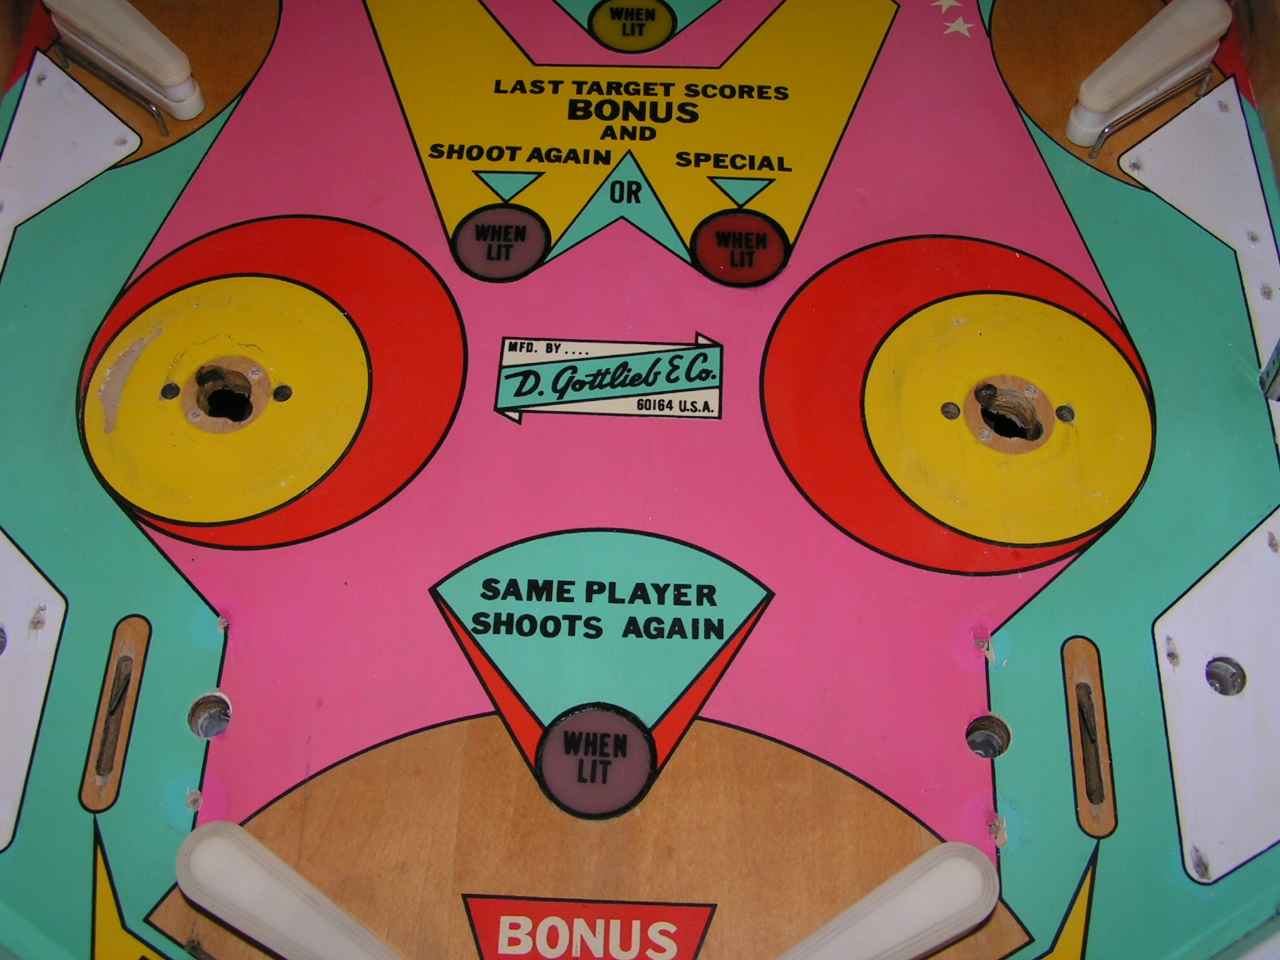
Here's what I woke up to the next morning.
Talk about getting the wind knocked right out of you. Hopefully you can see the
problem in these pictures well enough but they do not show it as well as in
person.
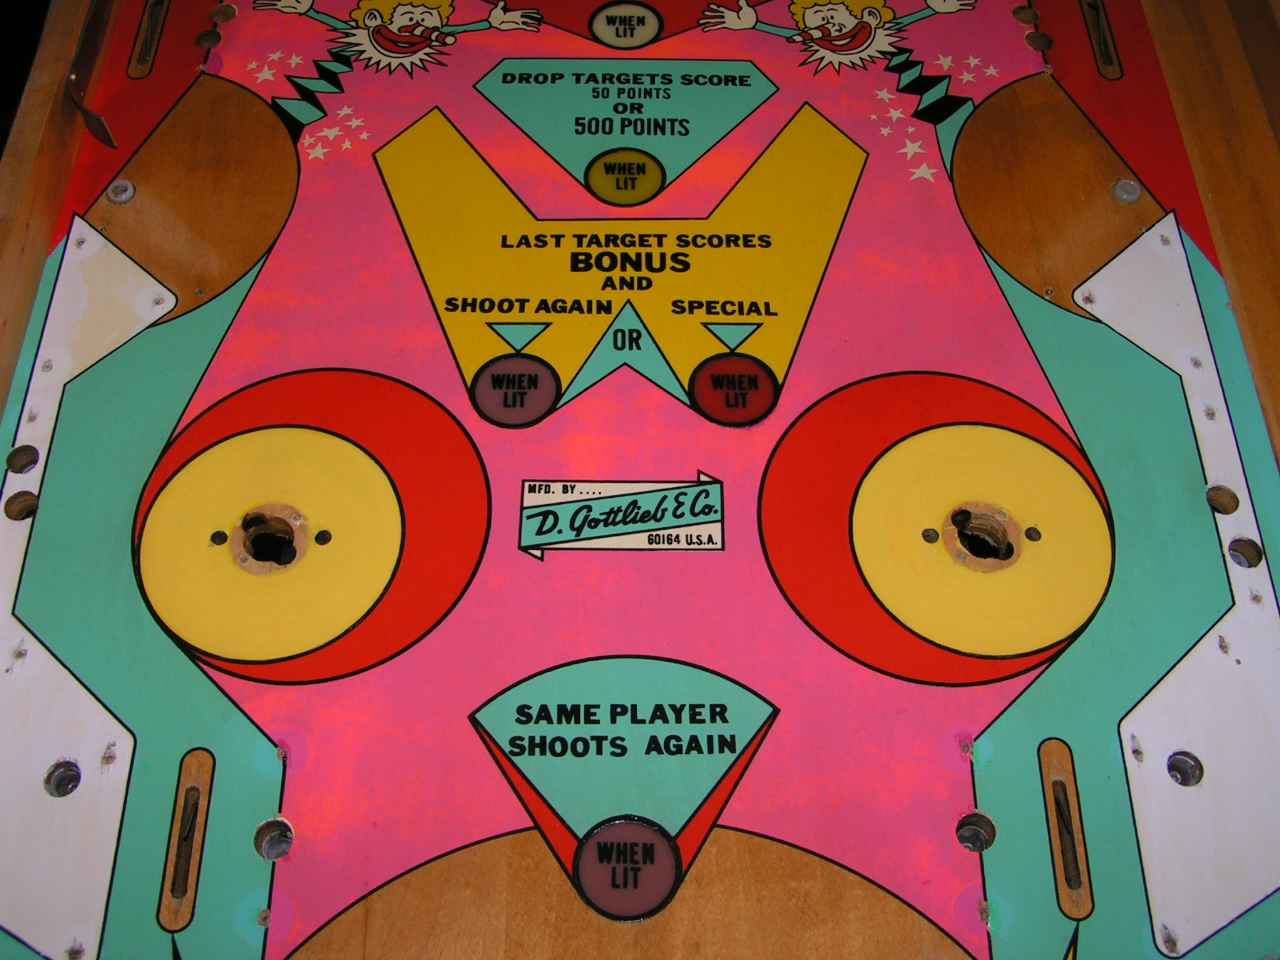
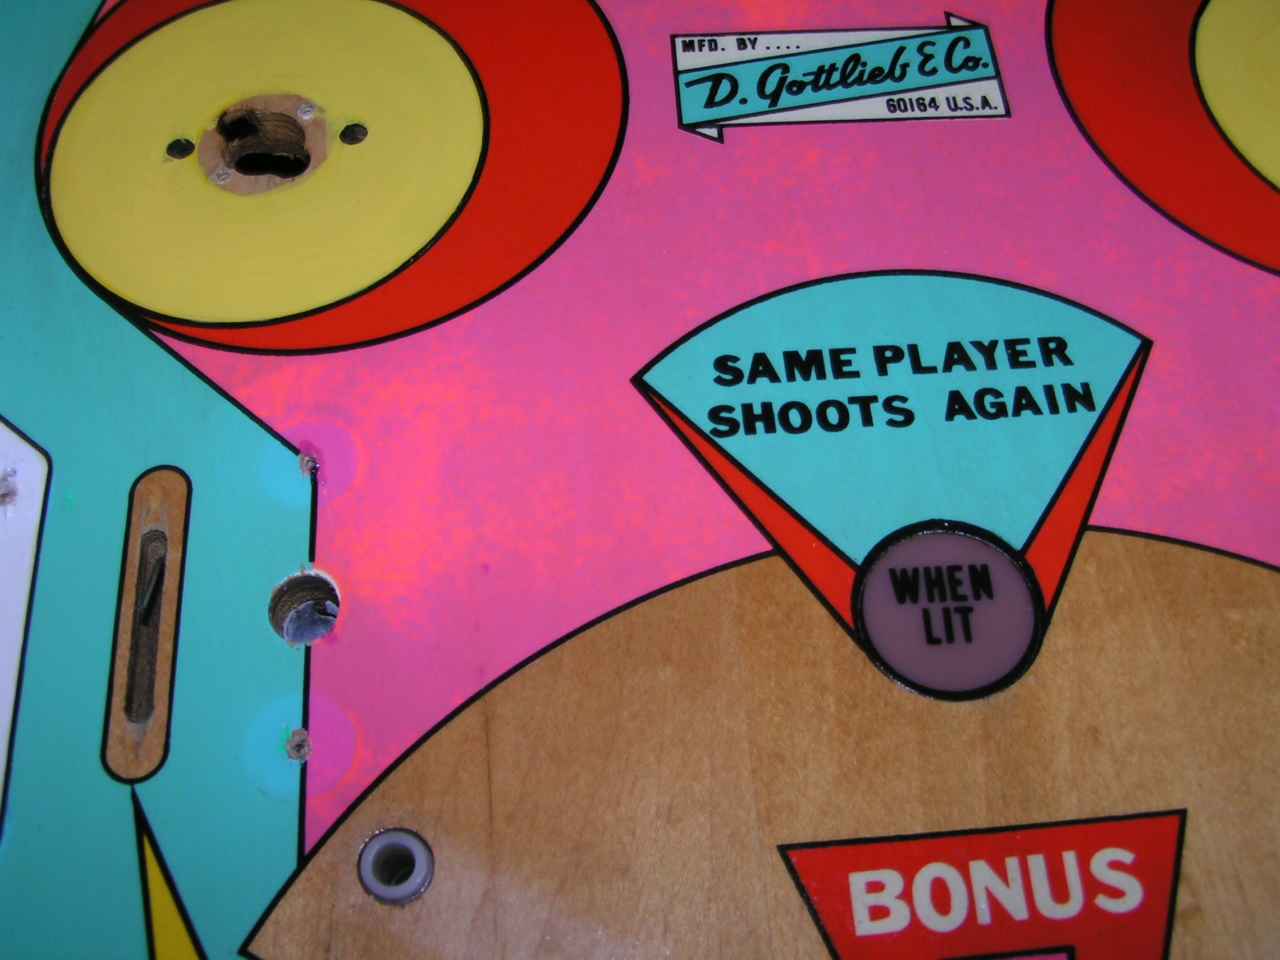

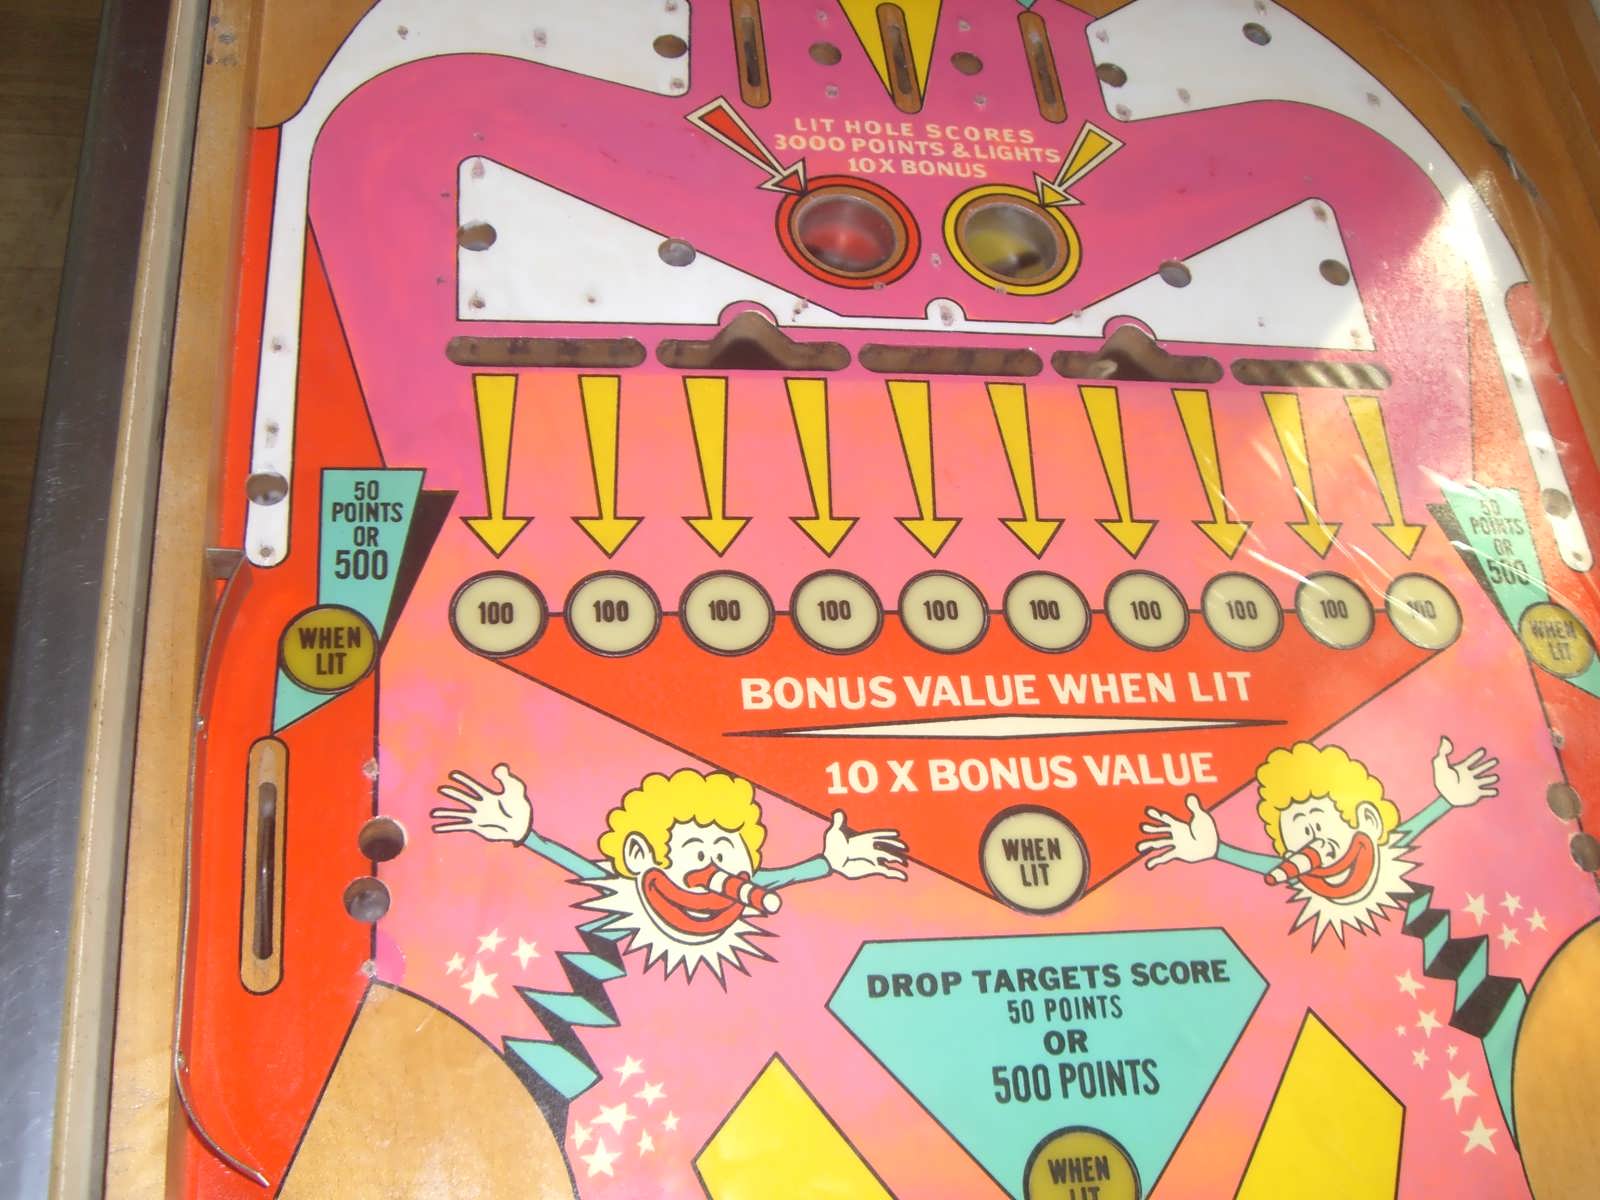
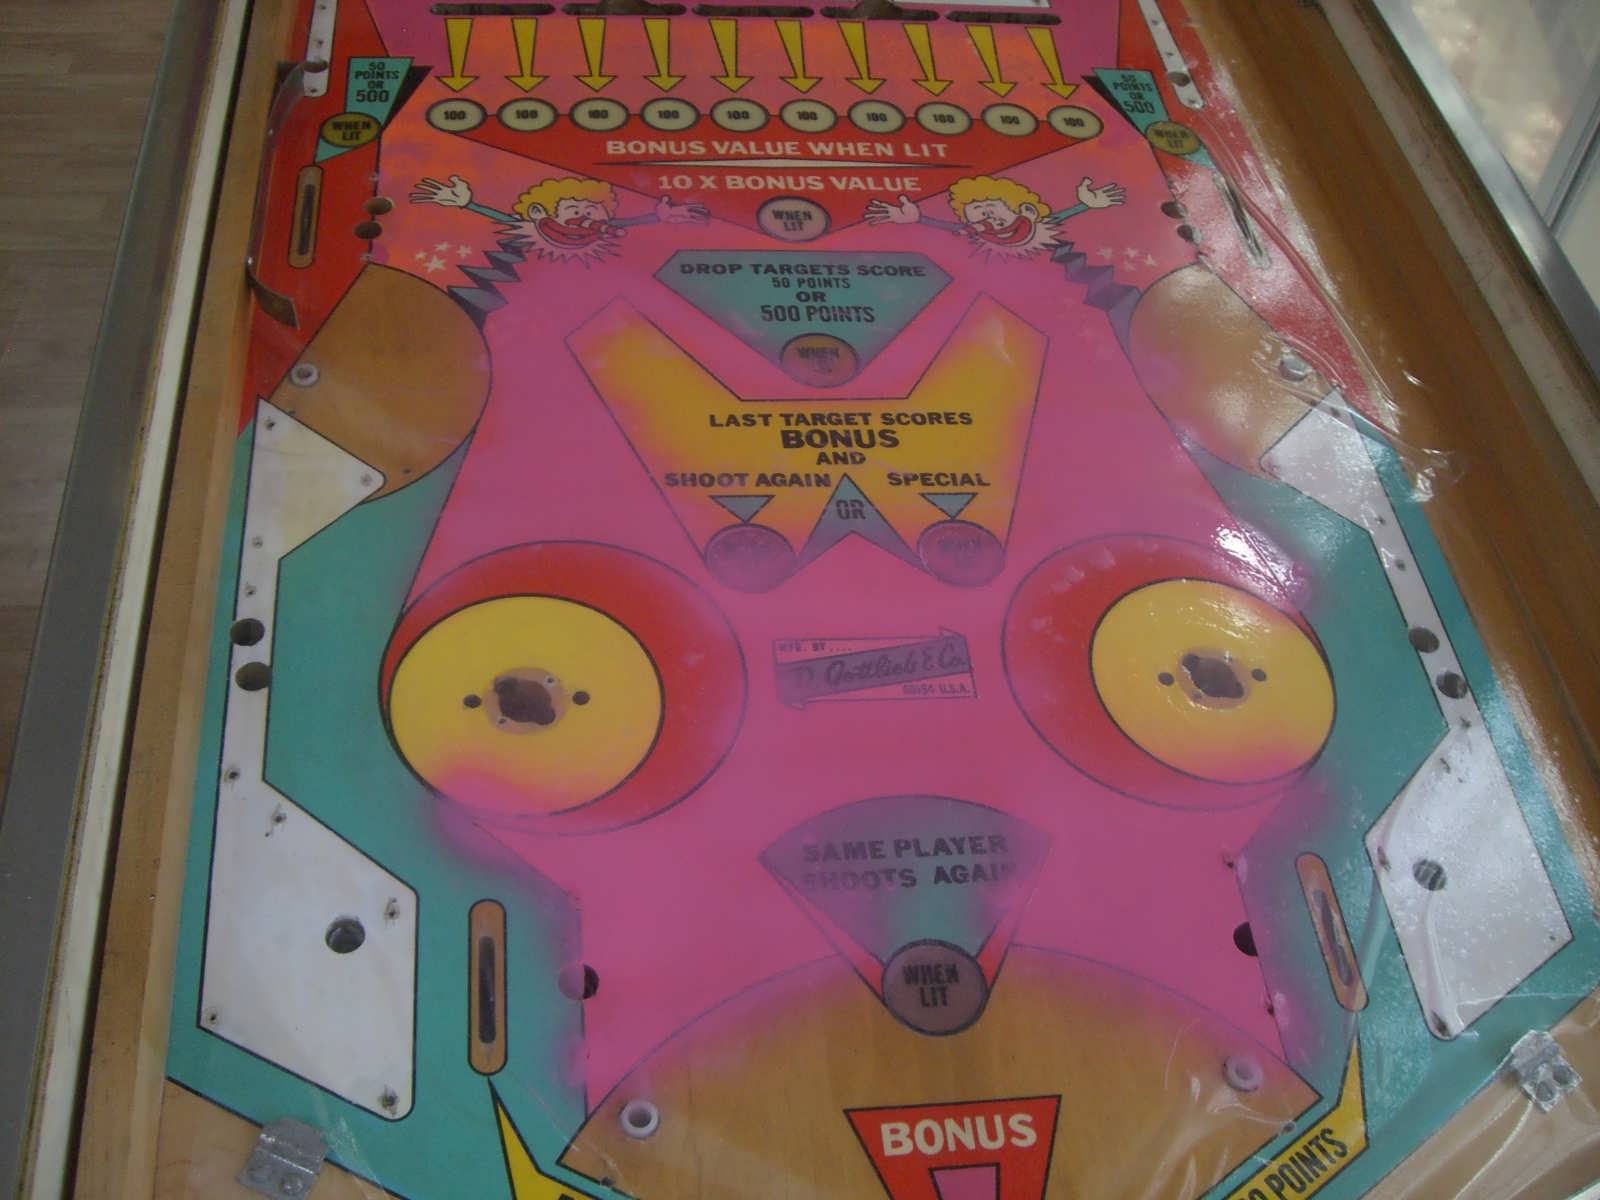
 ARRRGGHH!! What happened here!? Why the mottling? You can see the ORIGINAL pink
reacted and turned a mottled orange and purple! Logic dictates it was a reaction
with the aerosol Varathane but I had NEVER had a problem with this EVER! I was
nearly in tears with frustration. Even if I were to remove the Varathane the
damage was done. All that could be done was a total repaint and I was just too
dejected to even think about it at that point. I covered the game with a sheet
and there it sat until now, 3-1/2 years later.
ARRRGGHH!! What happened here!? Why the mottling? You can see the ORIGINAL pink
reacted and turned a mottled orange and purple! Logic dictates it was a reaction
with the aerosol Varathane but I had NEVER had a problem with this EVER! I was
nearly in tears with frustration. Even if I were to remove the Varathane the
damage was done. All that could be done was a total repaint and I was just too
dejected to even think about it at that point. I covered the game with a sheet
and there it sat until now, 3-1/2 years later.
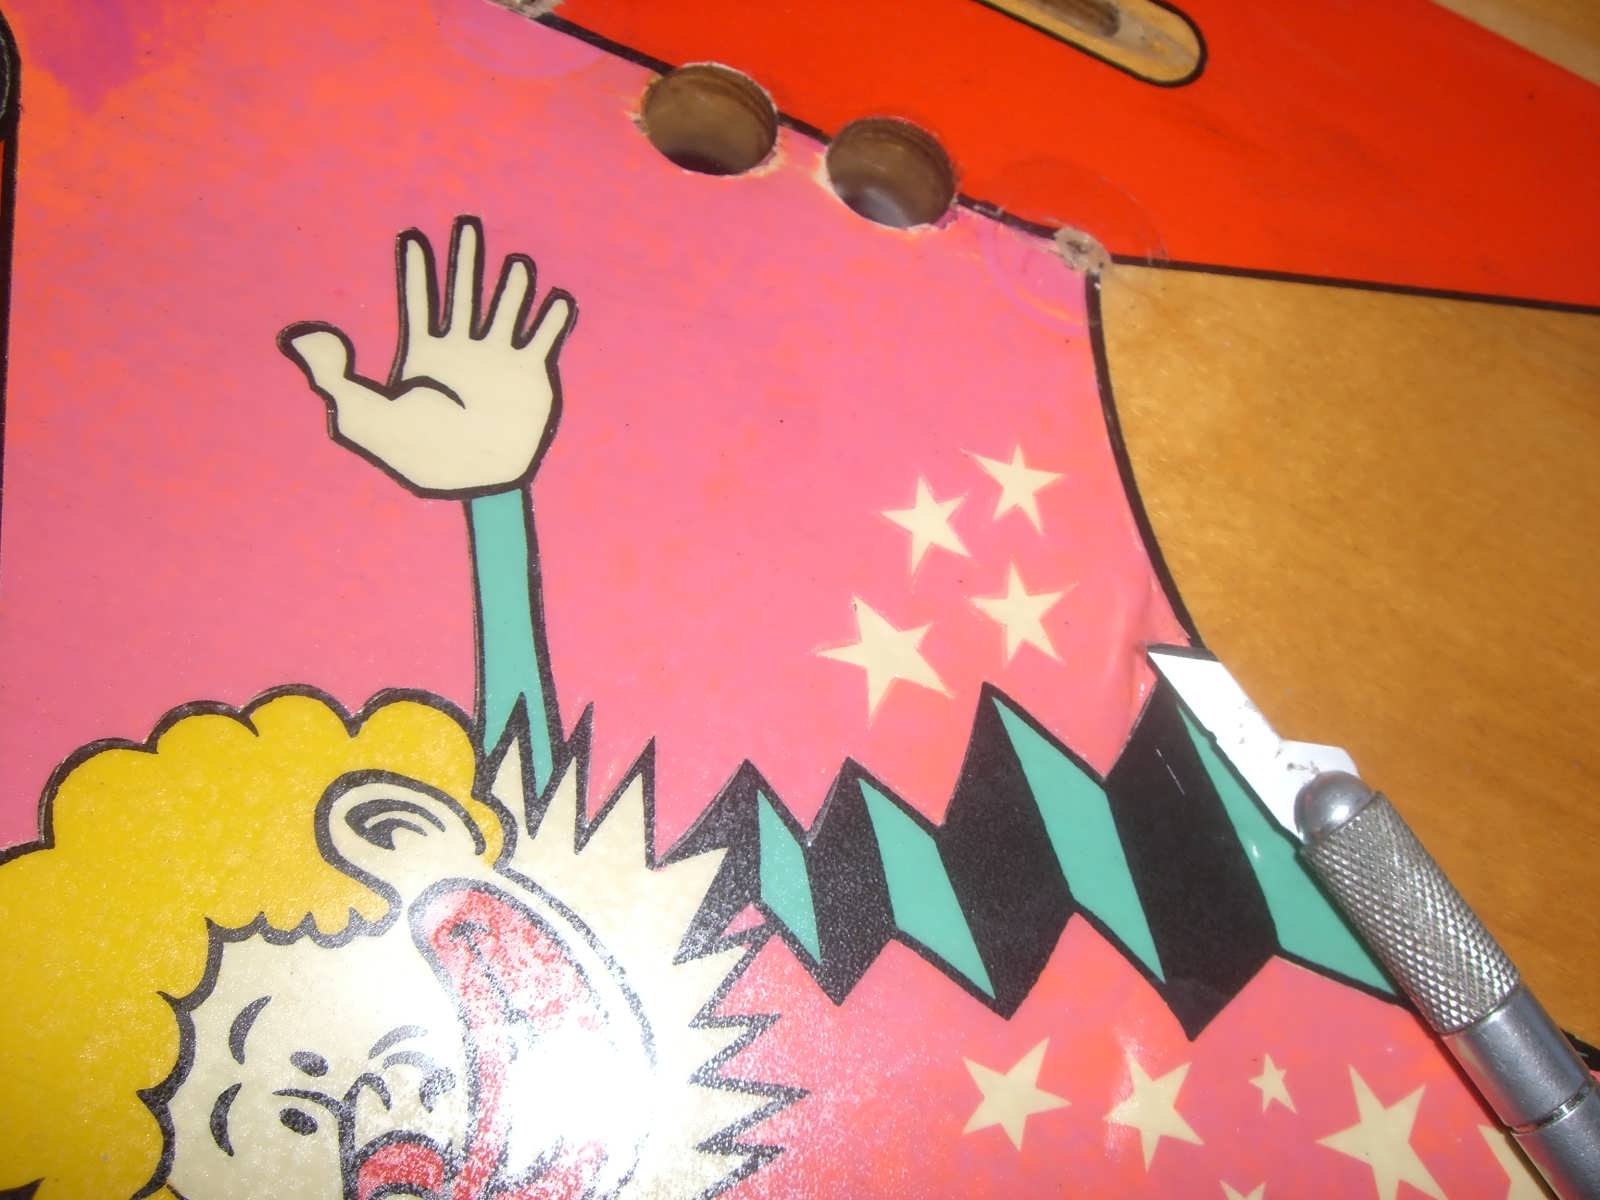
While I had lost my motivation on JJ I had plenty other projects in line and so was able to at least get on to some of them. During an episodic night of airbrushing my Judge Dredd cabinet I was inspired once again to have a go at the JJ. I cleared off 3 years of accumulated junk and hesitantly pulled the sheet back only to be instantly queasy at the sight of that mottling. No, sadly, there were no elves repairing it in the middle of the night in all those years. My plan now was to Frisket the playfield and airbrush the entire pink area. I knew this would mean a LOT of Xacto knife cutting. All those arrows. The little white stars. The two clowns with their mocking smiles daring me to cut so precisely. My God. All the white lettering at the kickouts, ugh. "Do it now, mister, or you never will" sez me to myself. And so, I did. Since I had a good solid coat of well cured Varathane down already I just need to scuff lightly with a green Scotchbrite pad and wipe down with a cotton cloth soaked in Naphtha. Naphtha is absolutely critical so keep it handy.
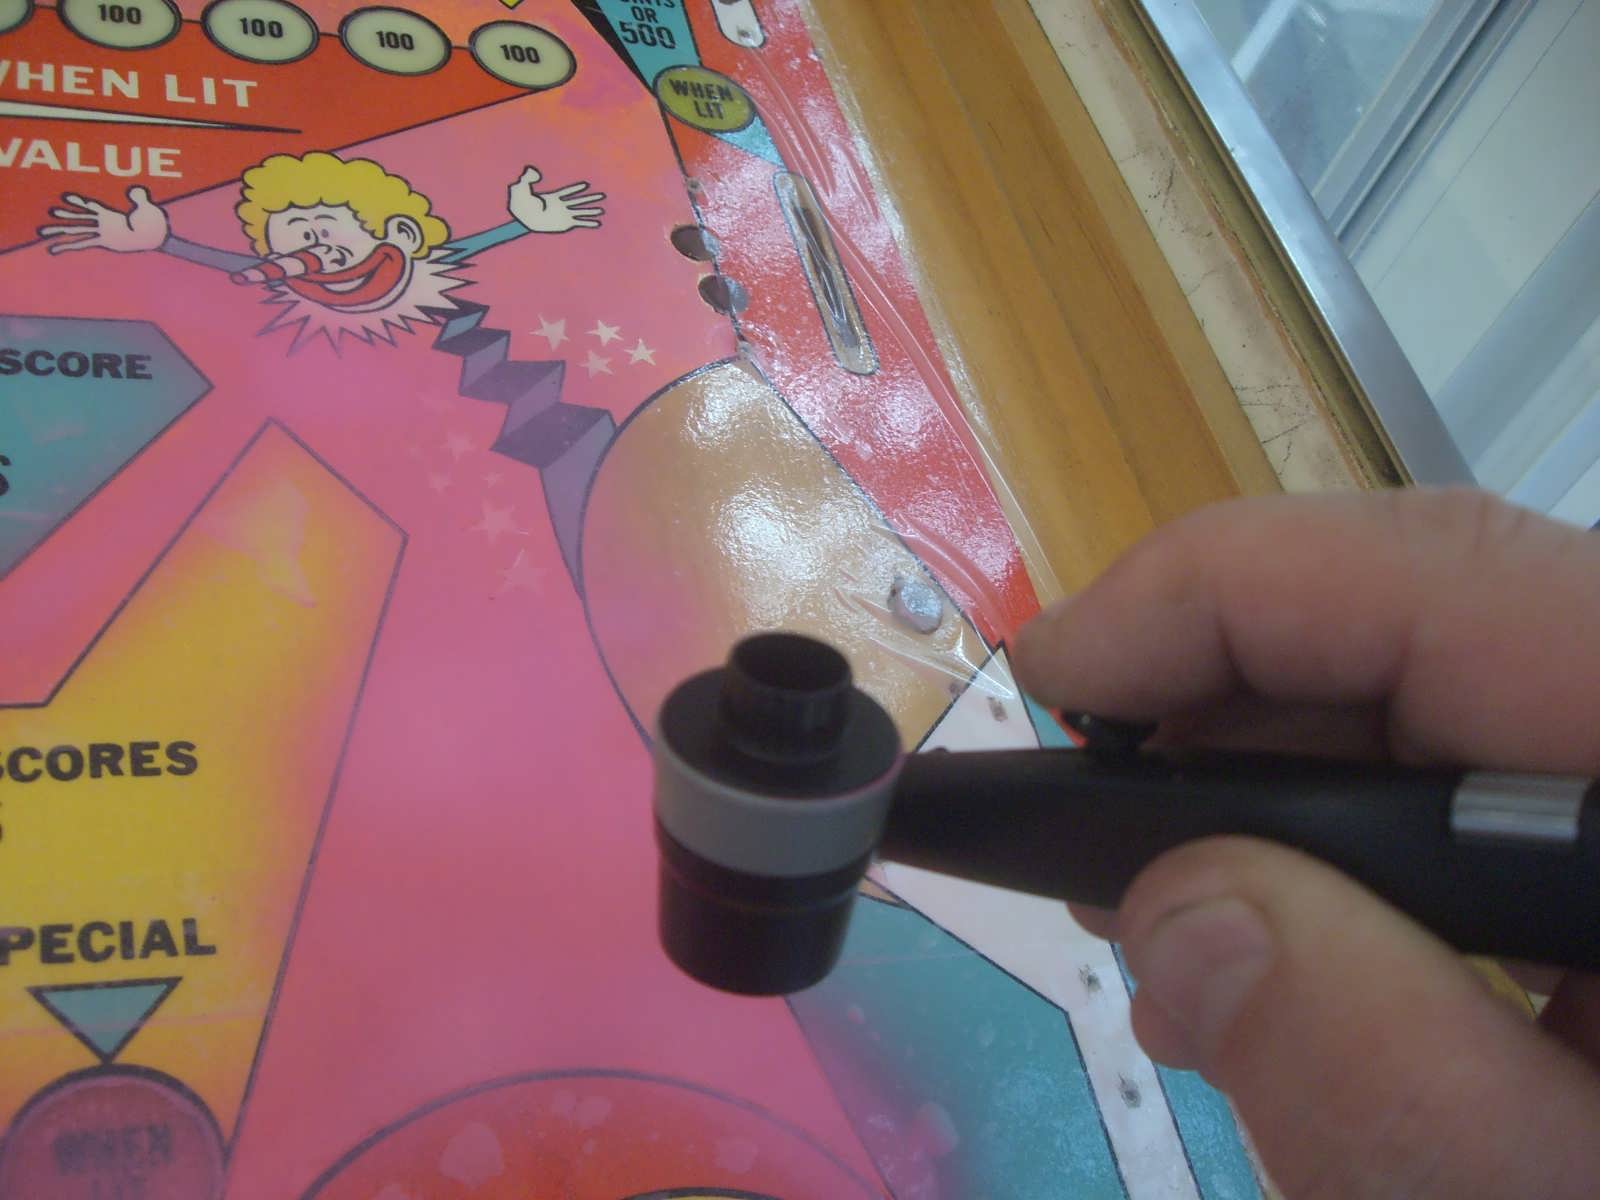
 Here I've laid down the clear Frisket sheet. Frisket is a low tack masking that
comes in a roll. Don't worry about all the game hardware still on the pf. It
comes off later.
Here I've laid down the clear Frisket sheet. Frisket is a low tack masking that
comes in a roll. Don't worry about all the game hardware still on the pf. It
comes off later.
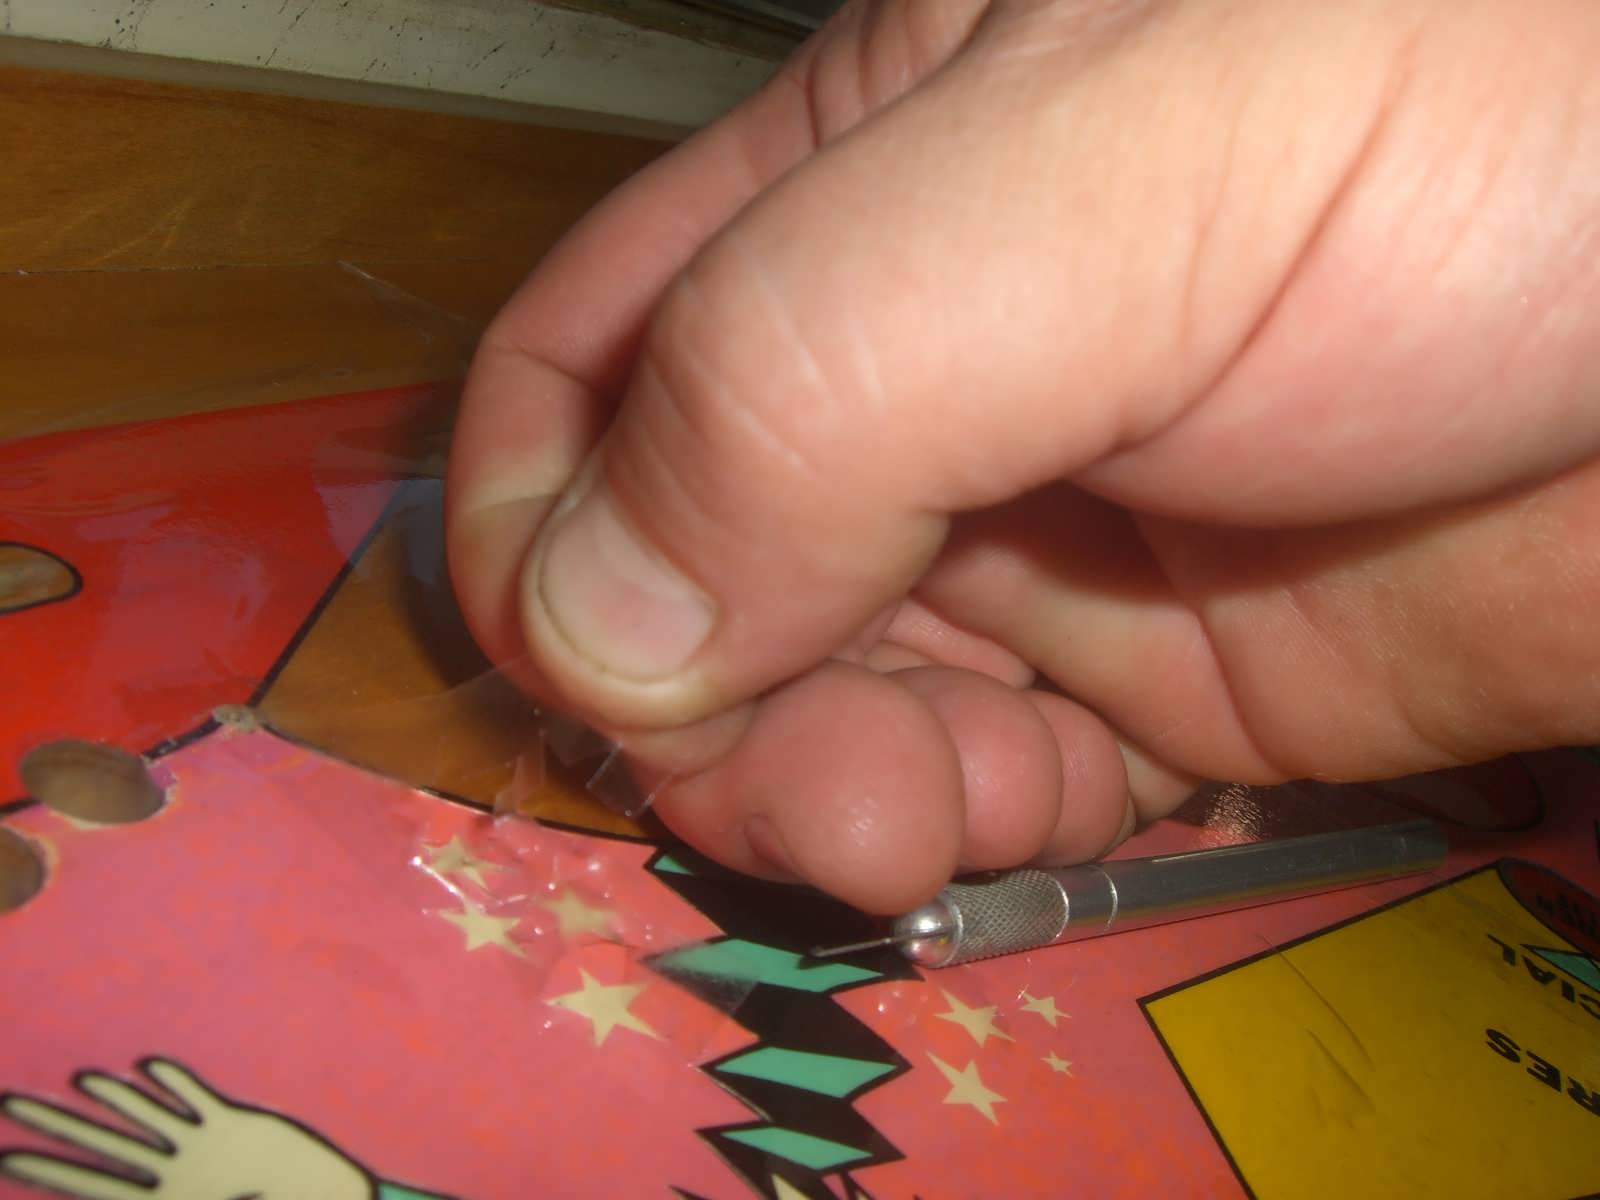 Now I'm using my Xacto to cut out where I need to paint and peeling off those
areas. I used magnifying headgear to help me cut the lines precisely.
Now I'm using my Xacto to cut out where I need to paint and peeling off those
areas. I used magnifying headgear to help me cut the lines precisely.
 And we're airbrushing! You can't shoot the craft acrylics straight out of the
bottle. I thin it using Liquitex acrylic reducer in a separate glass bottle. I
used an Aztek 1000 airbrush and the blue tip for wide area coverage. 2 coats
were sprayed, quite thin but very even and smooth. If you're new to airbrushing
please practice a LOT first. It does take a while to get the paint viscosity,
pressure and spray pattern right but once you "feel" it, you'll know. The nice
thing about acrylics is that they wipe right off if you make boo-boos.
And we're airbrushing! You can't shoot the craft acrylics straight out of the
bottle. I thin it using Liquitex acrylic reducer in a separate glass bottle. I
used an Aztek 1000 airbrush and the blue tip for wide area coverage. 2 coats
were sprayed, quite thin but very even and smooth. If you're new to airbrushing
please practice a LOT first. It does take a while to get the paint viscosity,
pressure and spray pattern right but once you "feel" it, you'll know. The nice
thing about acrylics is that they wipe right off if you make boo-boos.